
There are three methods available to stabilize videos captured by the QooCam EGO. In this article, we will focus on the most straightforward approach: In-Camera Stabilization.
Single Video Stabilization
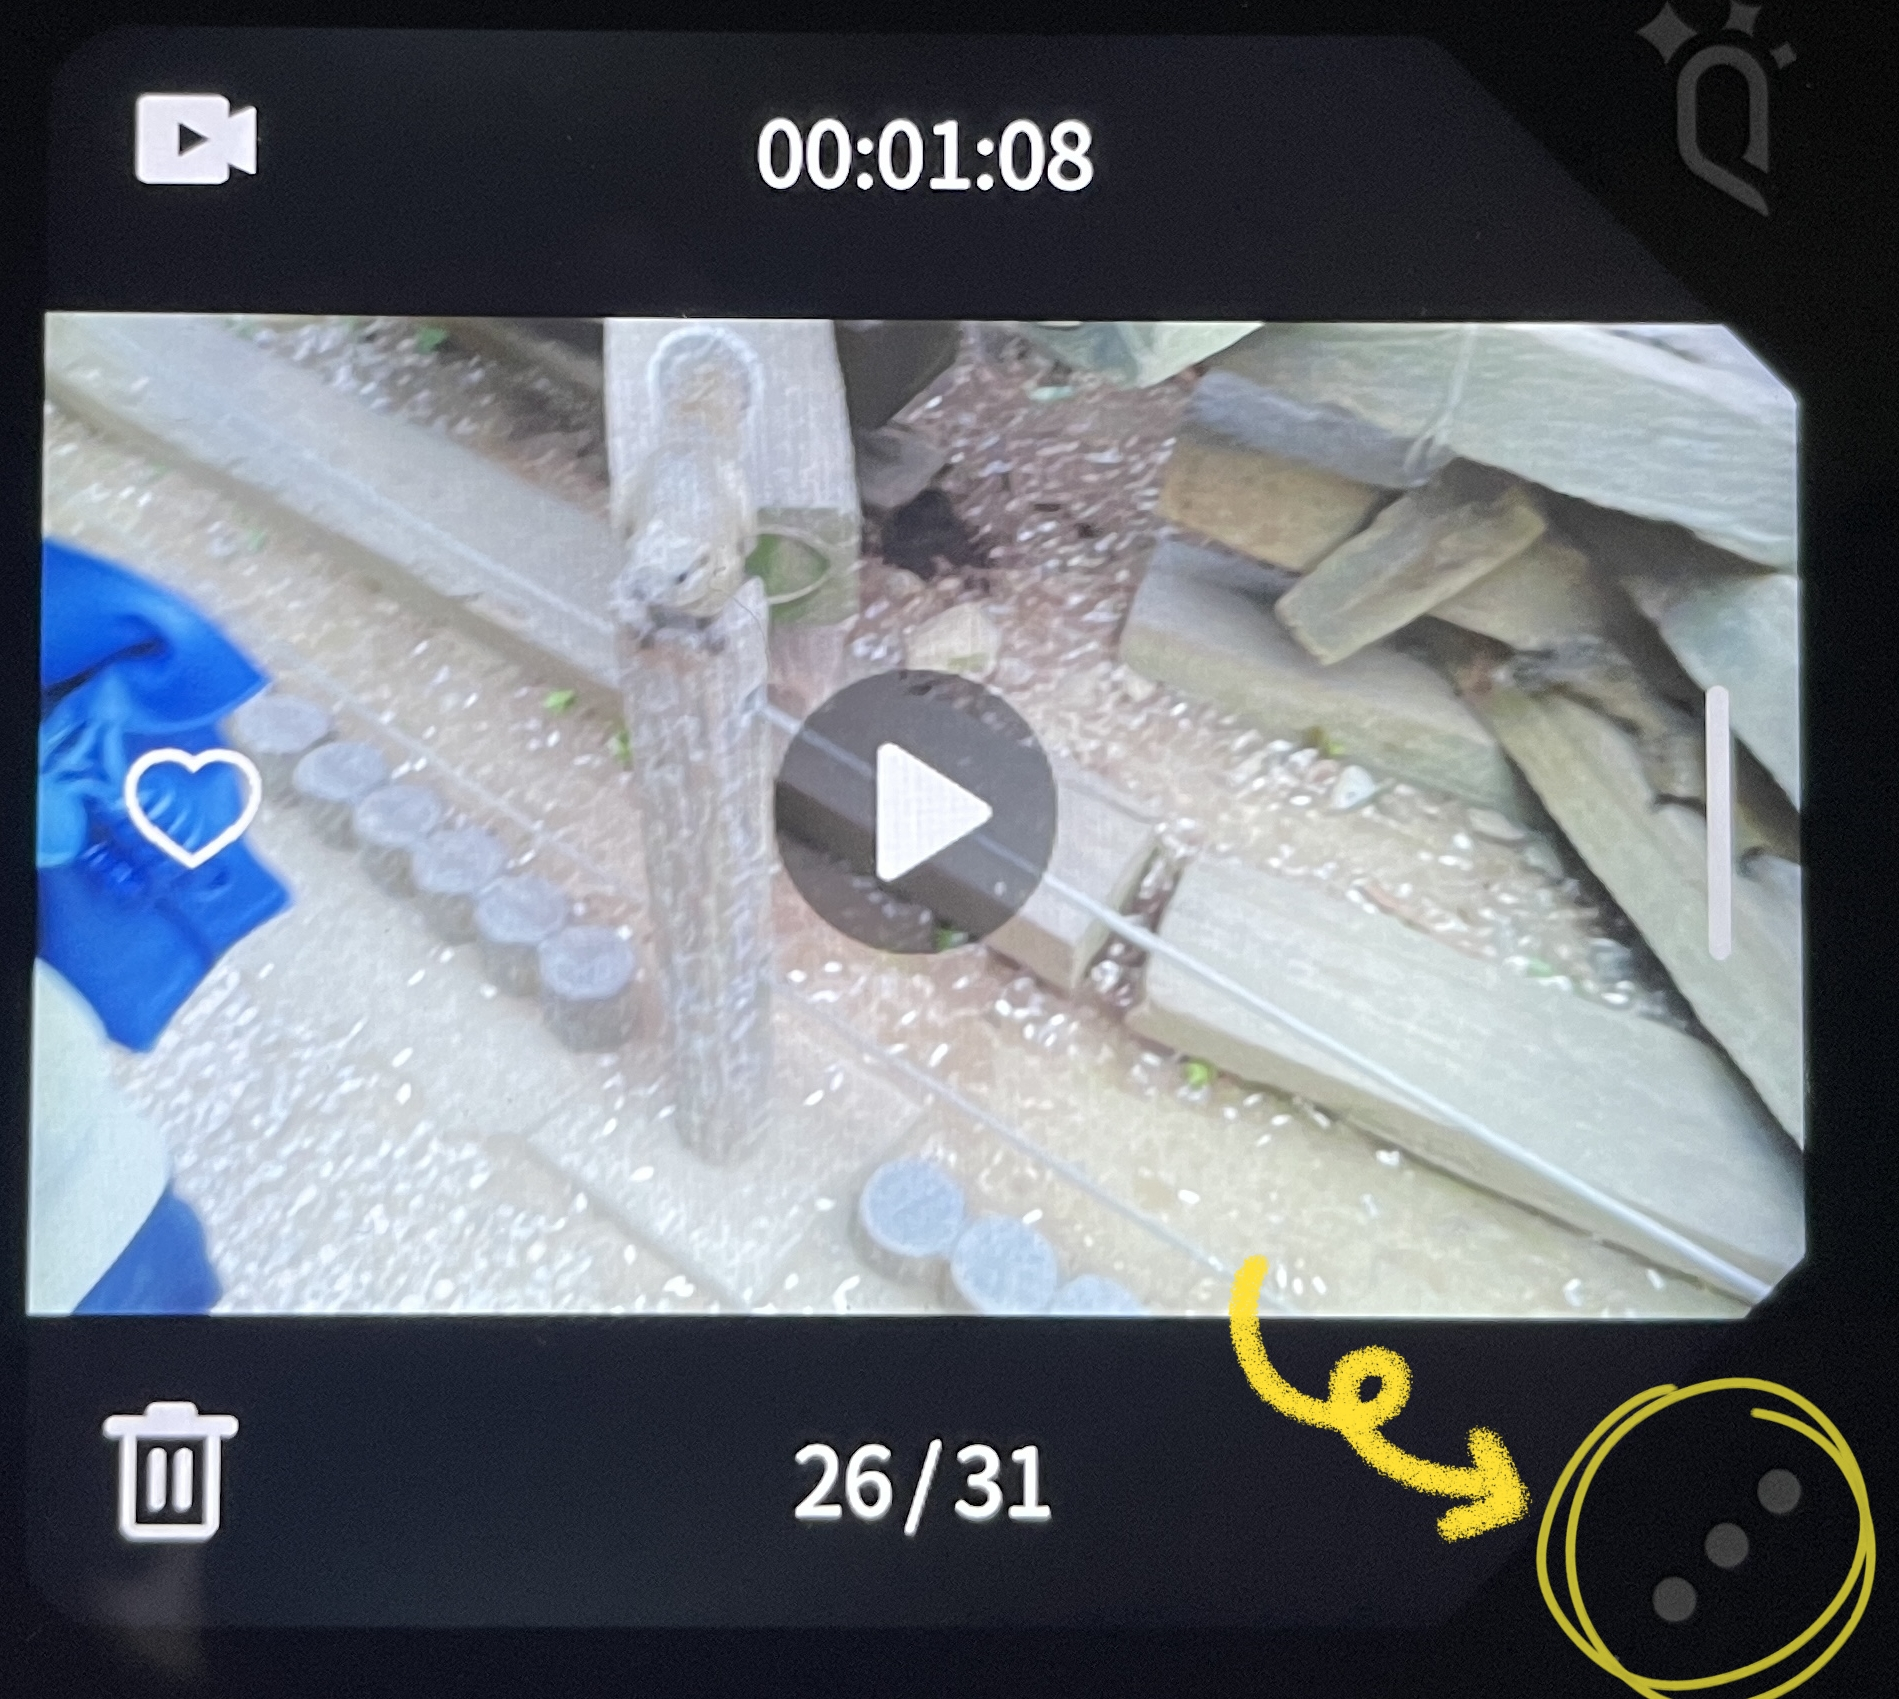
Once you've accessed the [Album] in the camera, you'll be able to locate the videos that require stabilization and process them individually or in bulk. Let's begin by discussing the process of handling them one by one. Locate the desired video that you wish to stabilize and click on the "..." button located in the lower right corner.
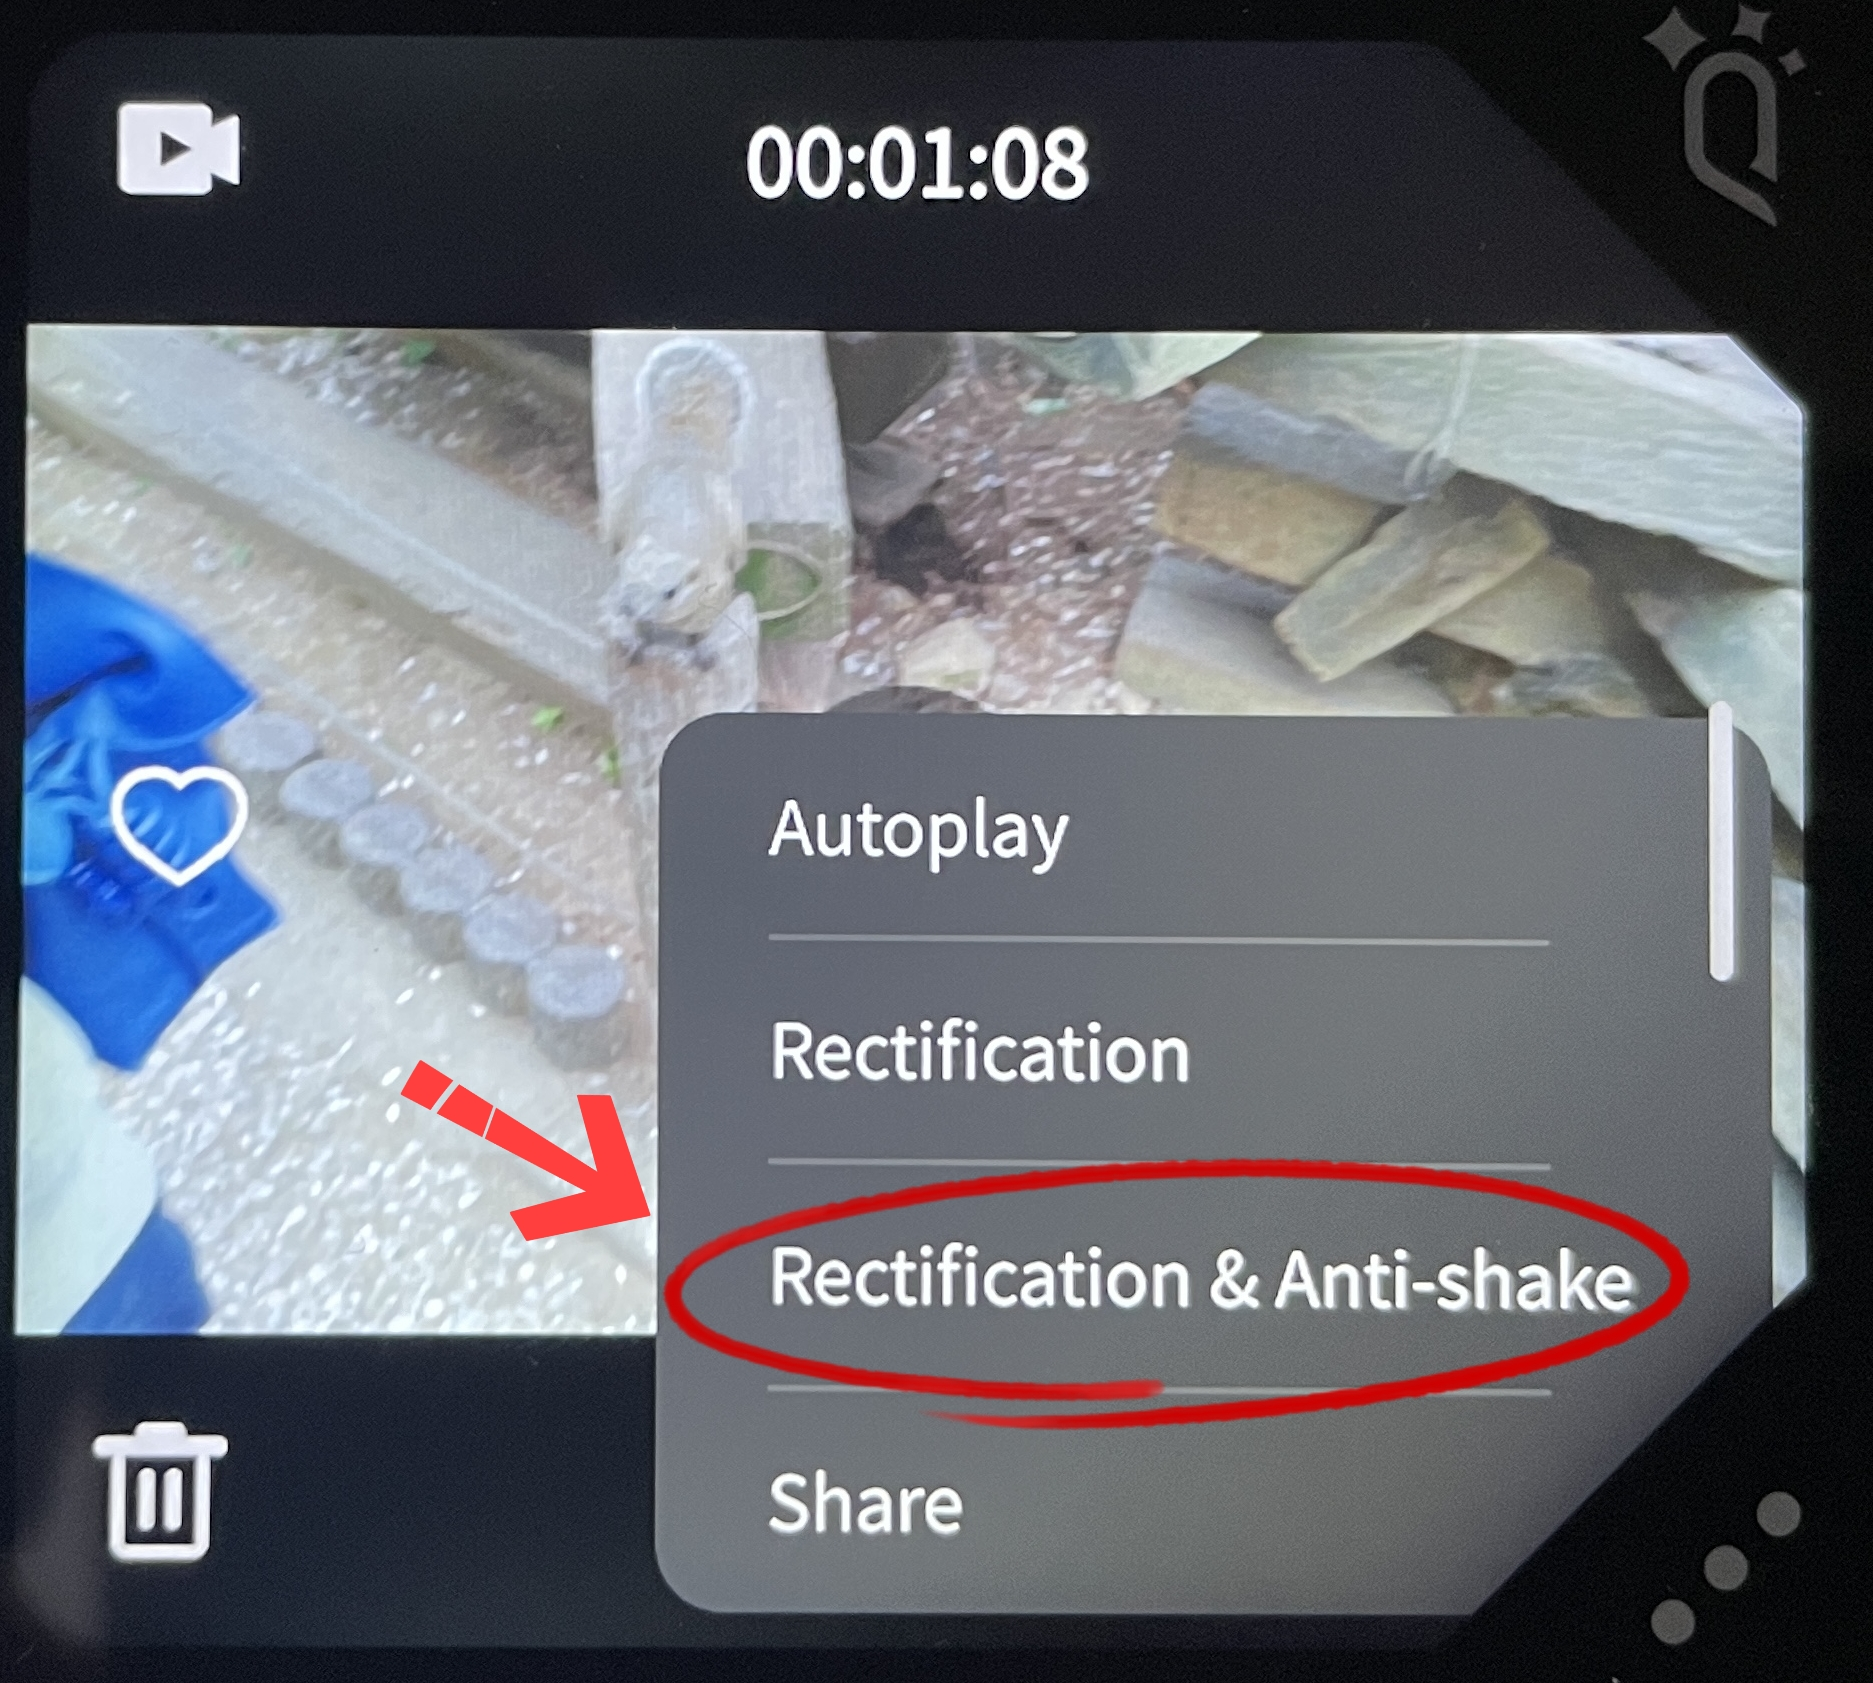
Click "Rectification & Anti-shake" and then the system will rectify and stabilize this video.
Stabilize in Batch
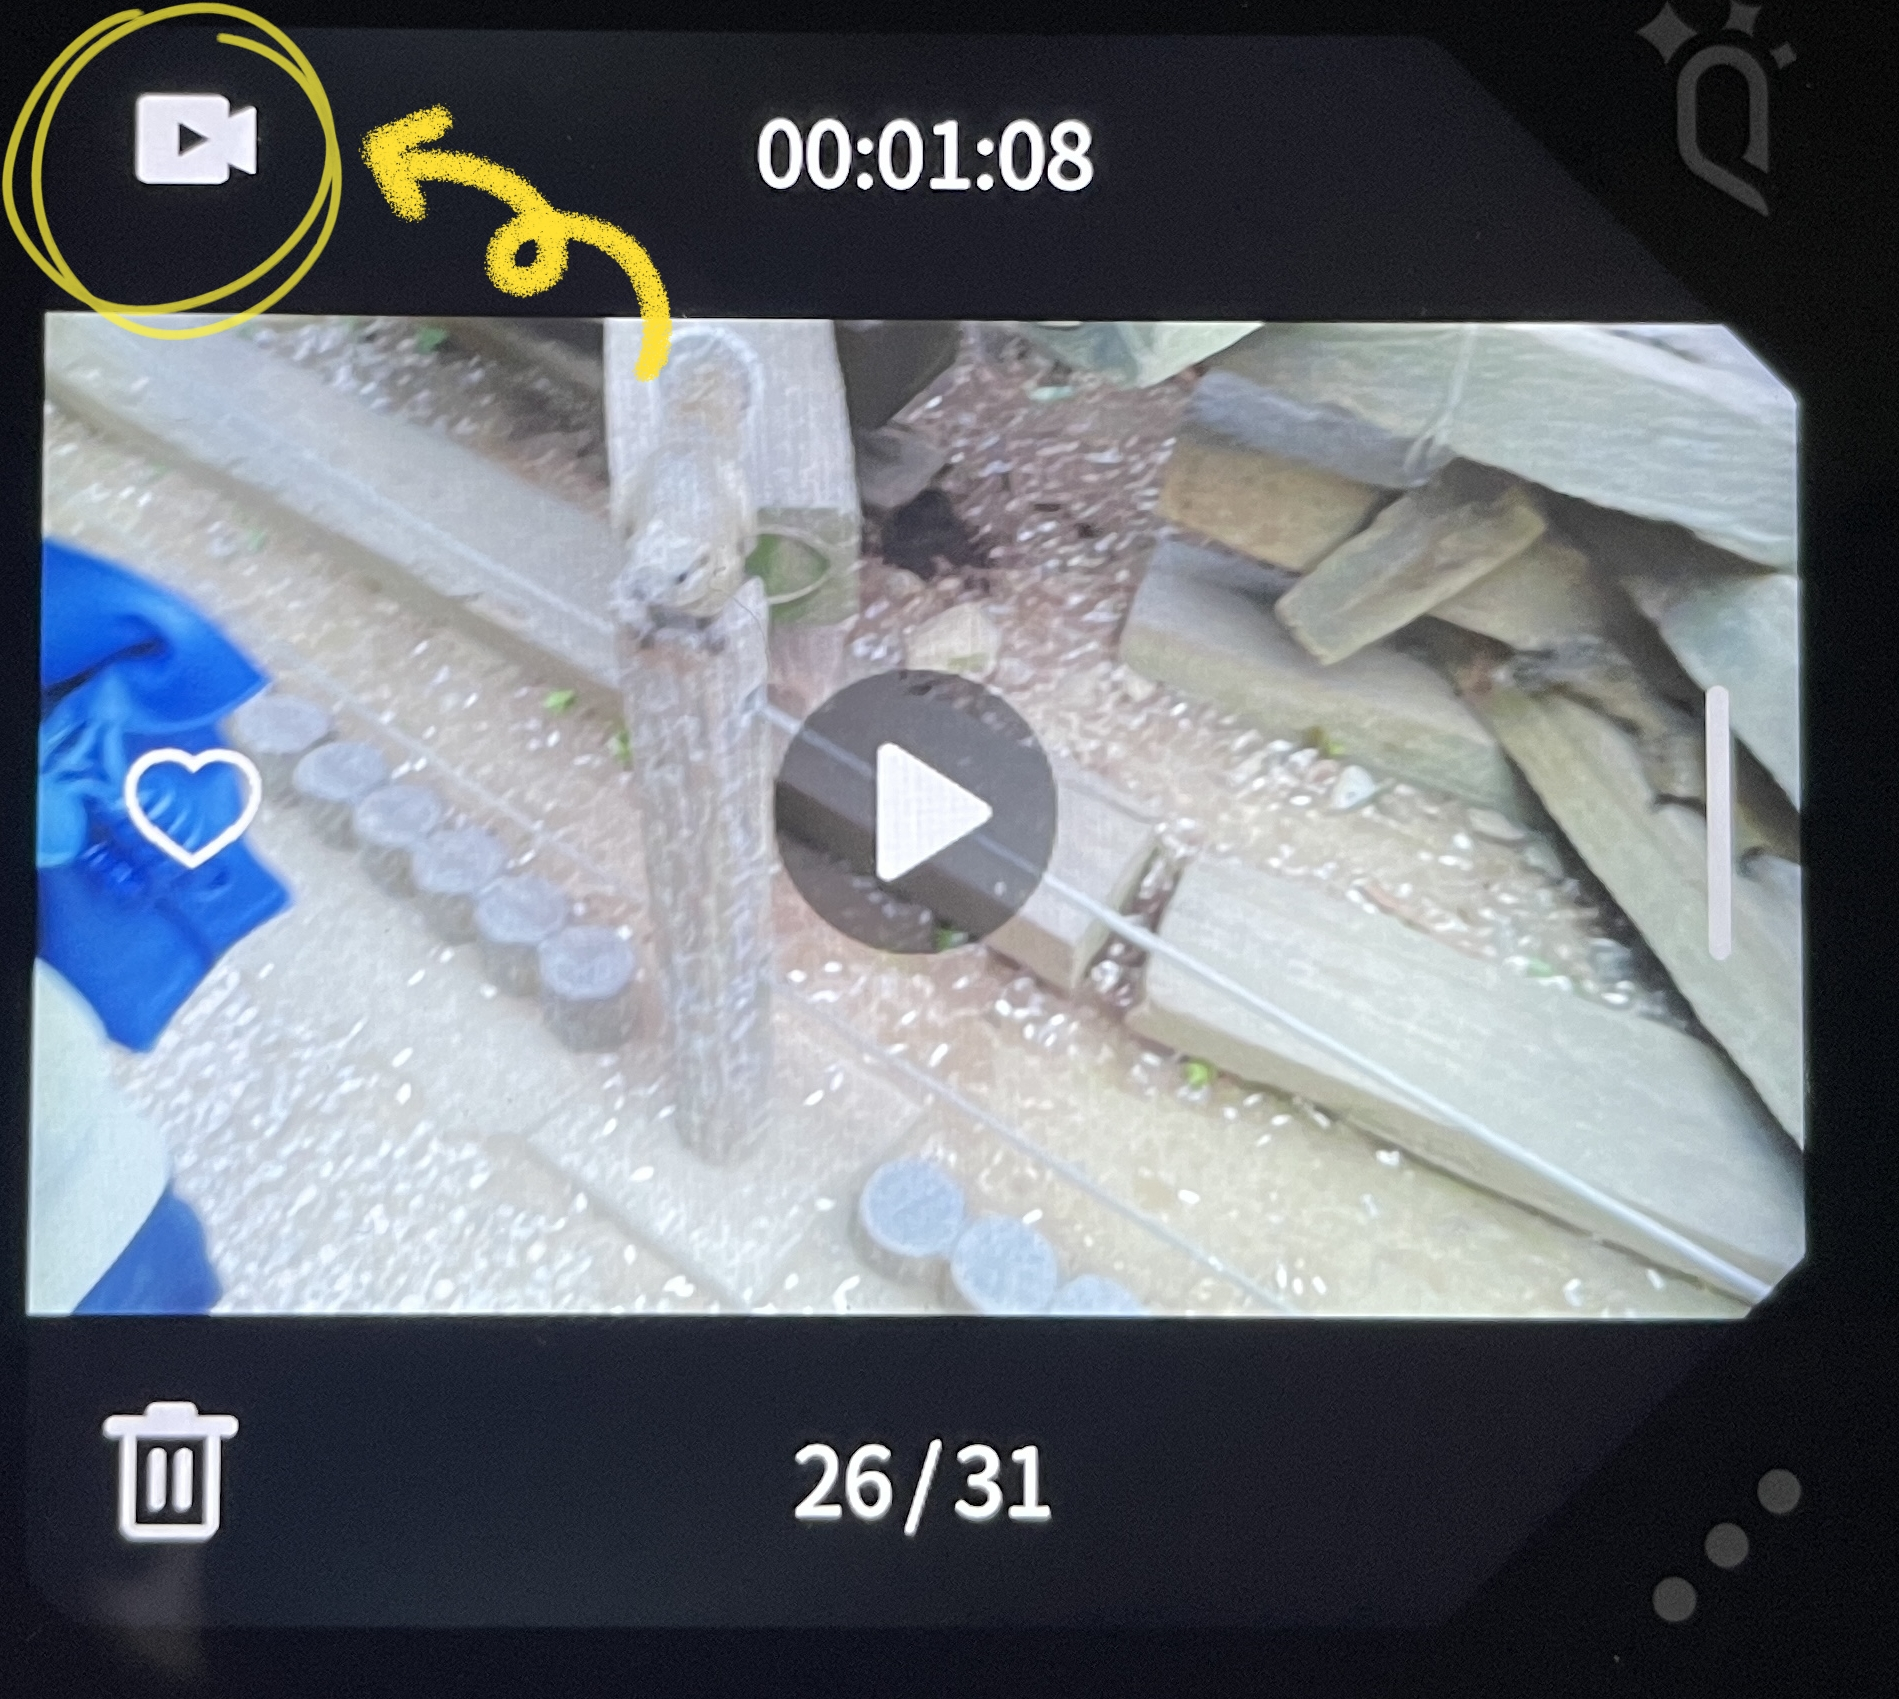
After entering the [album], click the button in the upper left corner to enter the [file list].
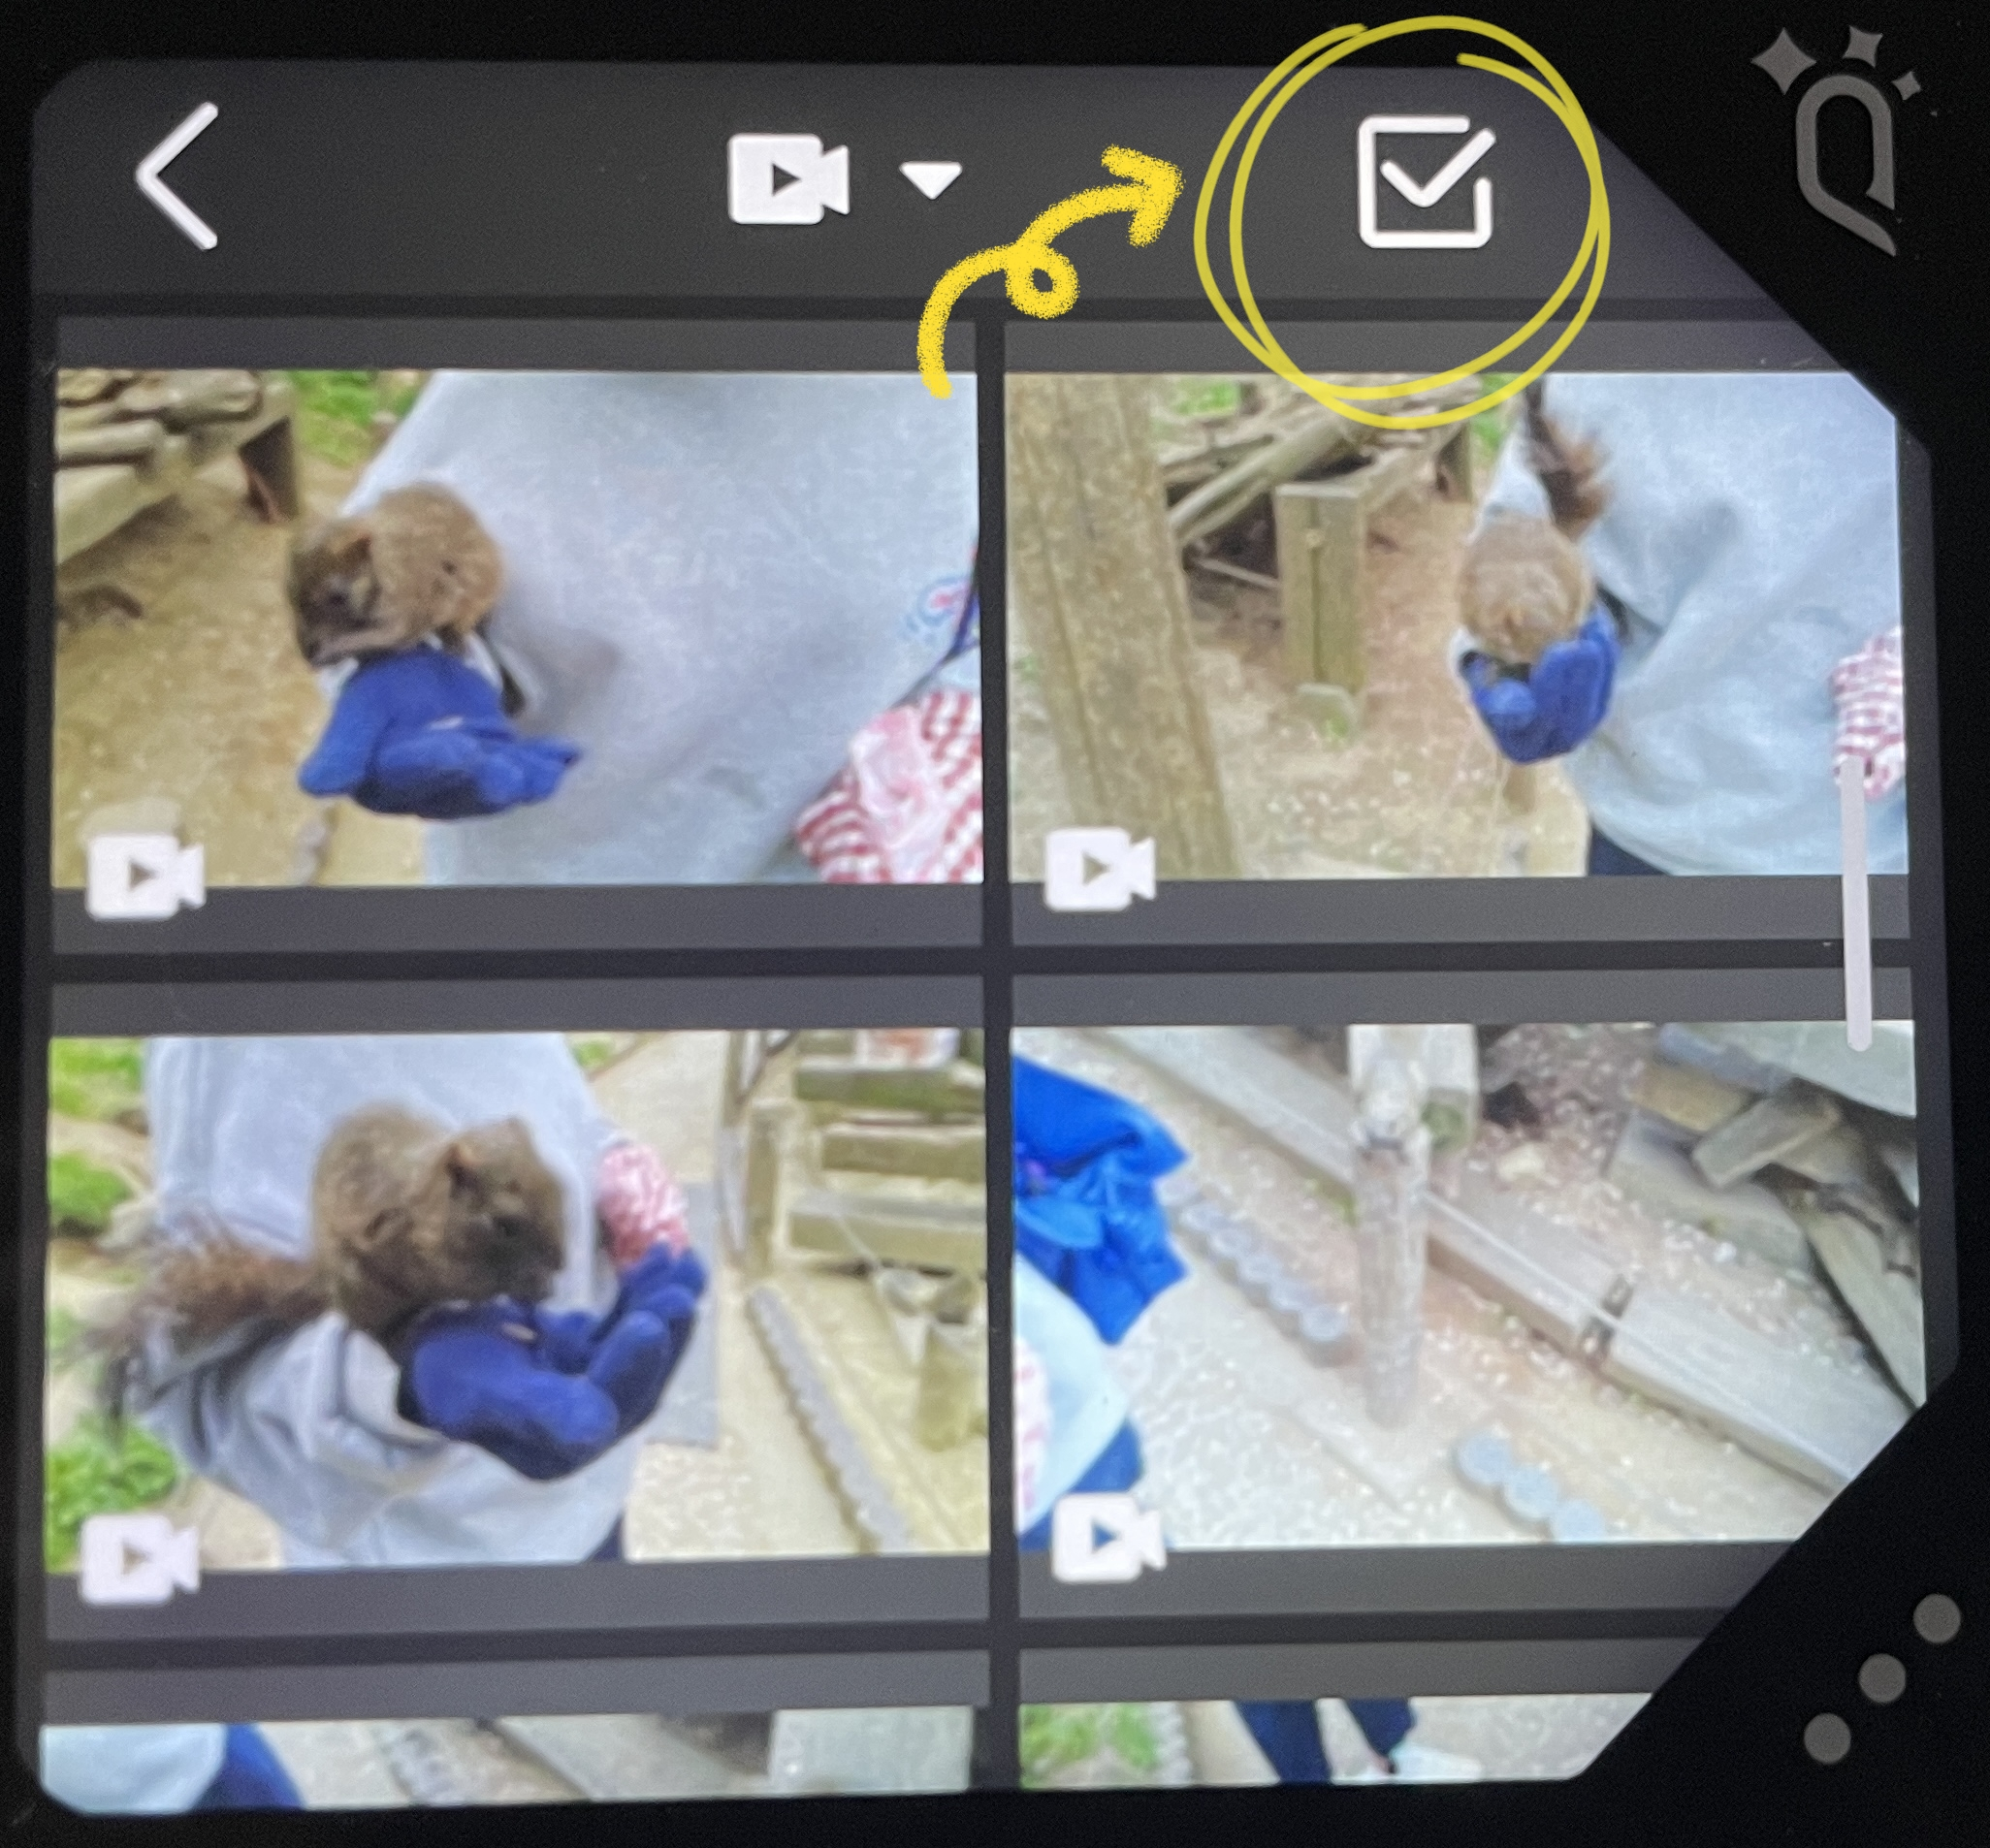
After entering the [file list], click the button in the upper right corner to enter the [multi-selection state].
Select the files to be stabilized.
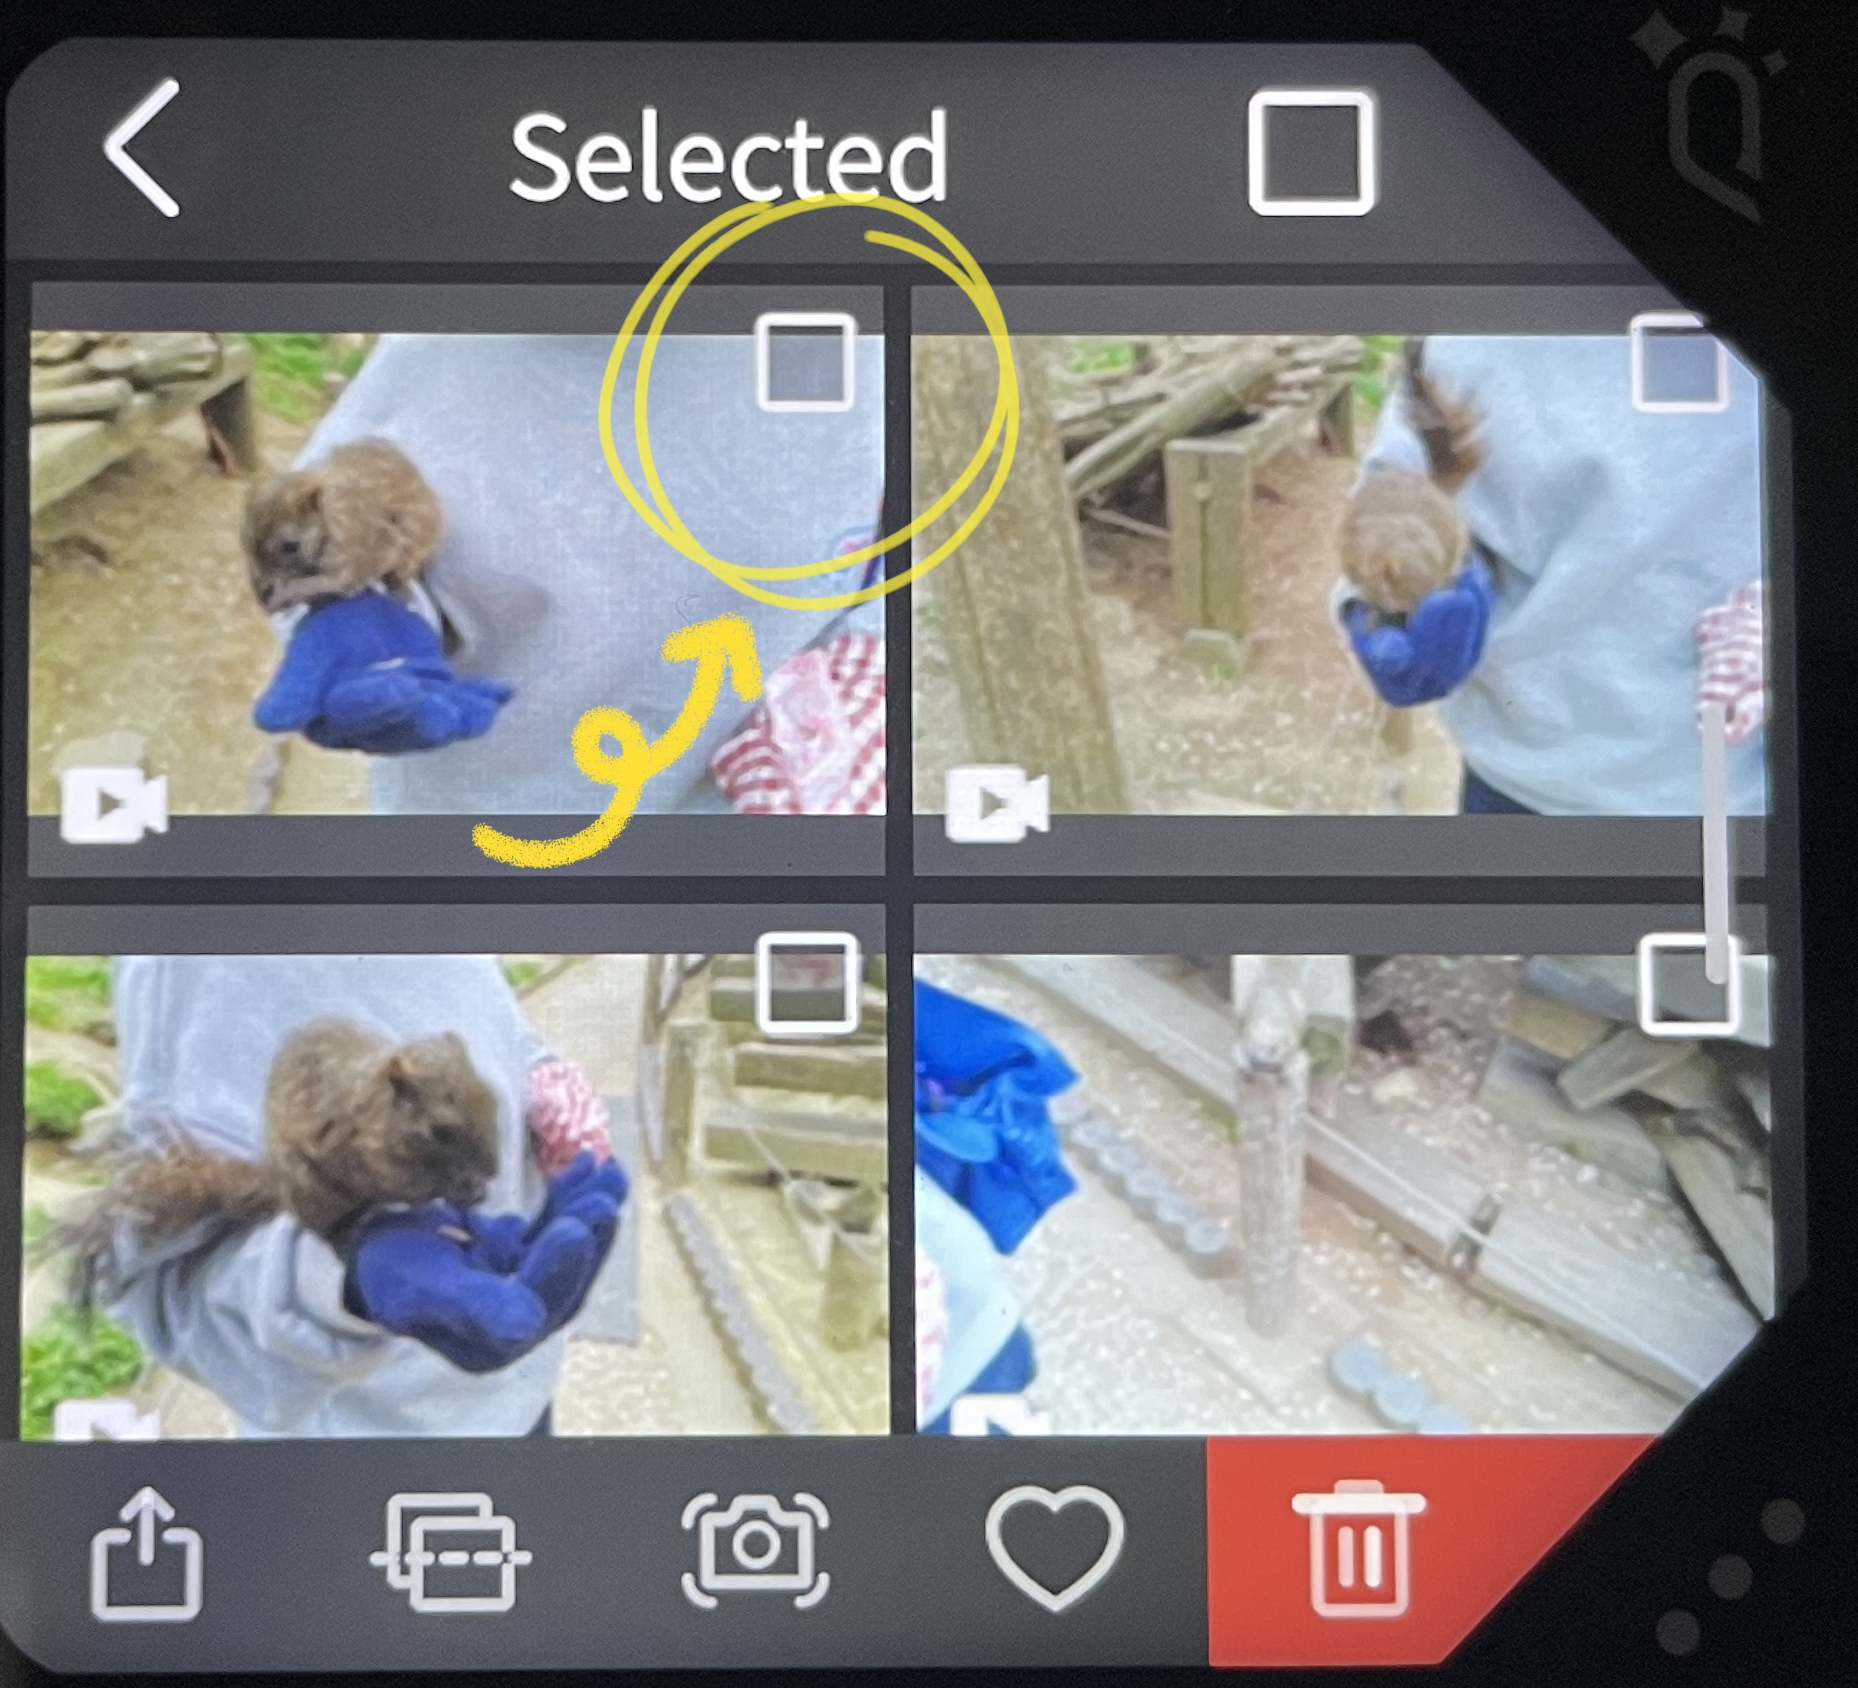
Tap the [stabilize] button at the bottom.
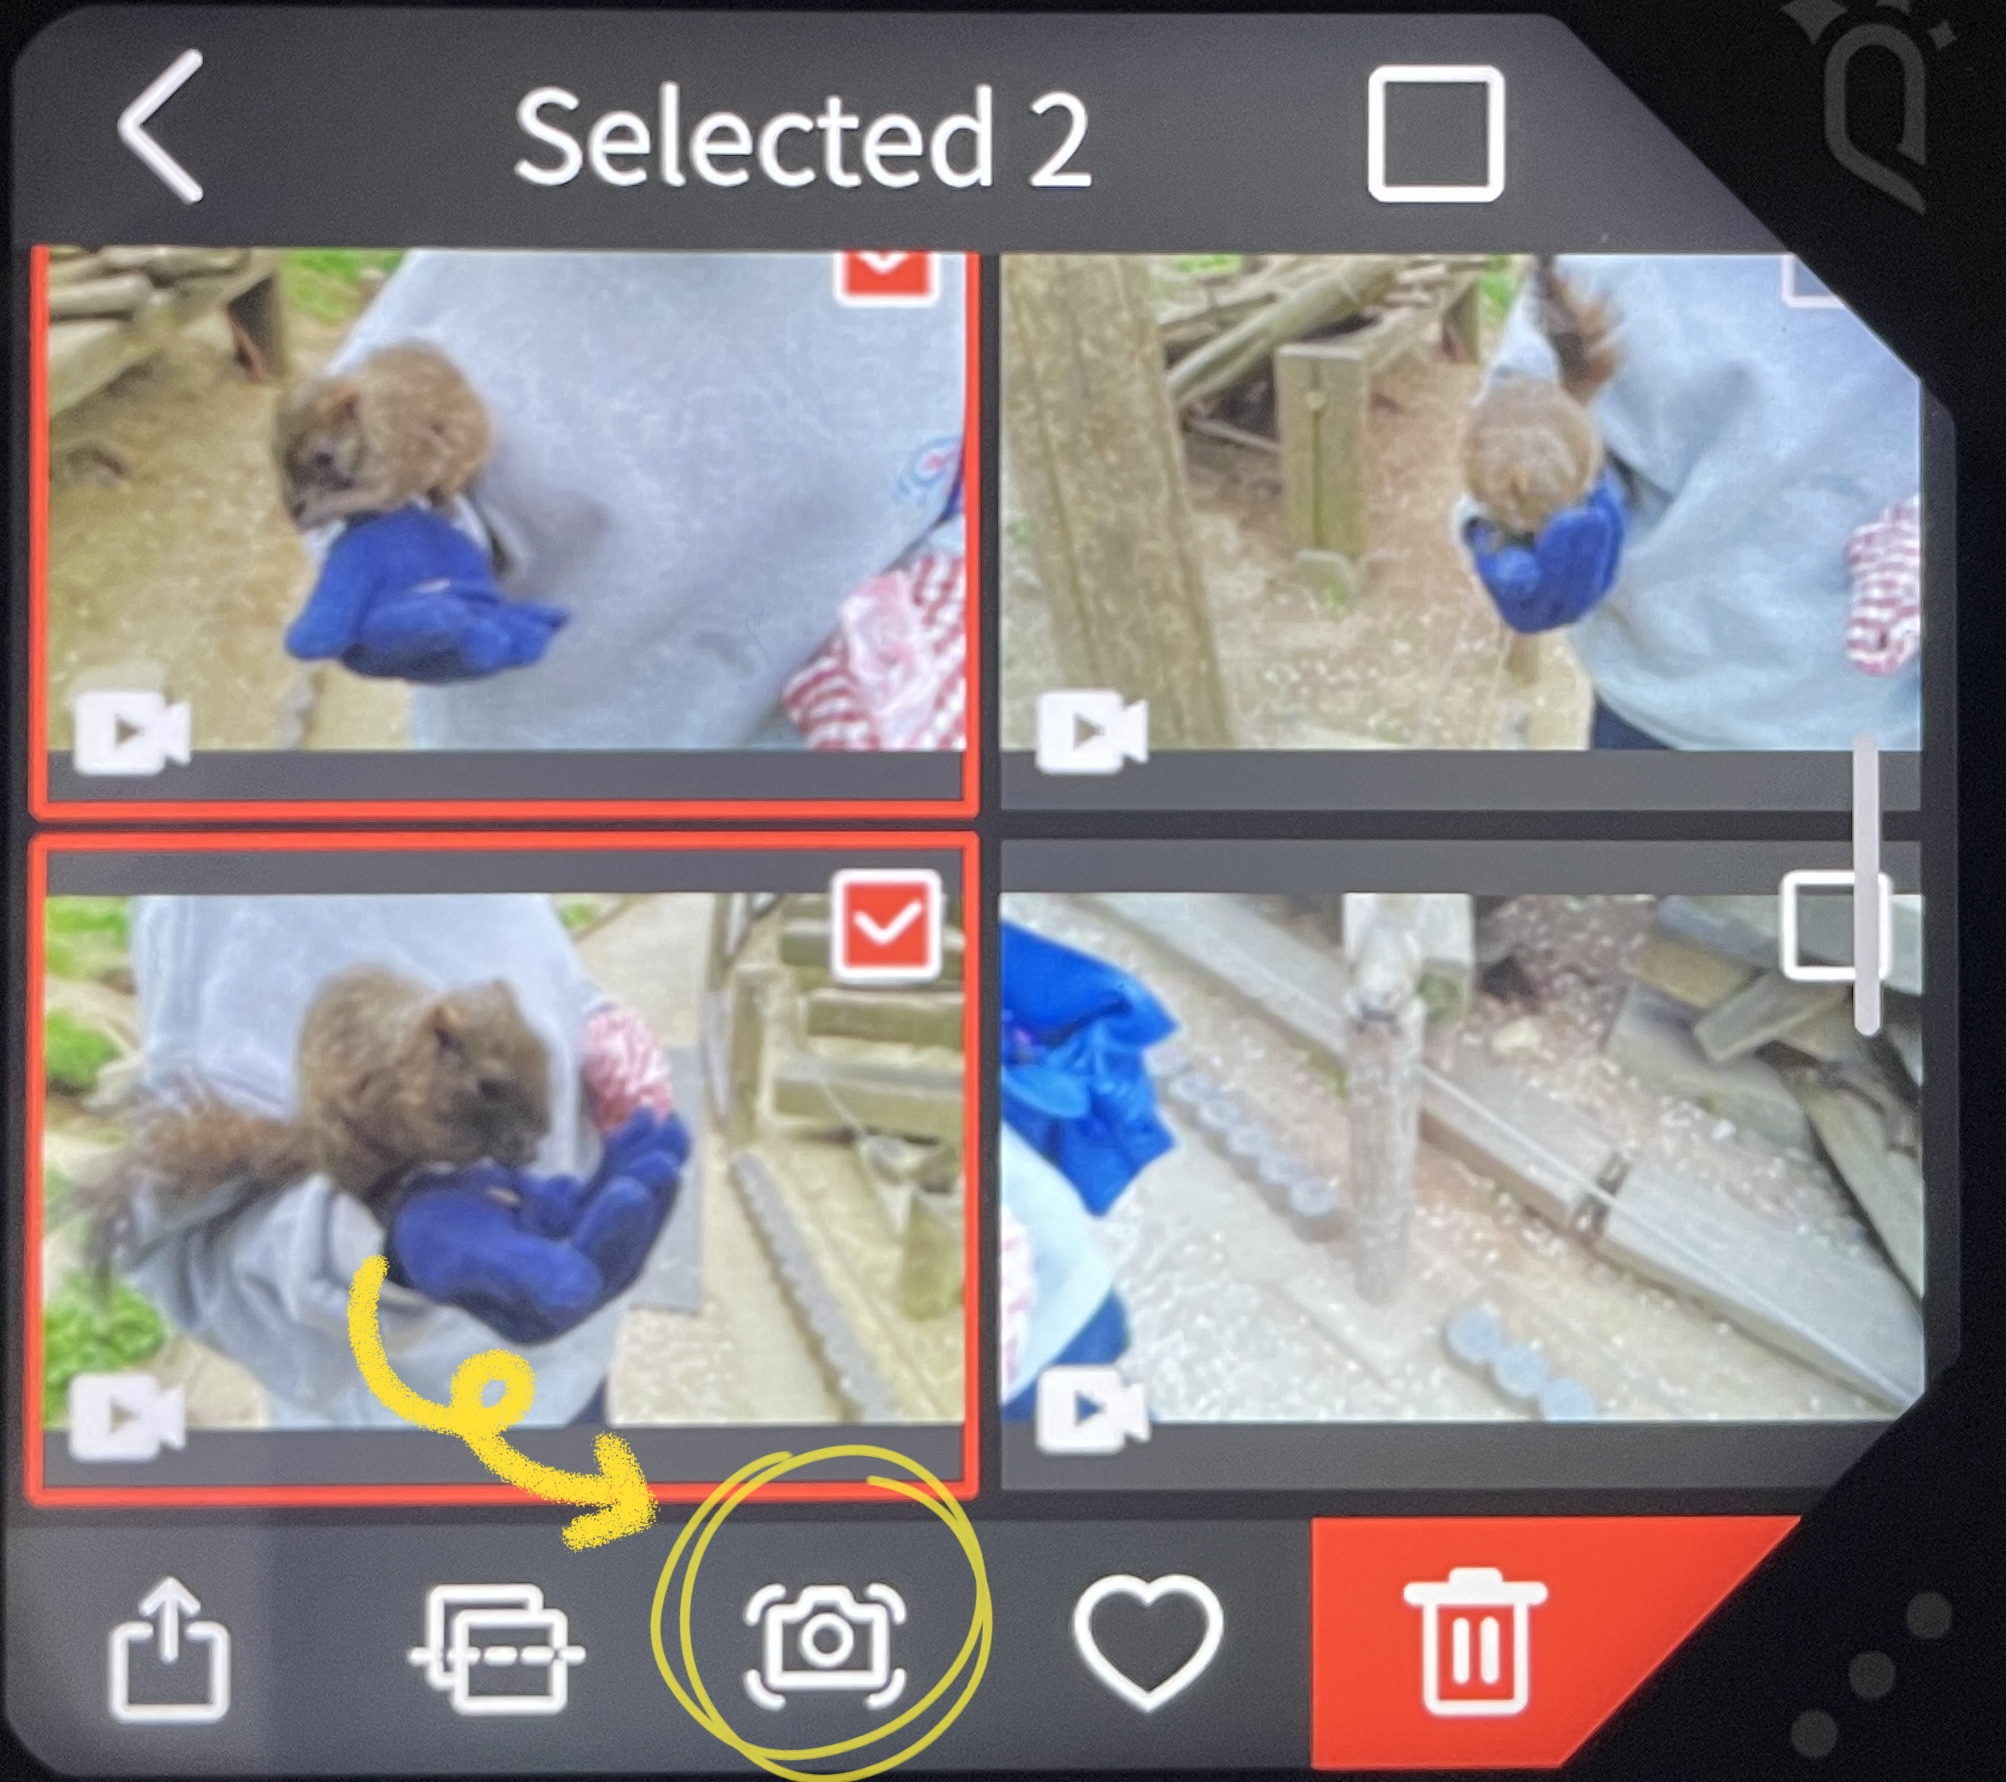
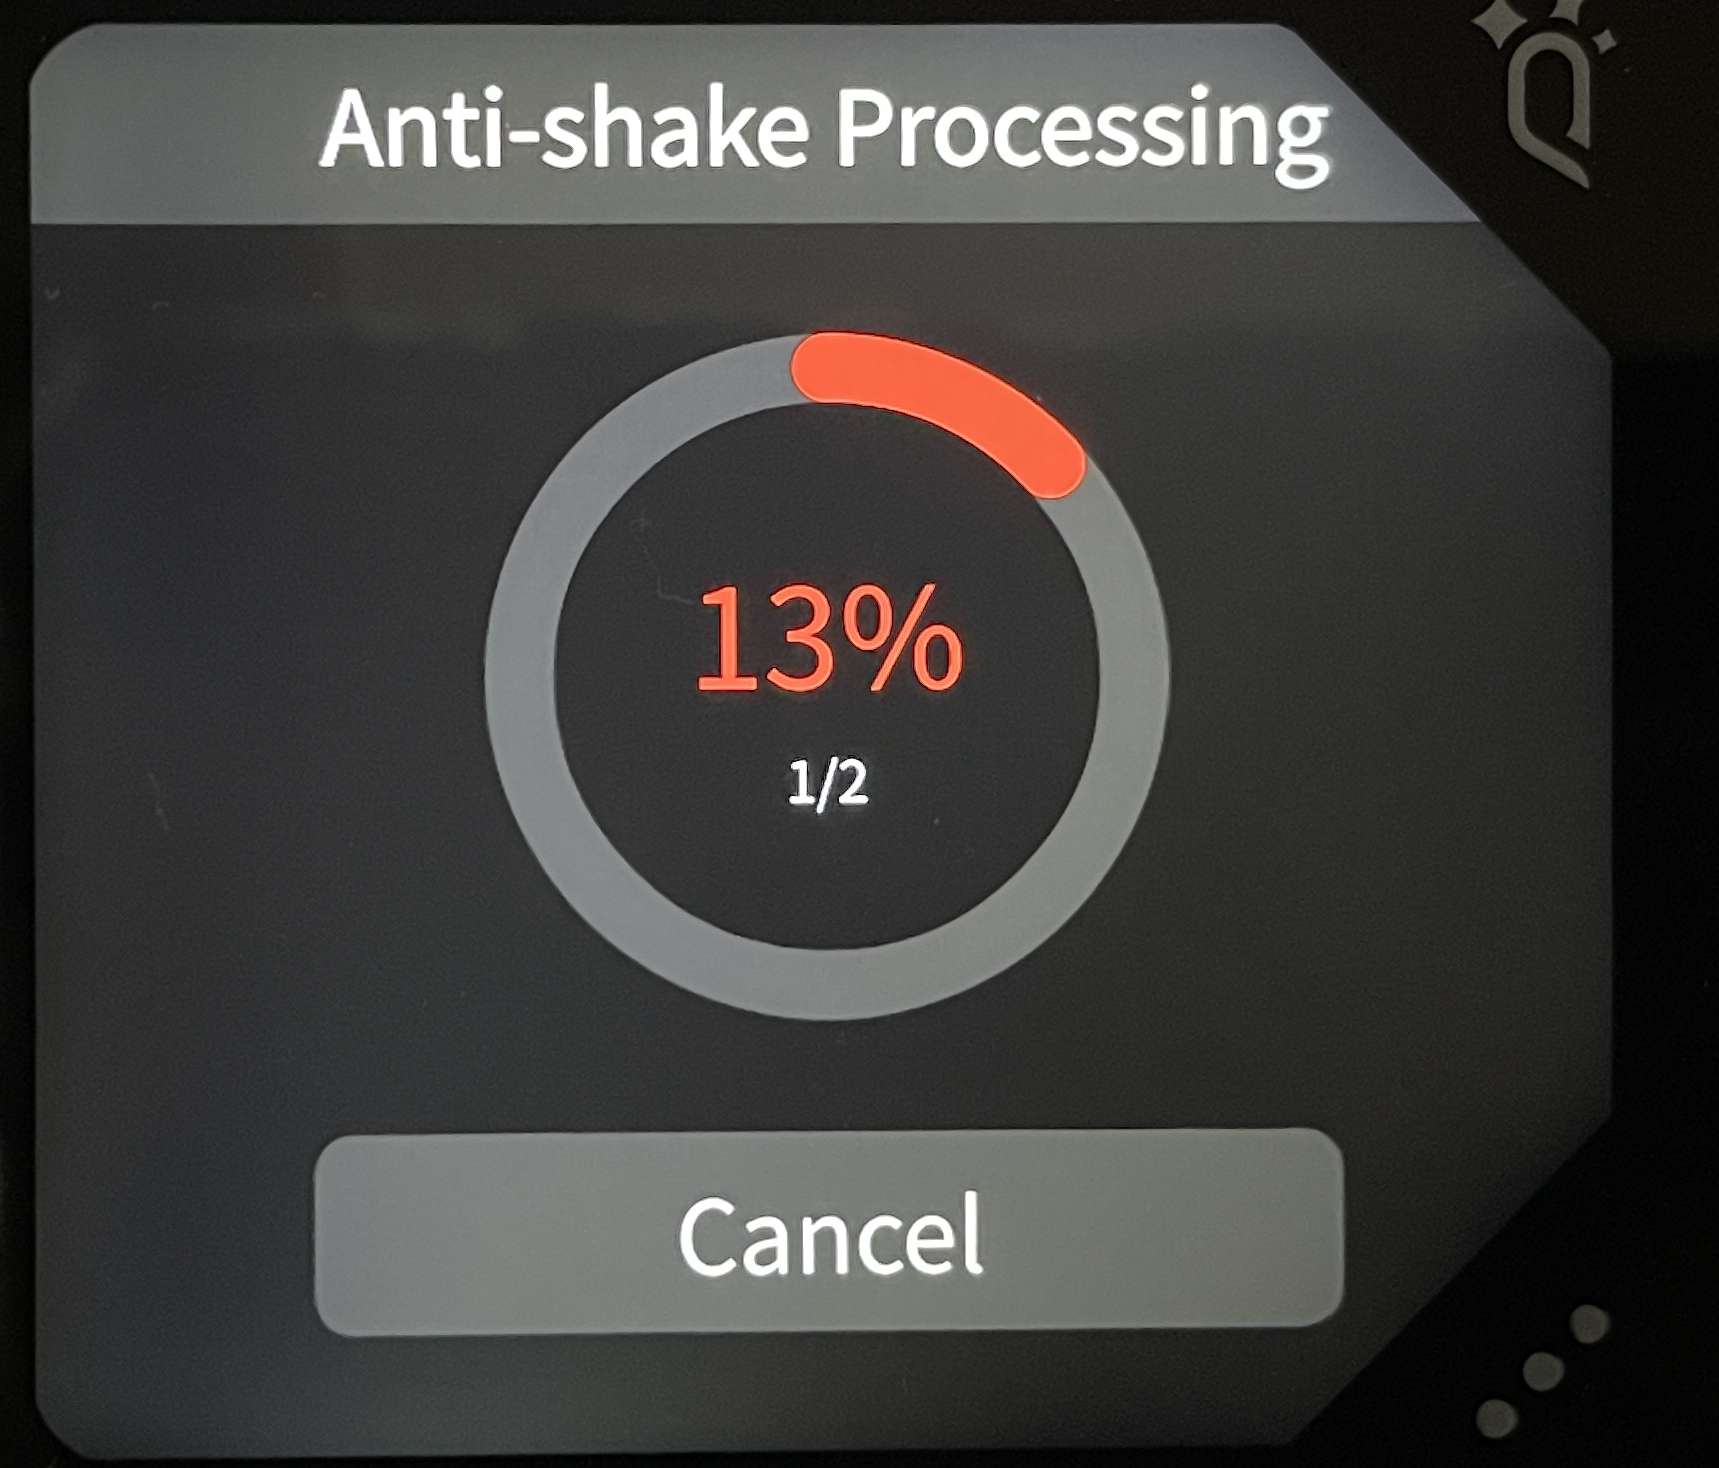
Start to enter the [Anti-shake Processing] state.
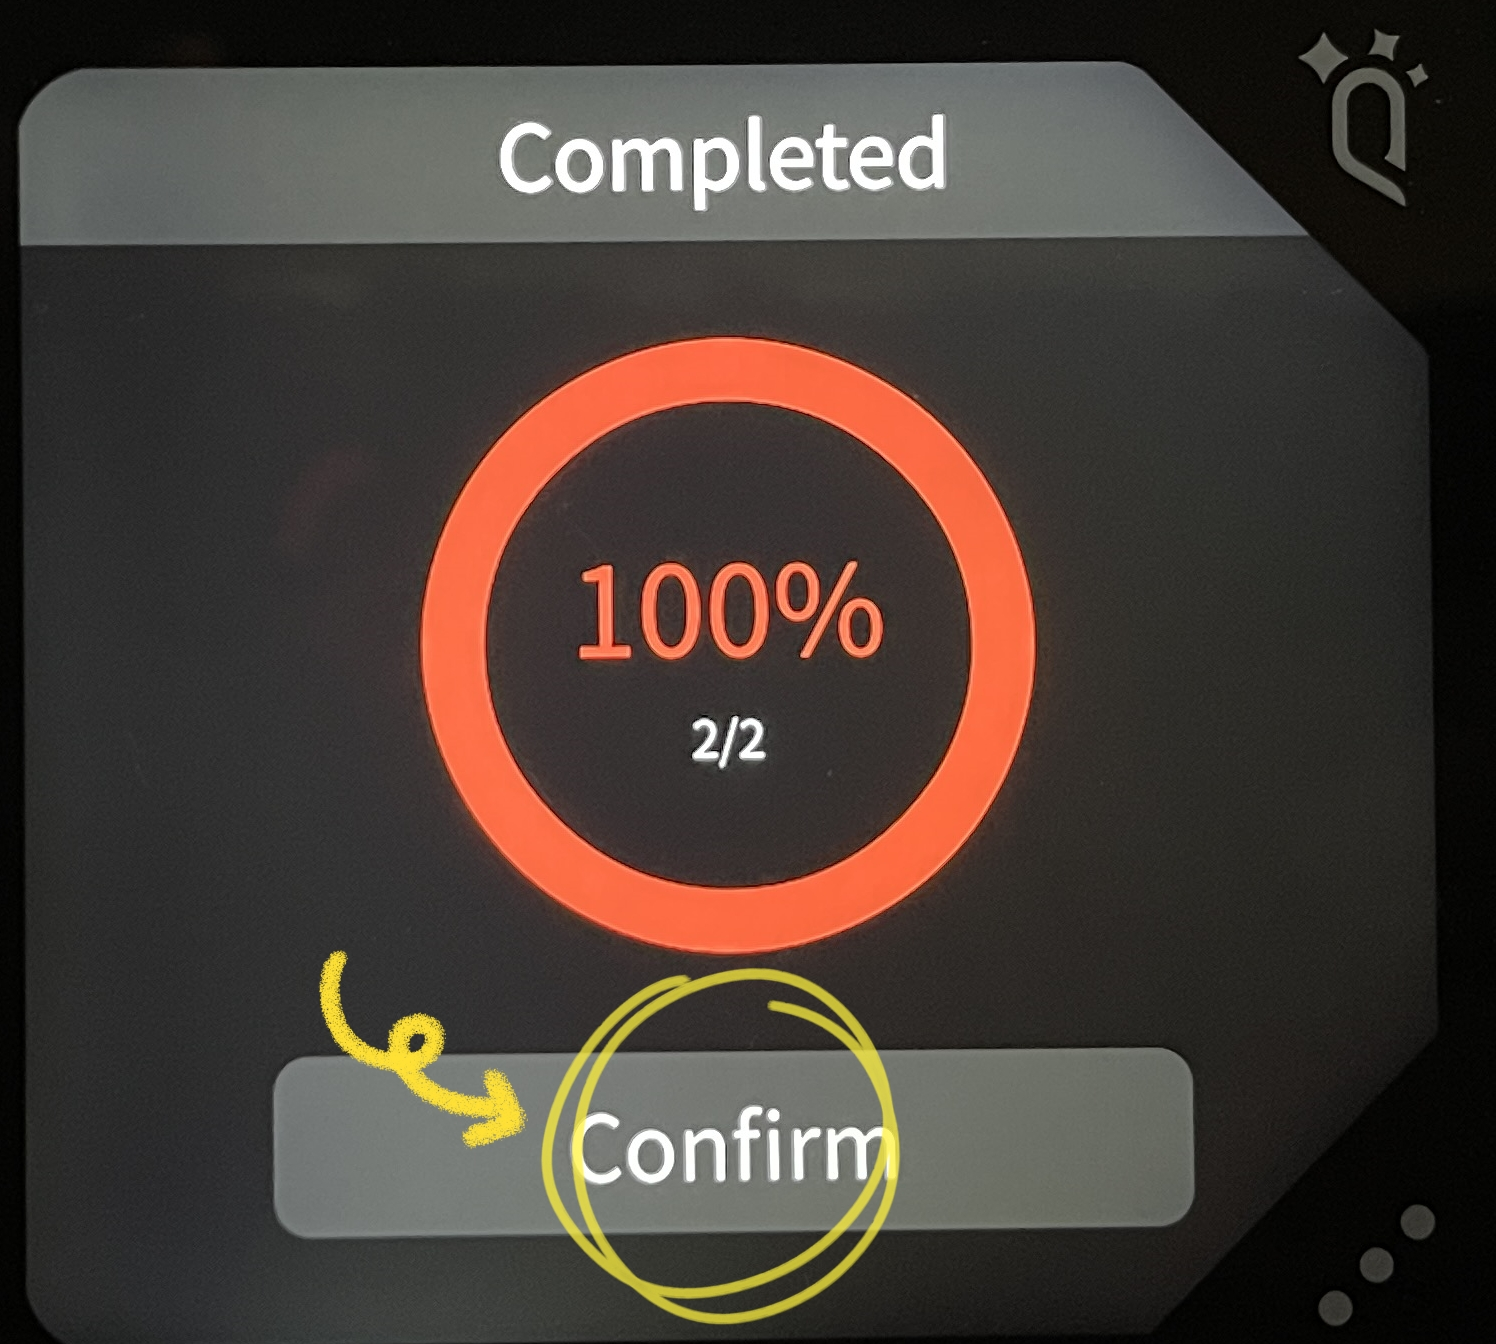
After the anti-shake is completed, click the [confirm] button.
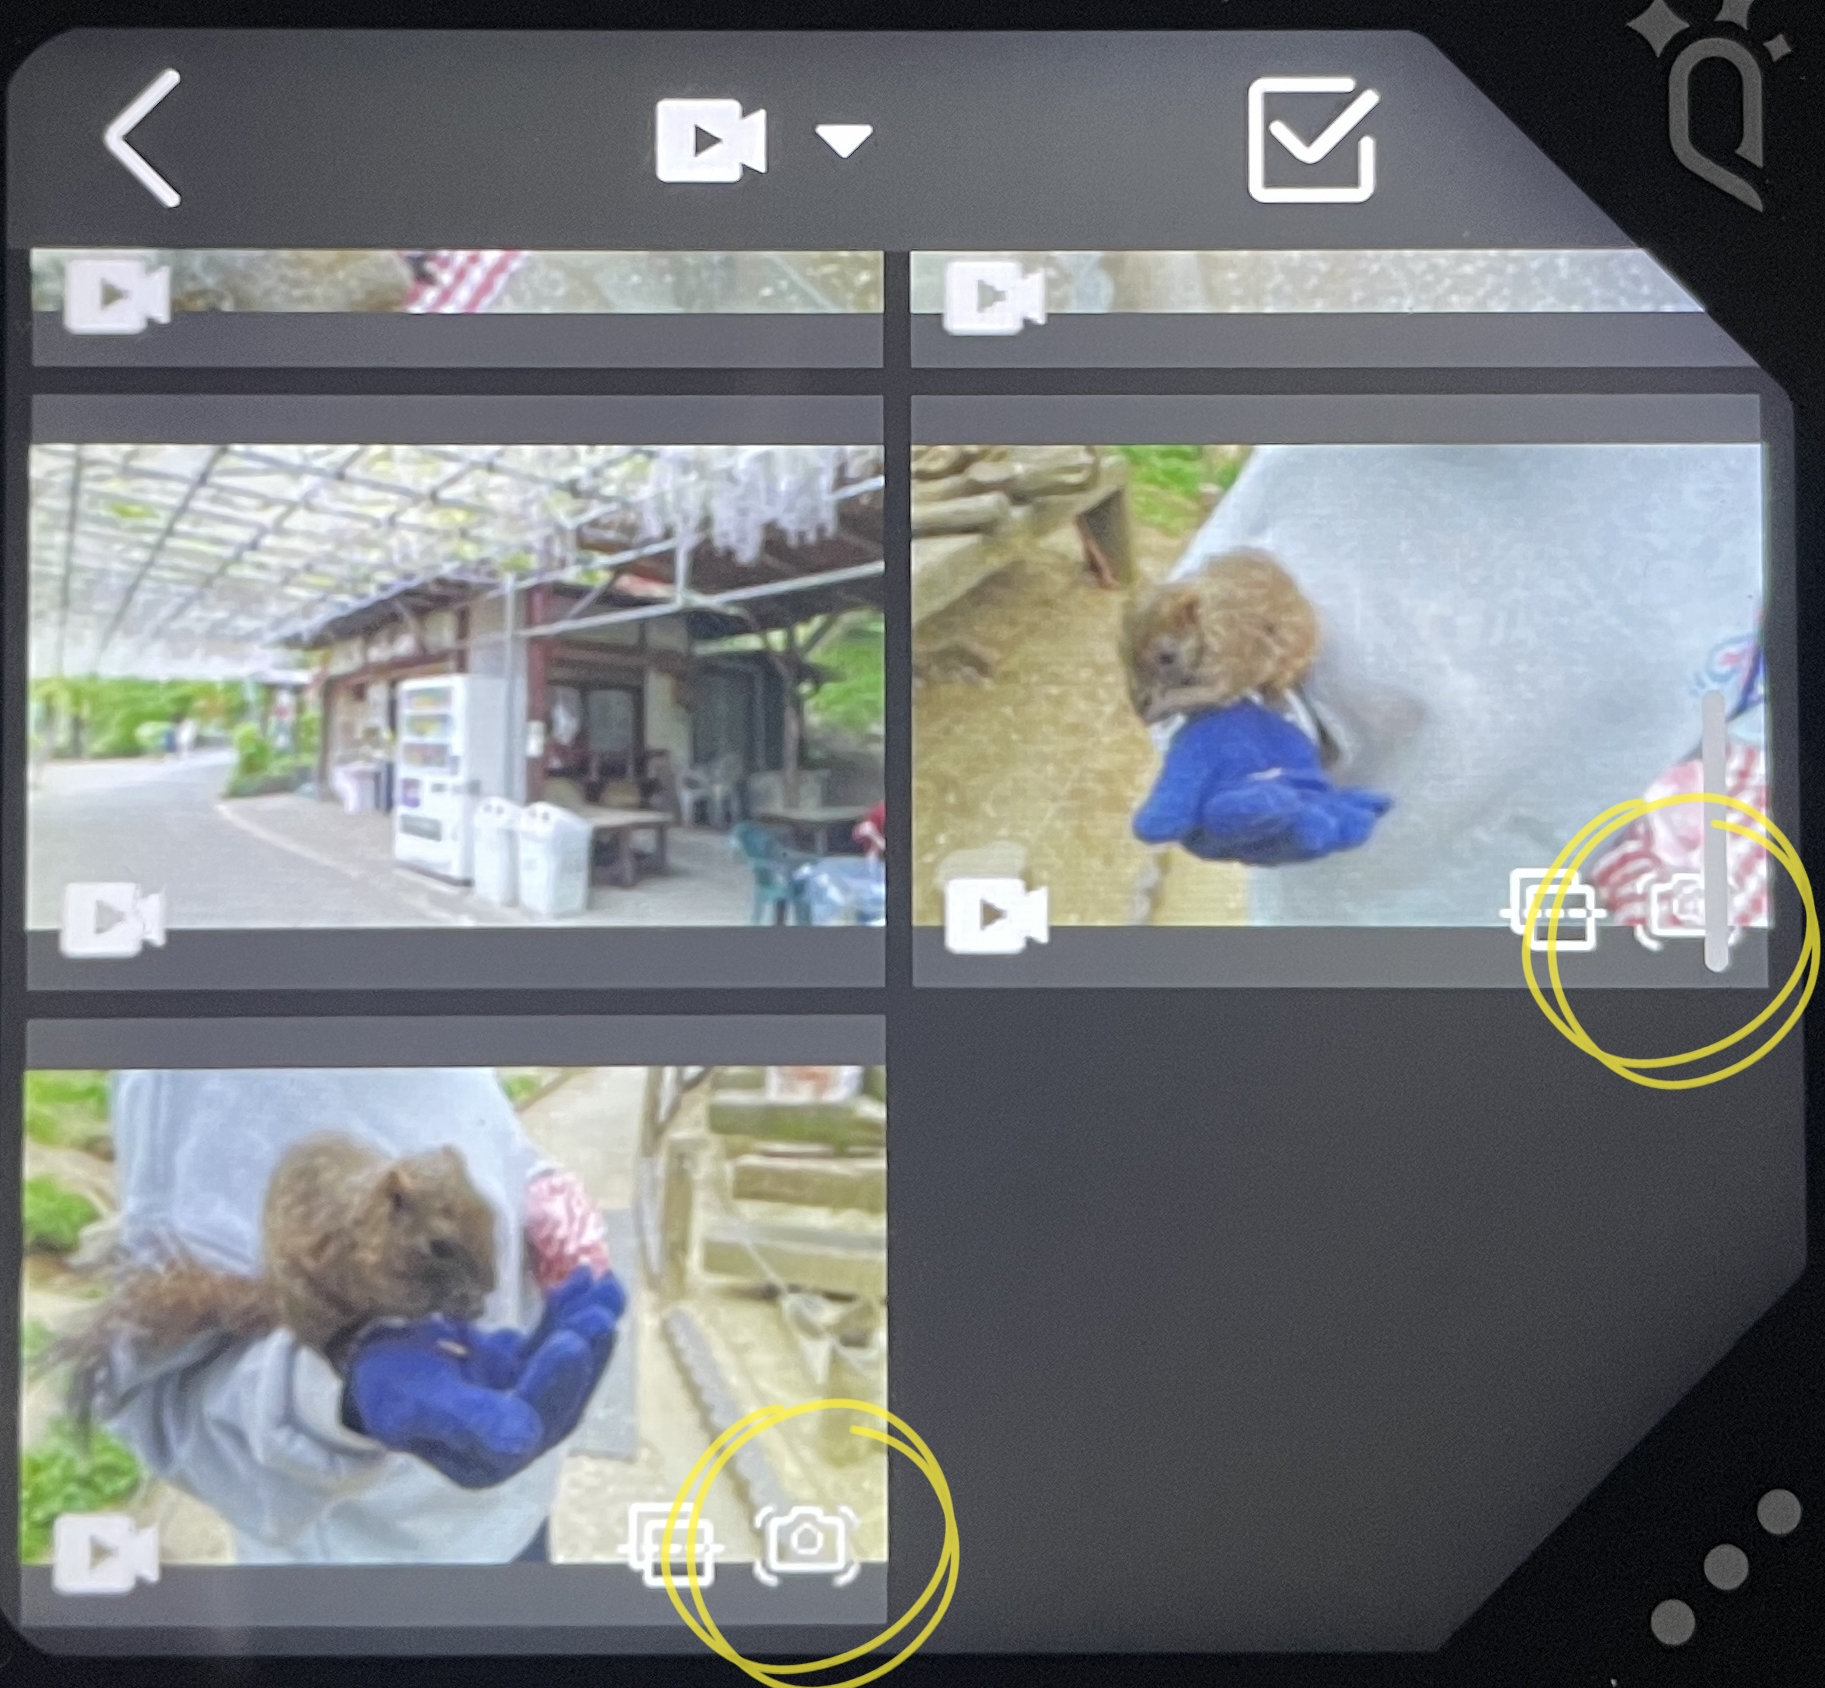
The camera will produce two new video files that have been stabilized. You will notice the presence of an anti-shake logo displayed in the lower right corner of each file.
Conclusion
Pros:
Convenient in-camera processing eliminates the need for external software.
Cons:
Ensure sufficient remaining capacity on the SD card.
Difficult to distinguish which videos have been stabilized when exporting them to the computer. (Although it is possible to compare file names and timestamps, it lacks intuitiveness.)

Wow, I was actually going to start posting around seeing if there was a way post-production to do image stabilization (I was thinking somehow in Da Vinci Resolve might have some clever way to do this) but of course each of the sides has to stay in alignment with the other.
I think it’s GREAT you have this as a feature IN the camera.
I’m wondering, could you perhaps also set it up to output anaglyph, or even 180deg VR mode from within the camera as a future feature? I’m super excited to be able to view my friend’s wedding pics and videos I shot and share it with my friends who have an assortment of 3D viewing methods, most of them just have the red-blue 3D glasses.
Anyway, if you happen to know of a way to do post-production from within a video editing suite like Resolve (that’s what I use), and somehow keep the parallax alignment correct but be able to run things like titling, noise reduction, typical contrast/color-correction stuff; let me know!
Oh, one more wish: Create a form-fitting lens-protecting case for this little gem of a camera. I will buy it in a flash.
Thanks!
J