


The QooCam EGO is a compact and powerful 3D stereoscopic camera that allows you to capture stunning photos and videos with the illusion of depth. However, some users may struggle with capturing sharp photos. If you're one of them, don't worry! Here are four tips and tricks to help you shoot sharper photos with QooCam EGO:
1.Use a tripod or gimbal to stabilize the camera
One of the most common reasons for blurry photos is camera movement during photo capture. The QooCam EGO is a small camera, so it can be challenging to hold it steady while taking a photo. Using a tripod or gimbal can help eliminate camera shakes and produce sharper images.

2.Shoot with the Button on the Screen
Although there is a physical button on the camera for shooting, utilizing the button on the screen can prevent camera shake from occurring. The reason for this is that pressing the physical button may cause accidental movement of the camera, resulting in blurry photos. Opting to use the button on the screen instead can avoid this problem, enabling you to capture sharper and more accurate images.

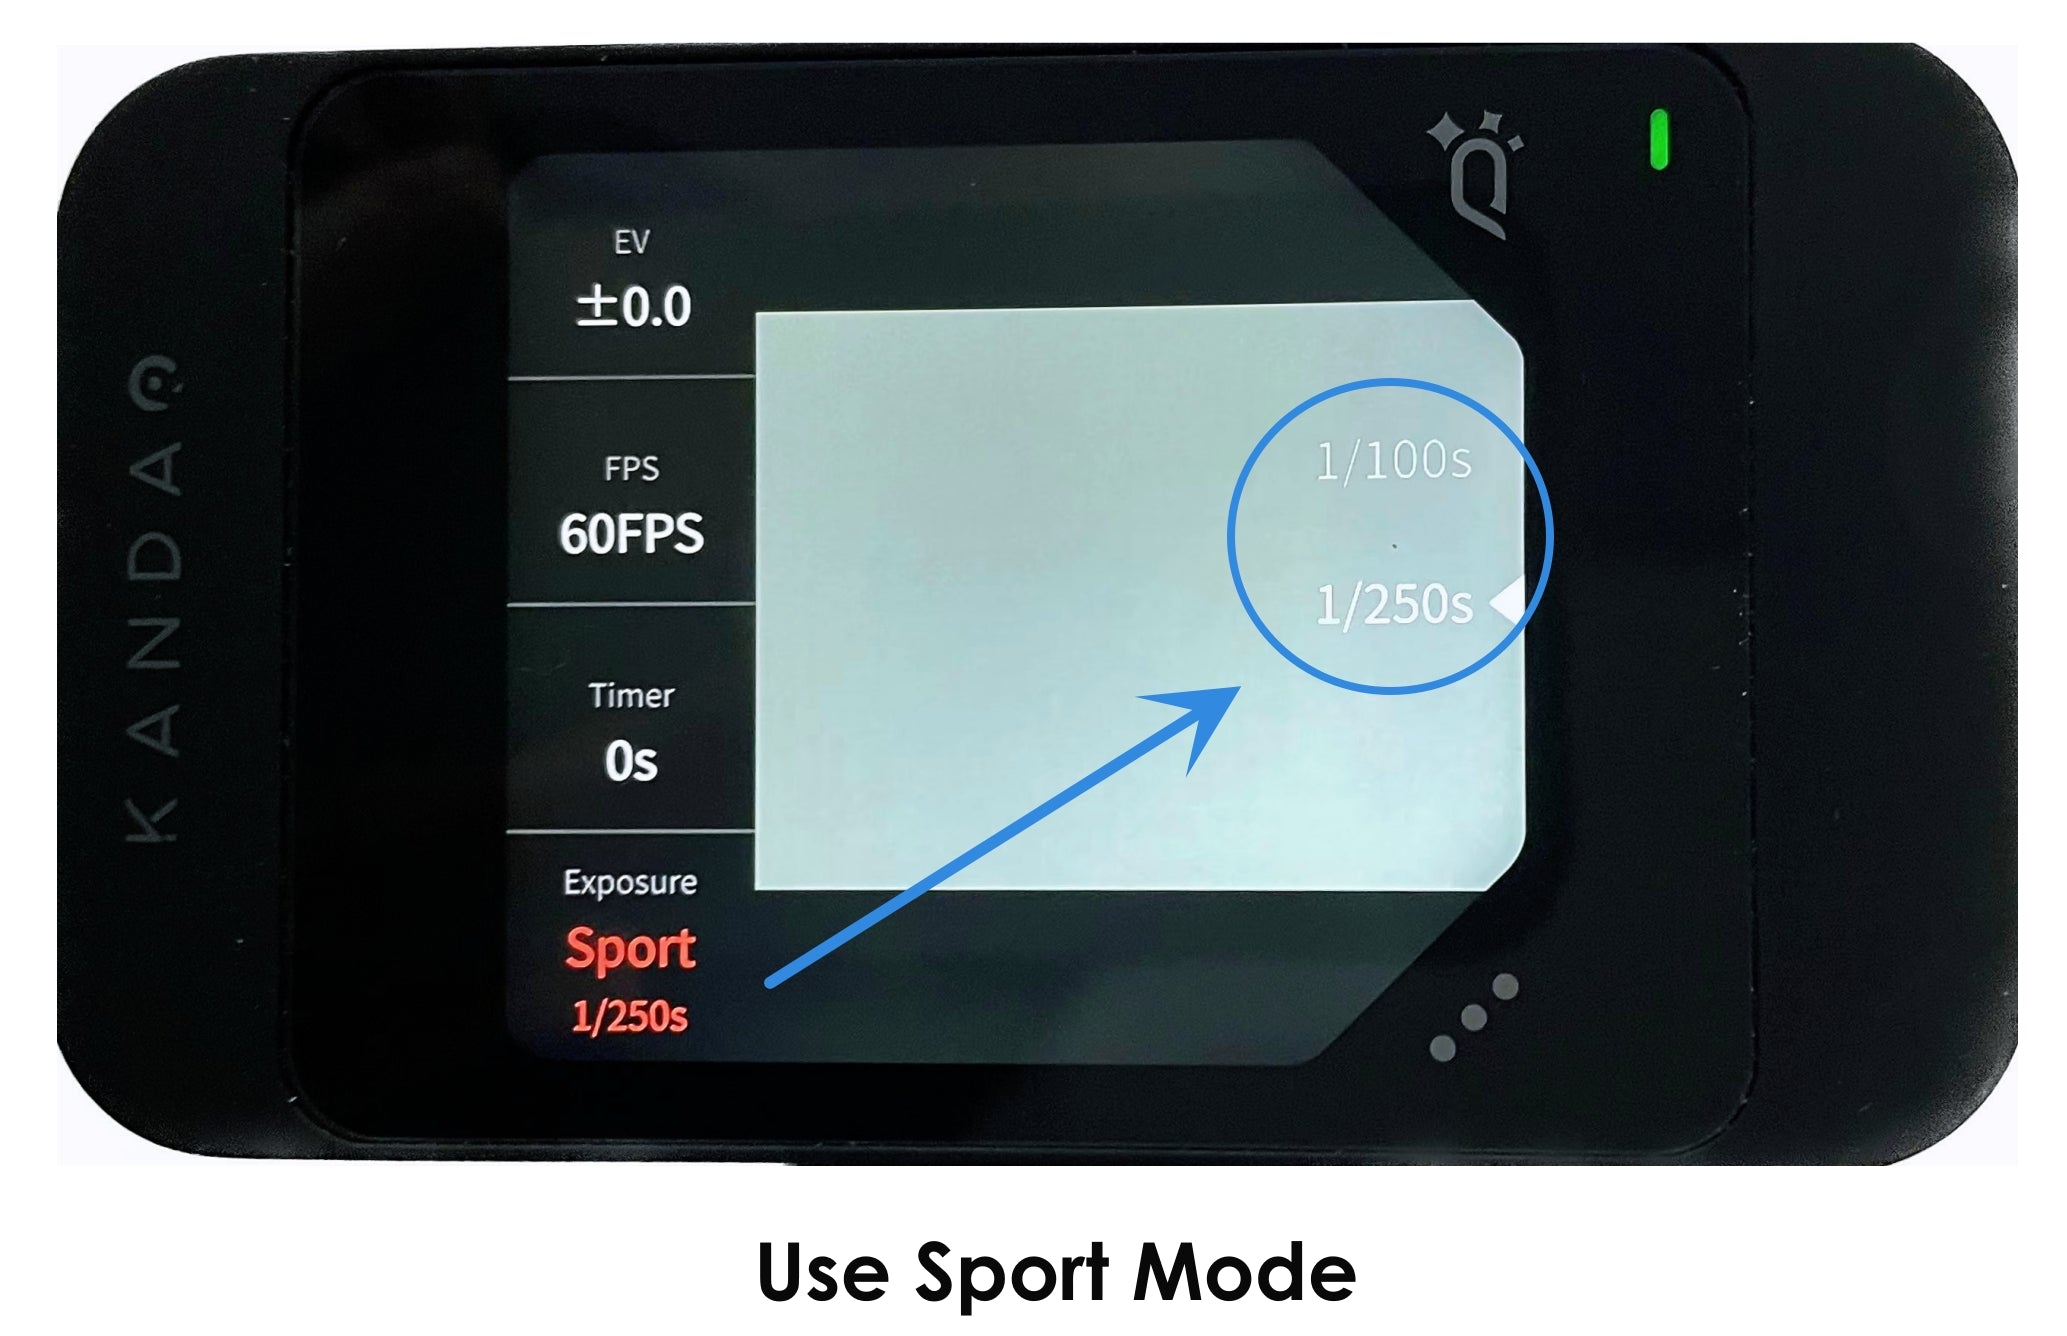
3.Use Your Camera in Sports Mode
QooCam EGO is a compact 3D camera that is designed to withstand challenging conditions, such as water and impact, making it ideal for outdoor activities. Another way to improve the sharpness of your photos is to adjust the shutter speed settings. Adjusting the shutter speed can help you control the amount of motion blur in your photos.
The QooCam EGO's sports mode offers two shutter speed options: 1/100s and 1/250s. However, feel free to experiment with both options to find the one that works best for your specific shot. With practice and experimentation, you can master the QooCam EGO and capture stunning, sharp photos of all your adventures.
4.Choose the Most Suitable Focus Mode
One of the key factors in shooting sharp photos with the QooCam EGO is choosing the most suitable focusing method. The camera offers both manual focus and autofocus, and each method has its advantages depending on the shooting situation.
Autofocus
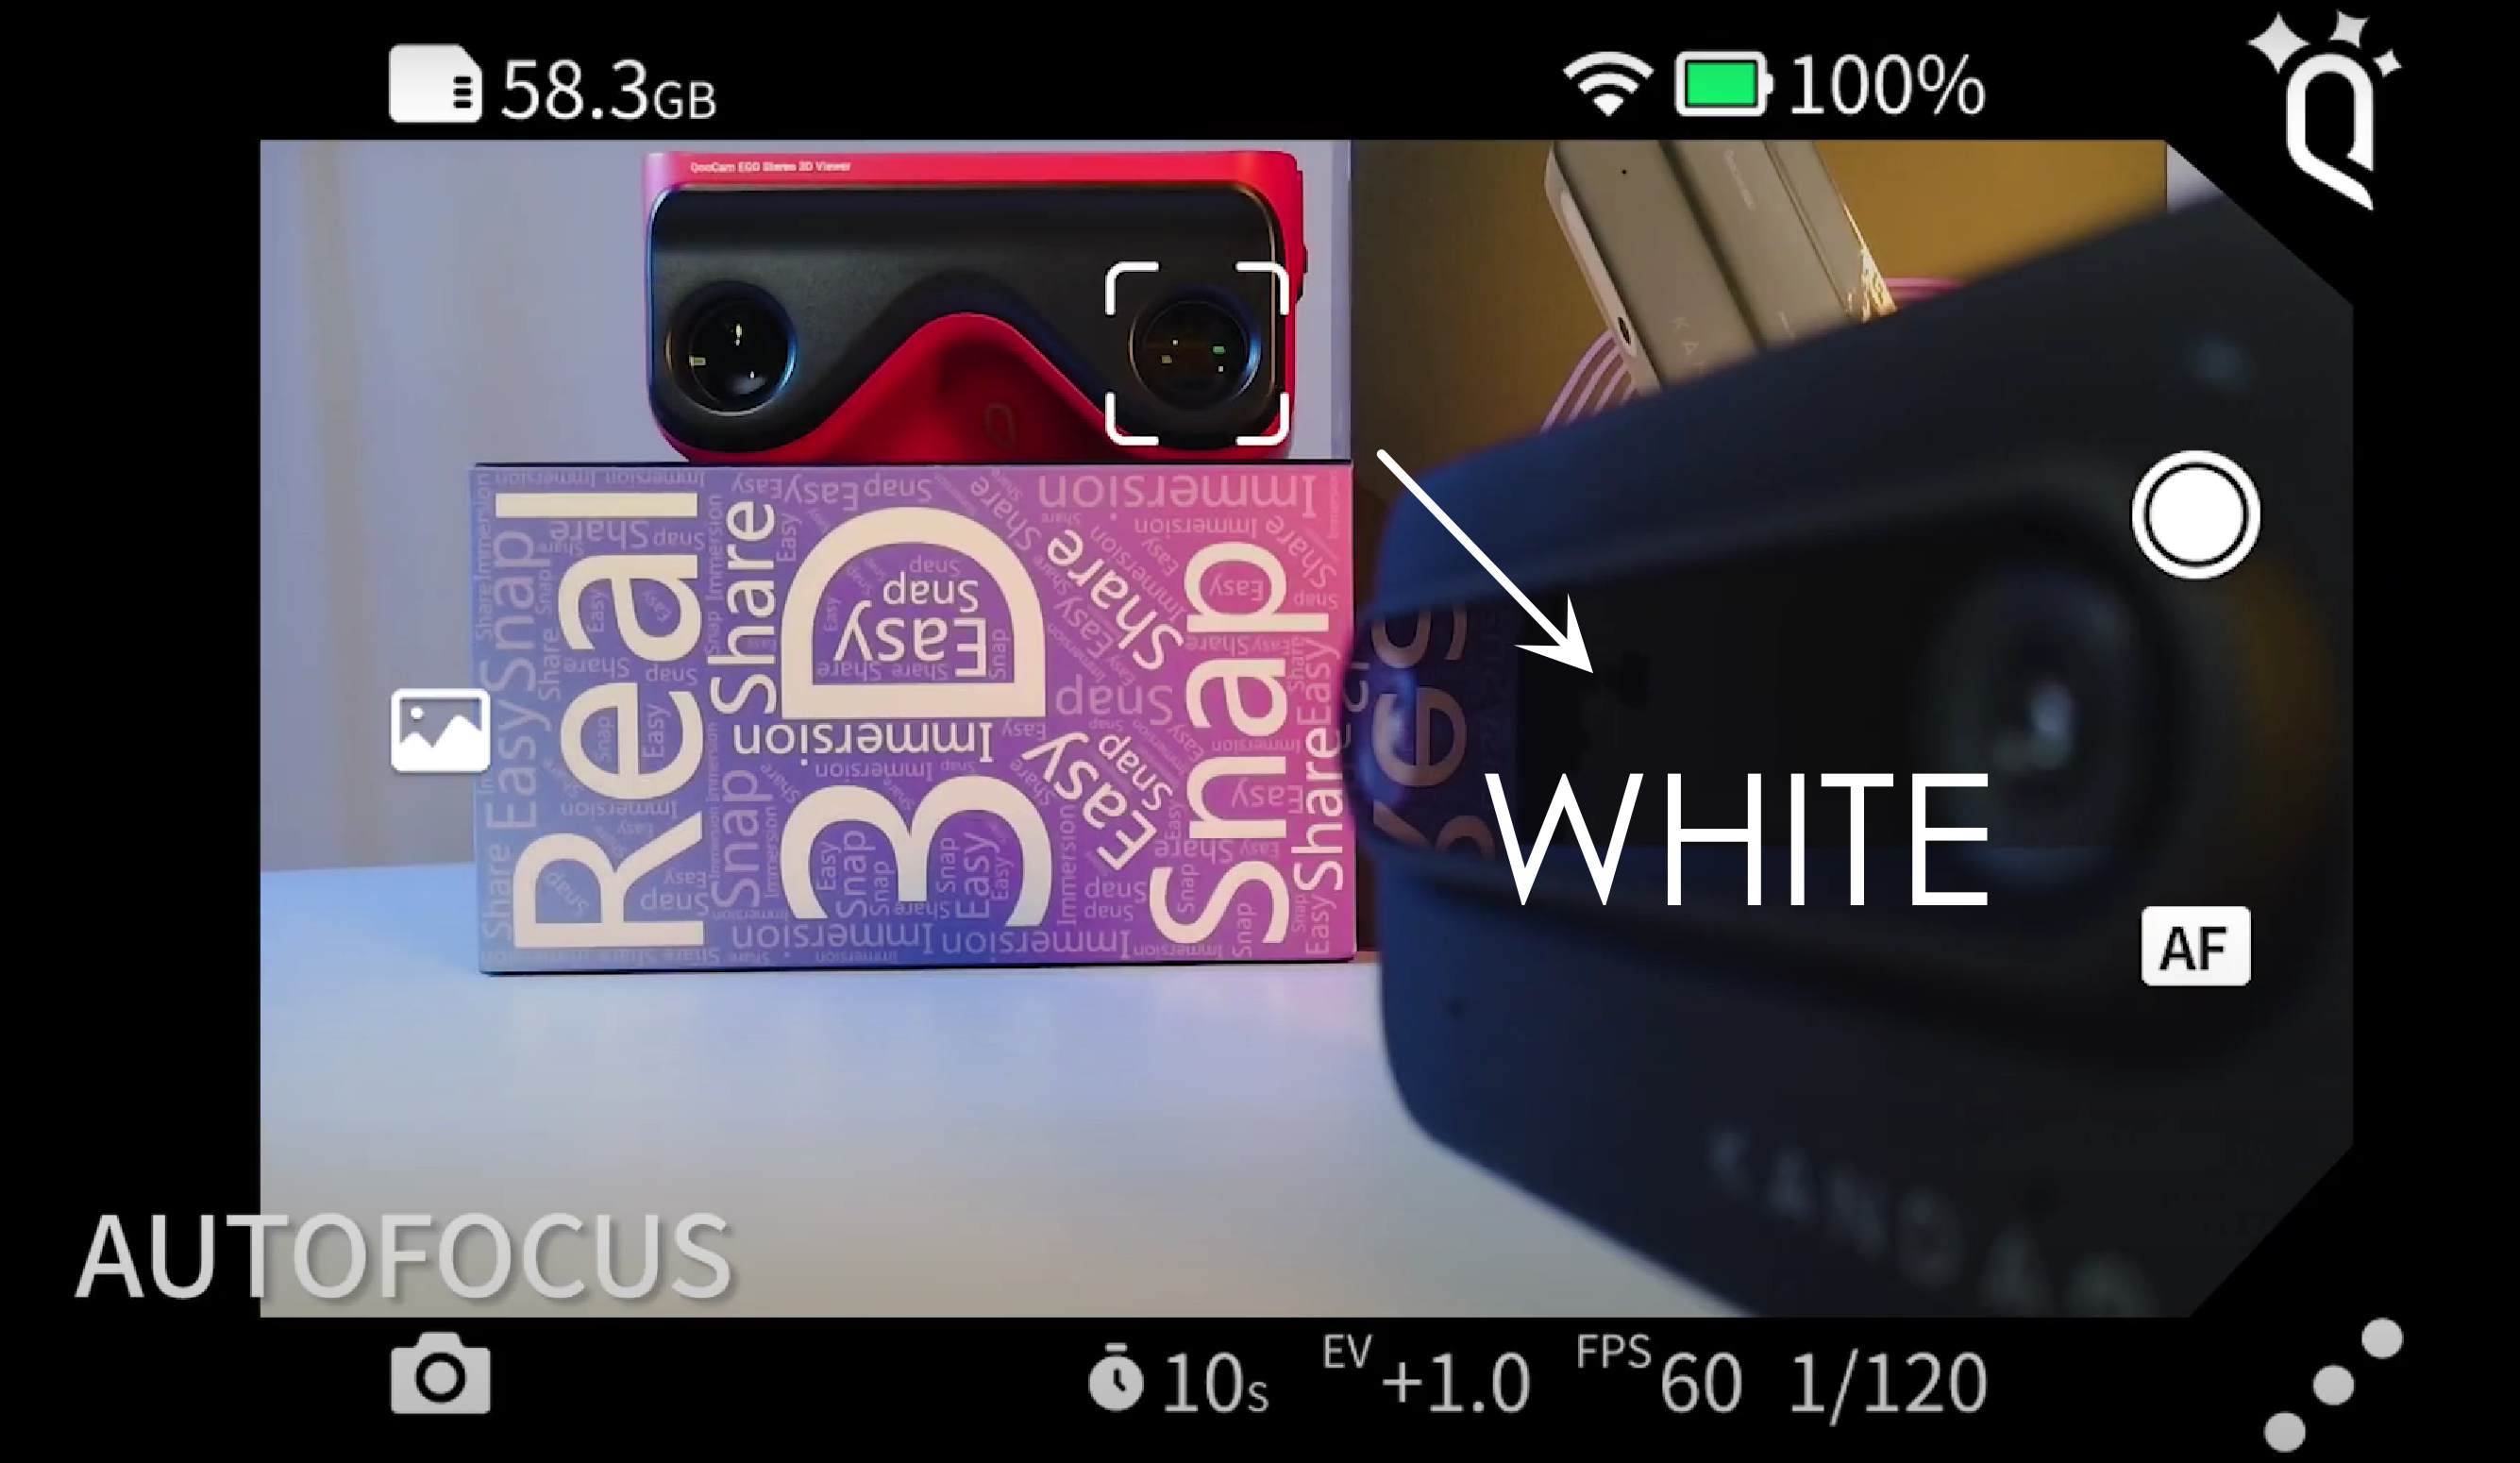
If you feel uneasy with the manual focus or if you don't want to have to judge your distance for your image for a consumer fun camera, you can use the new-added Autofocus of your QooCam EGO.
Maybe instead of autofocus, some of the users would like to use the term “selective focus” or “ tap to focus”. When you use autofocus, you'll see a white little box on the screen. You need to touch the screen and use the little box to focus on the area you want to be in focus. This is what actually gives you more focus control, so do not misunderstand that autofocus of EGO is no need to select anything on the screen,
1.Autofocus is the default setting. Tap the screen before shooting, you'll see a kind of rectangle appears. You need to push on that on a particular area in the photo you want to get most in focus.
See New Firmware Released For QooCam EGO
2.Then you wait till the rectangle turns green and stands very still, and take the photo. Then, you will have a stunning photo, well focused on that area you wanted.

Manual Focus
Manual focus gives you more control over the focus point and depth of field. This can be especially useful when you want to isolate a specific subject or when shooting in low-light conditions. By manually adjusting the focus, you can ensure that your subject is in focus exactly where you want it to be. While autofocus is generally faster and more convenient than manual focus, it may not always be accurate in certain lighting or subject situations. Sometimes the manual focus is preferred for artistic reasons, as it allows photographers to have more creative control over the image.
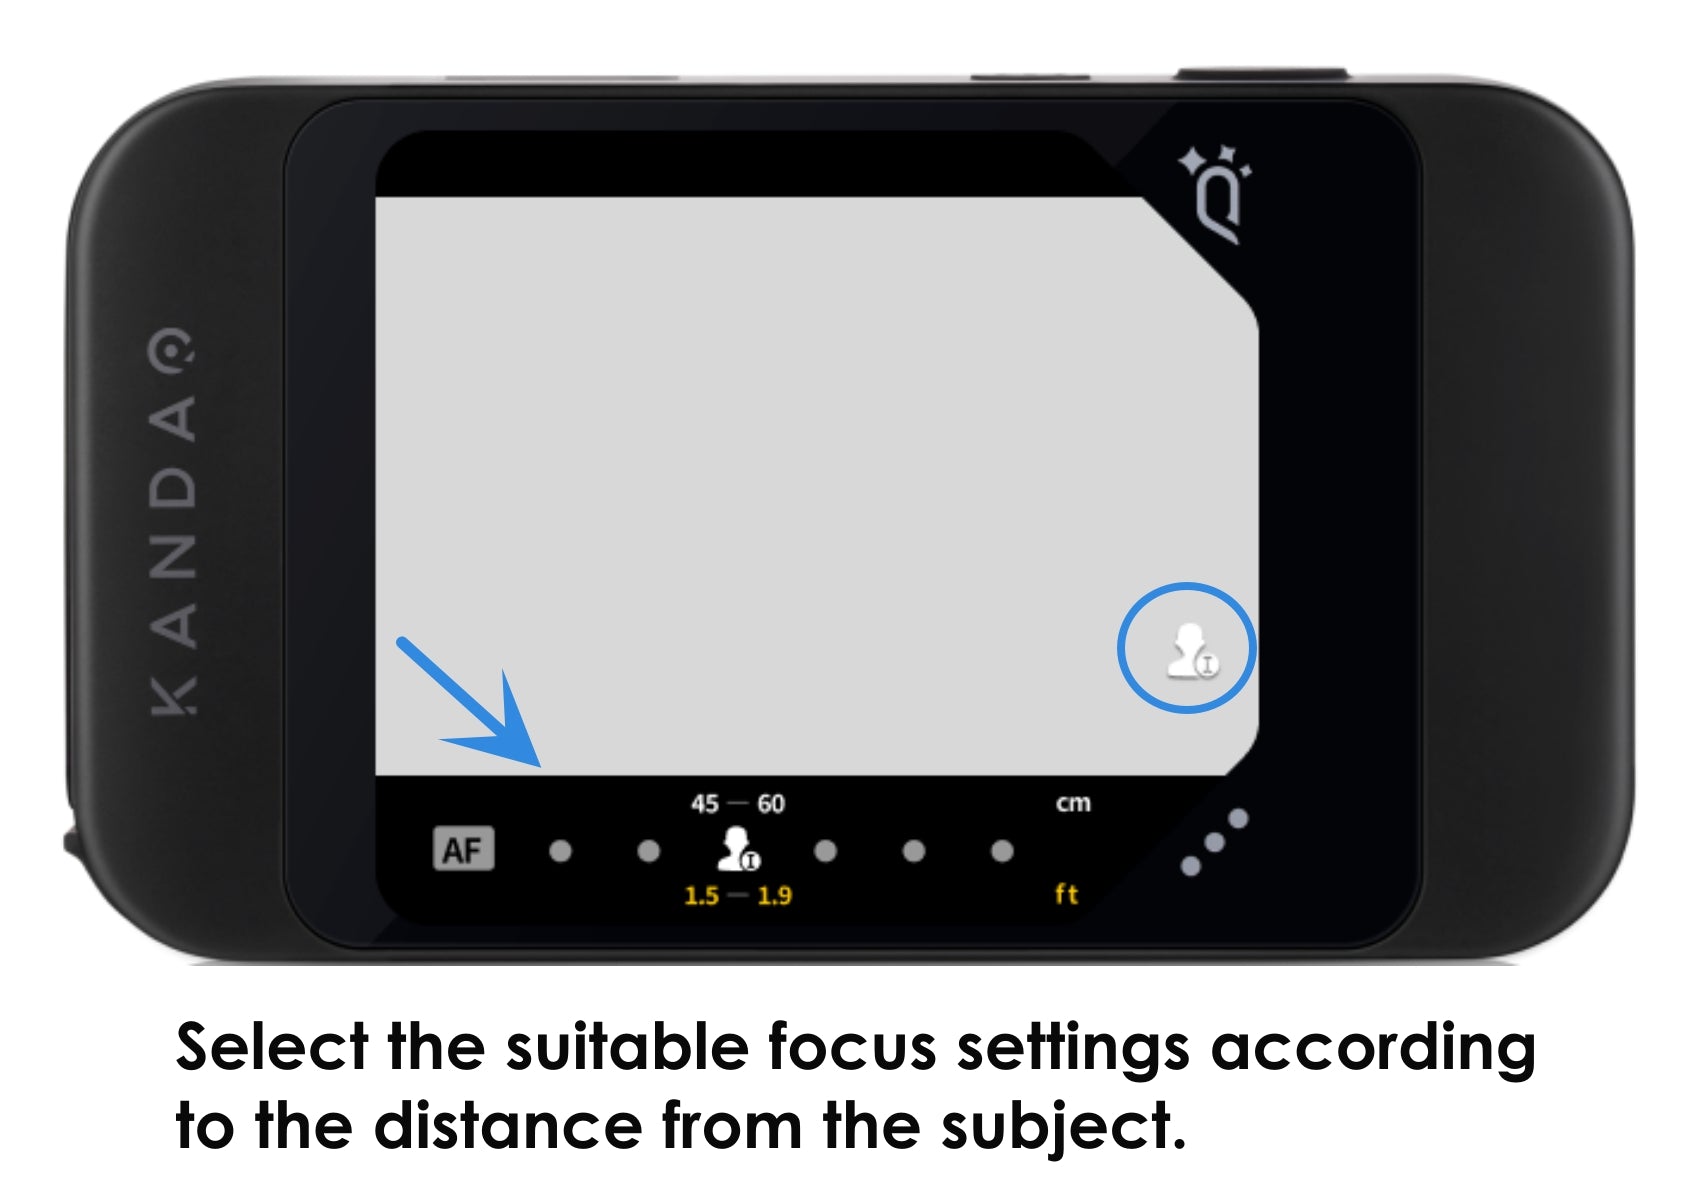
Pro tips for the settings of manual focus
Let's talk about focusing options with the EGO. The camera has 6 focusing settings that you can change by tapping on the screen or using the side buttons.
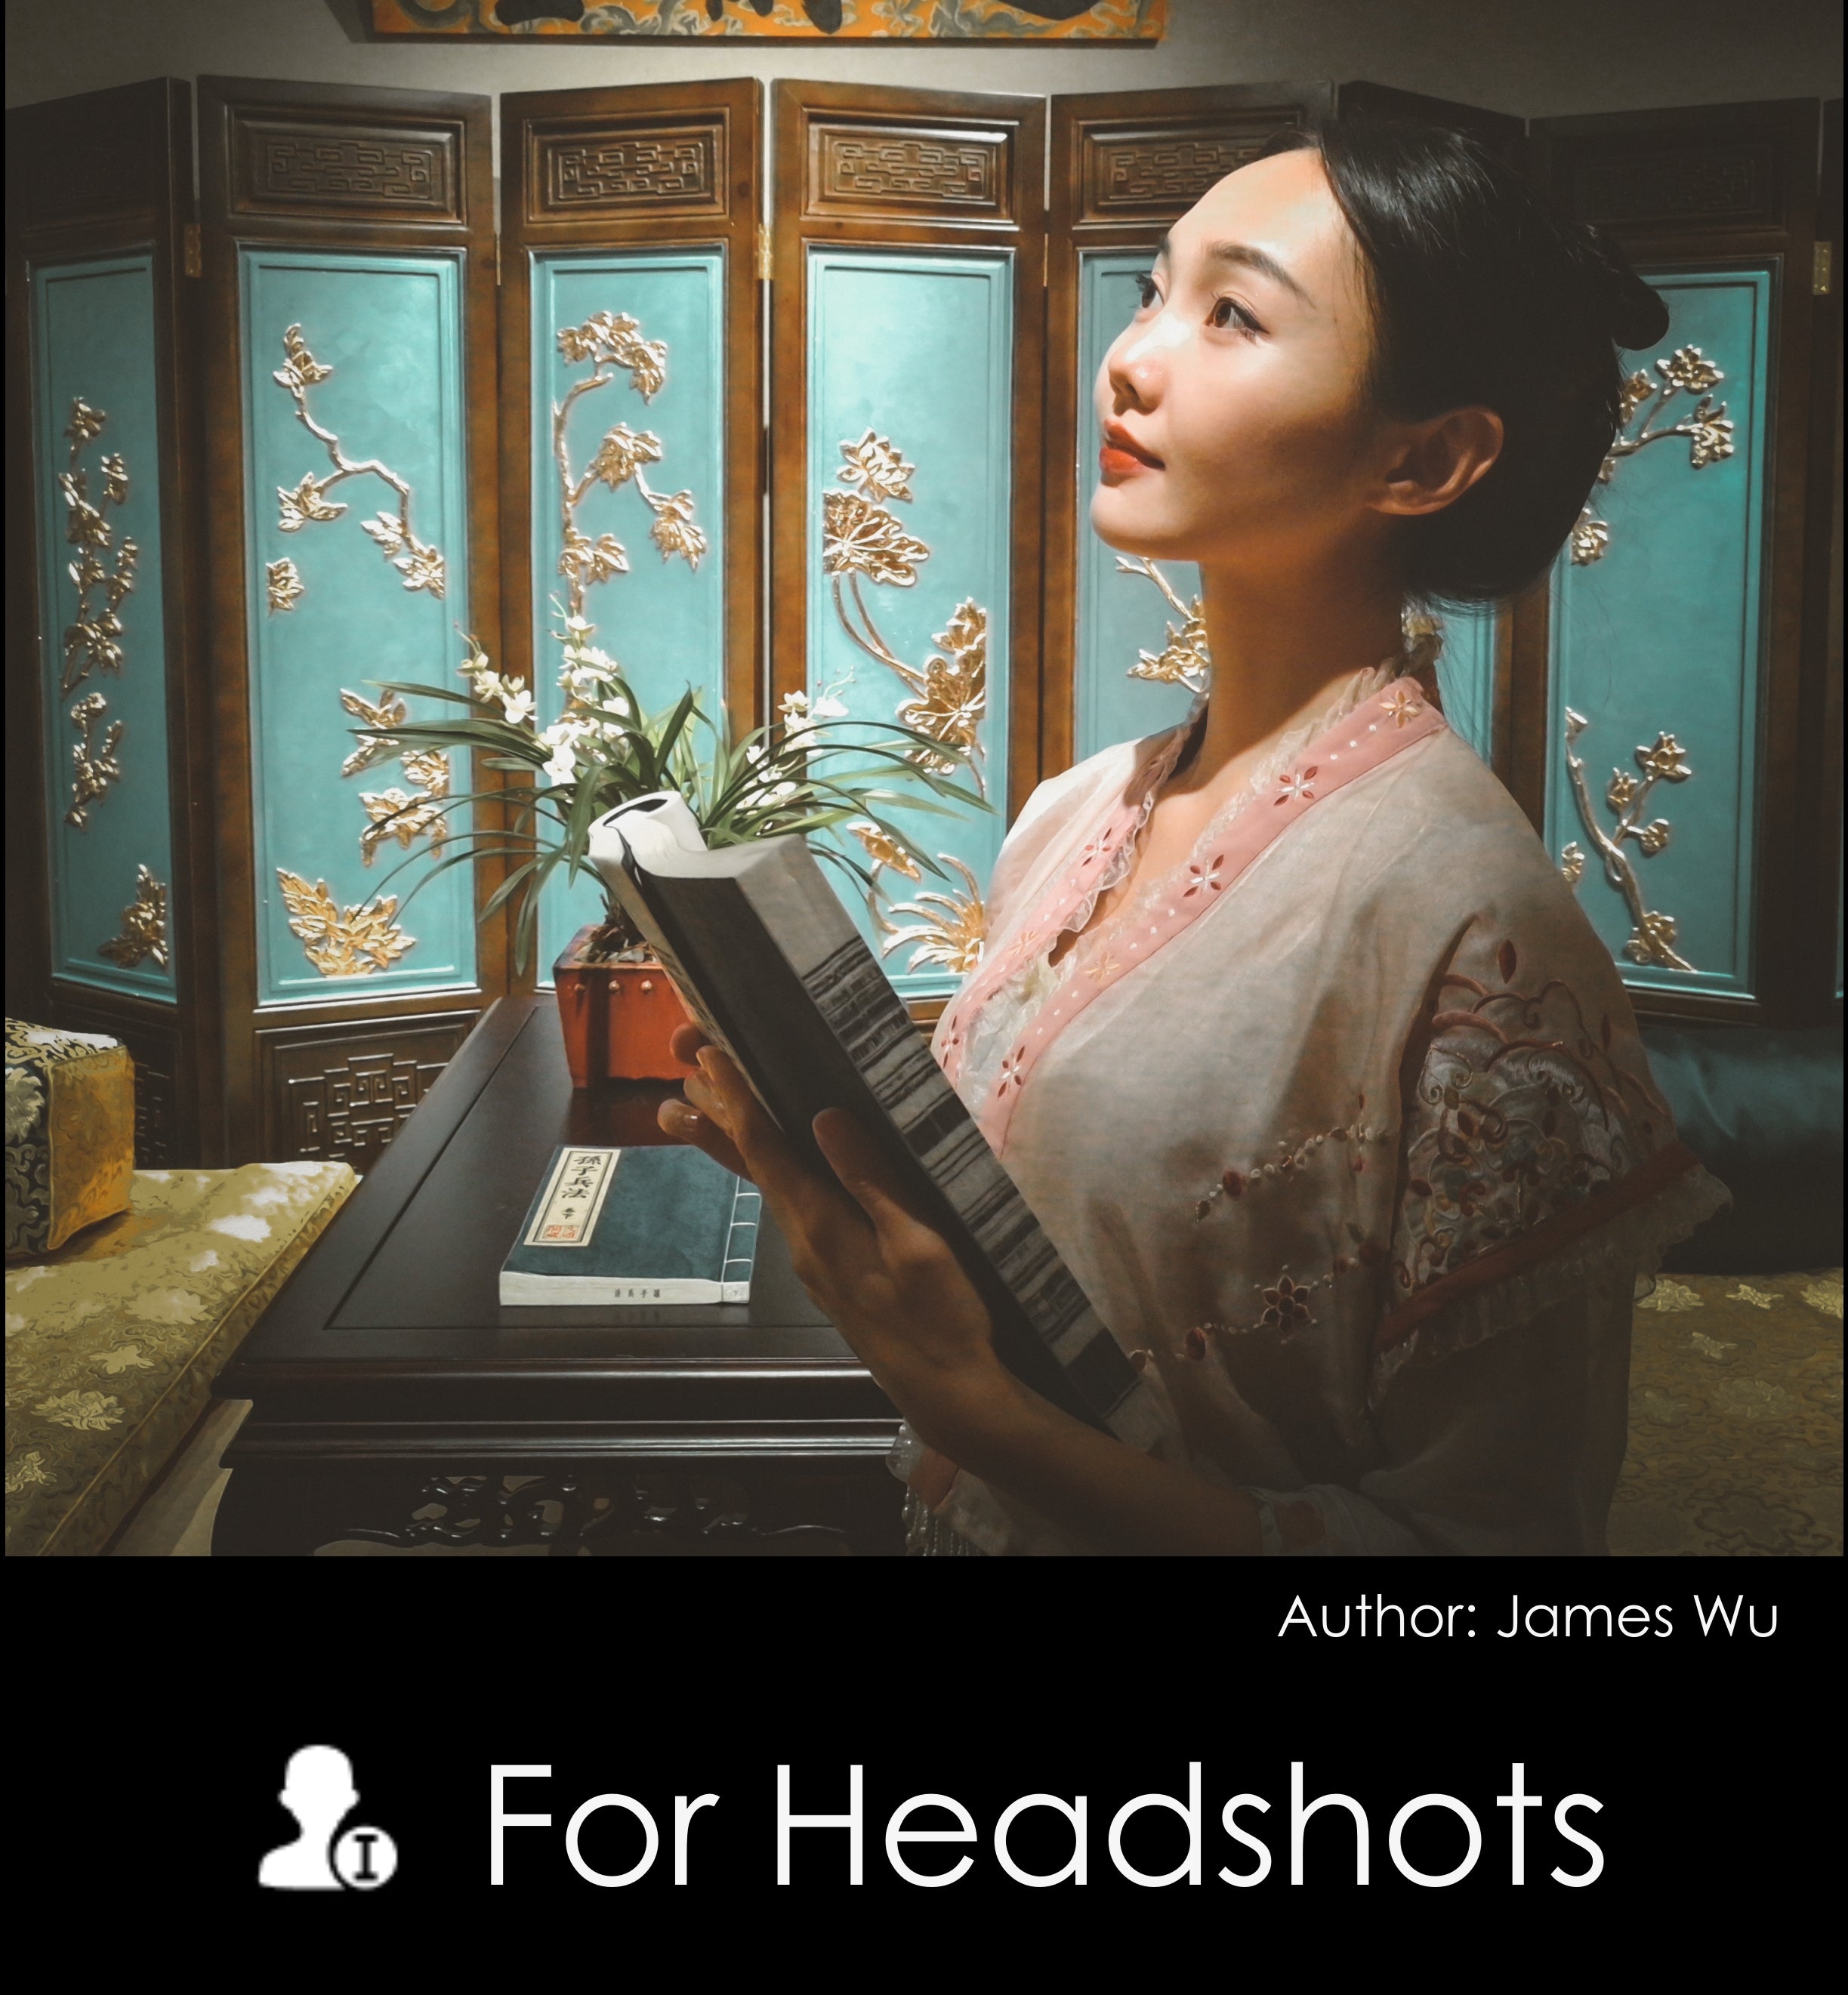
1.#PortraitⅠ(the third option from the left)
This is is an extreme close-up option that is about the same distance as taking a selfie. This is best for a headshot, which is supposed to be a picture of someone, often just their head and shoulders.
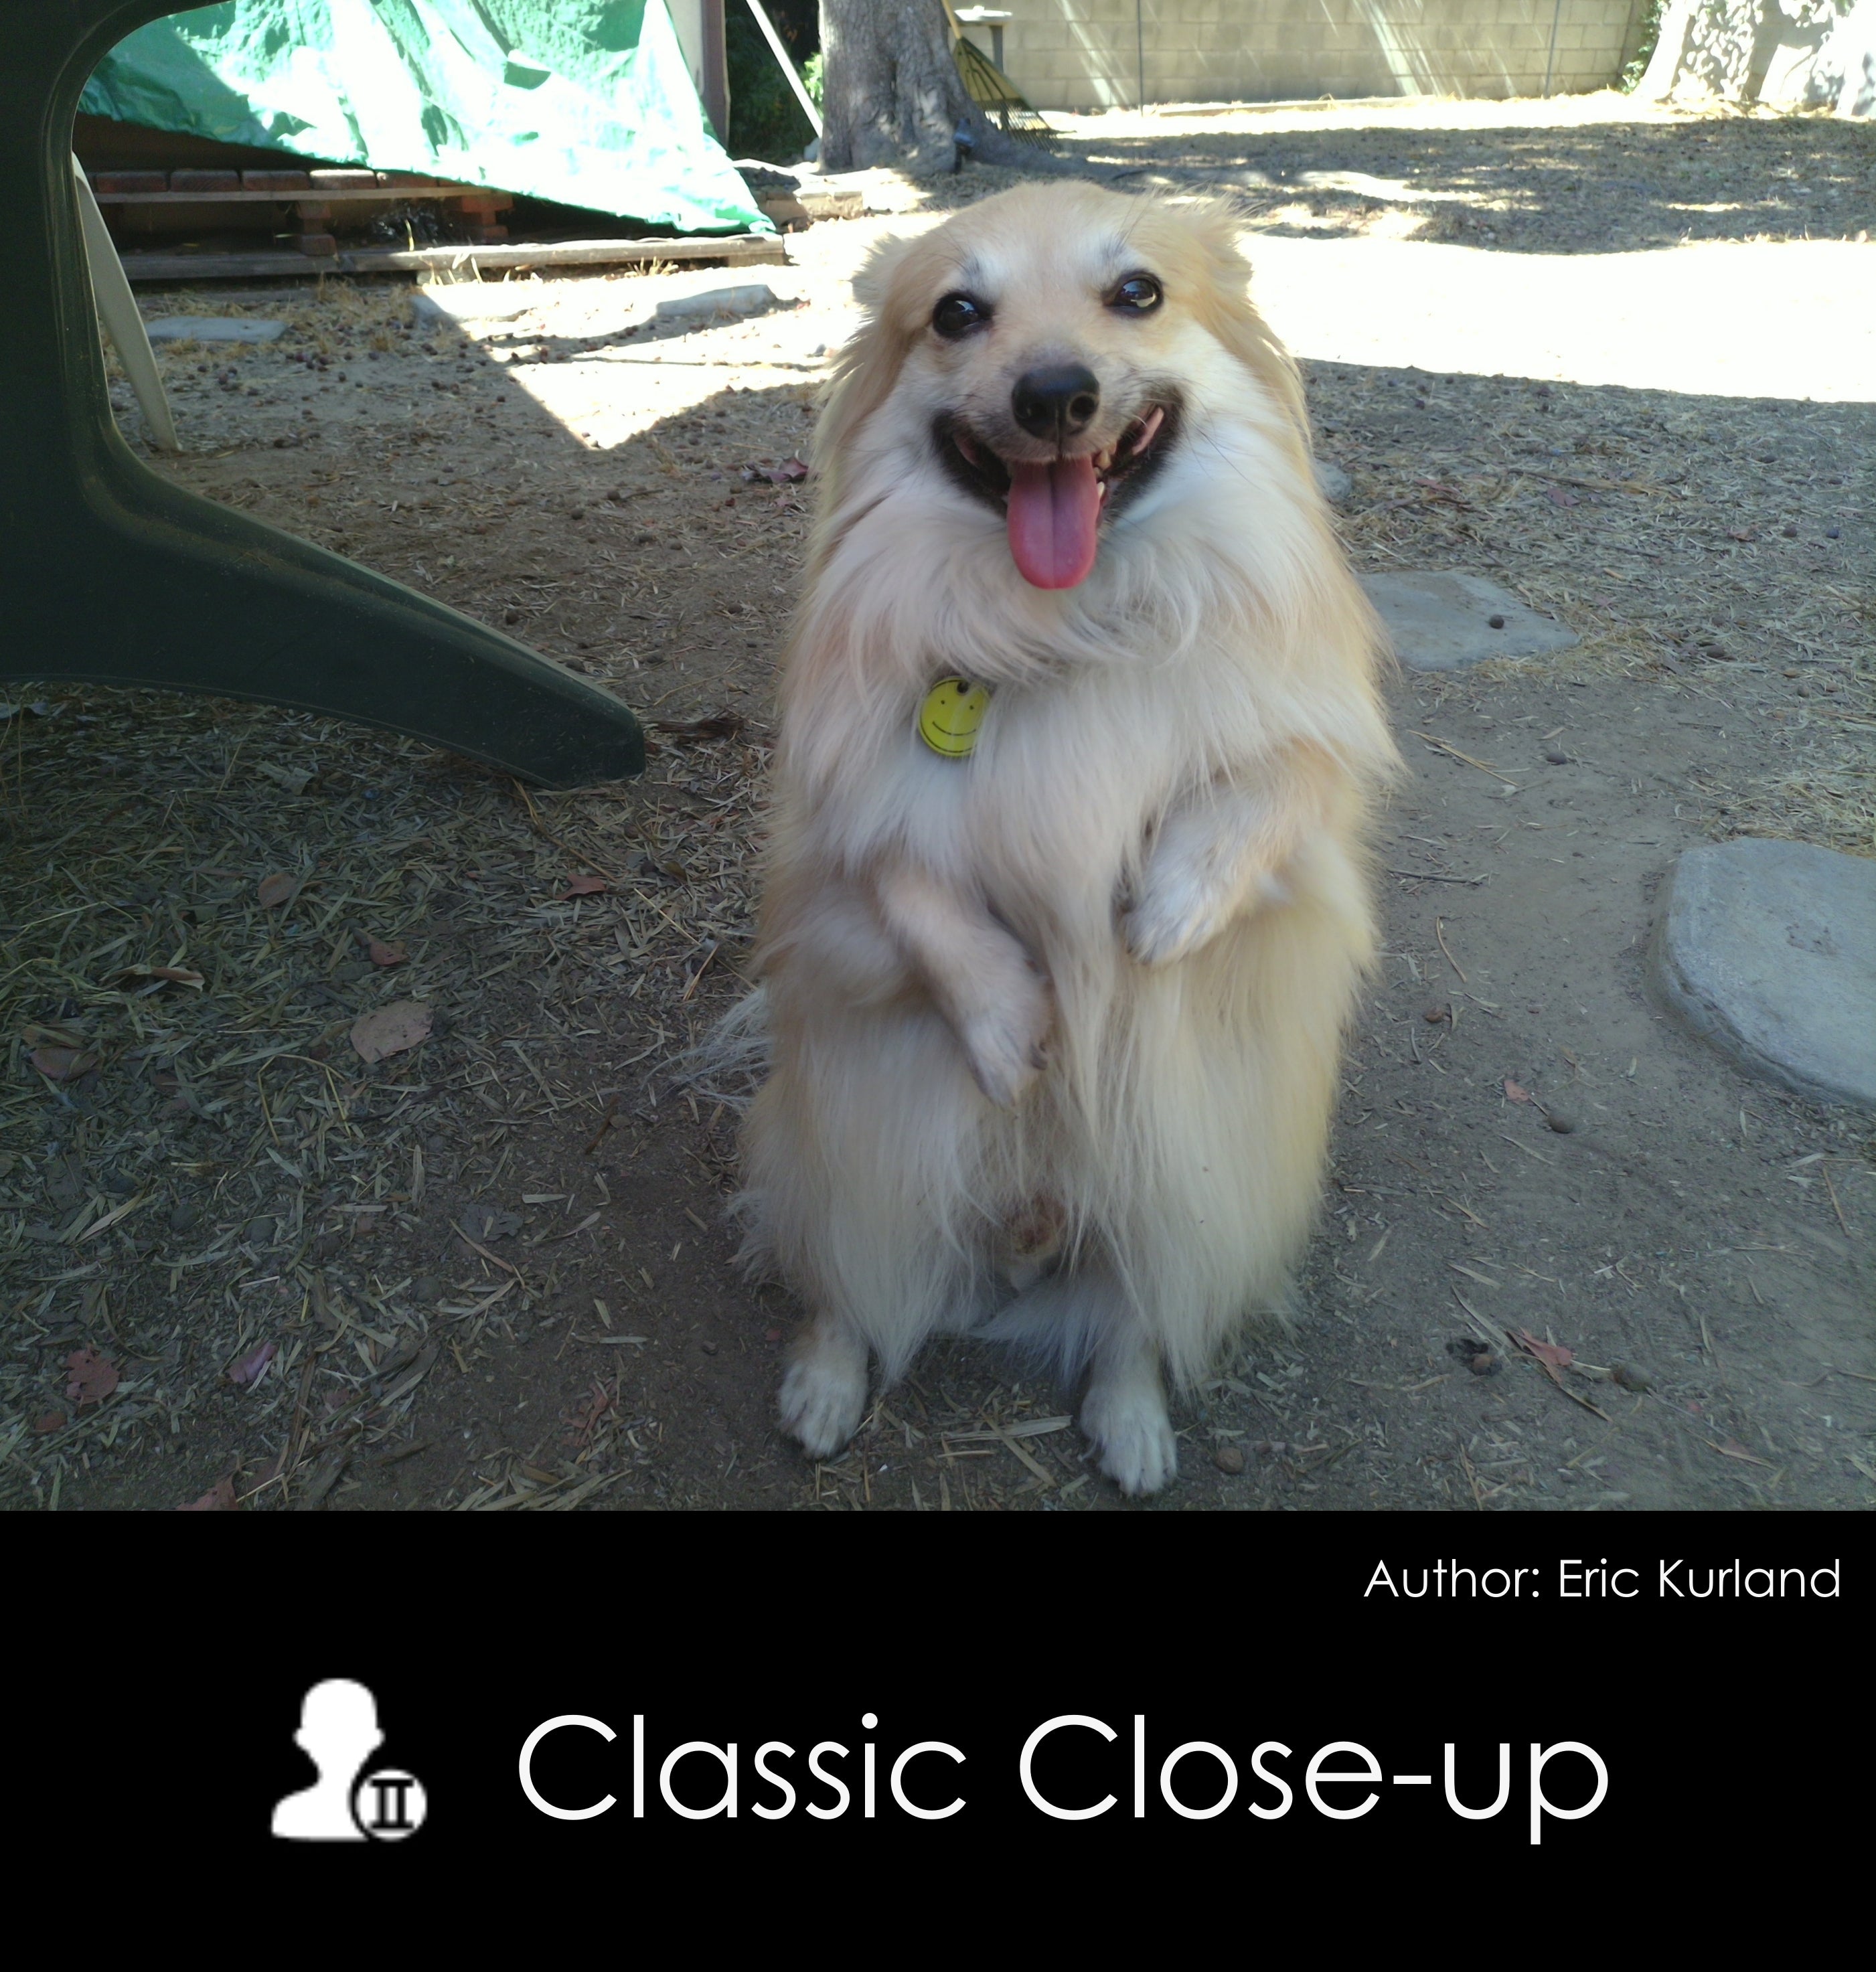
2. #Portrait Ⅱ (the fourth option from the left)
#Portrait Ⅱ is a classic close-up. If you shoot from eye level looking down or get quite a bit close to your subject, the recommend distance is 1m. At this distance, the background is blocked, otherwise, there will be an excessive stereoscopic deviation.
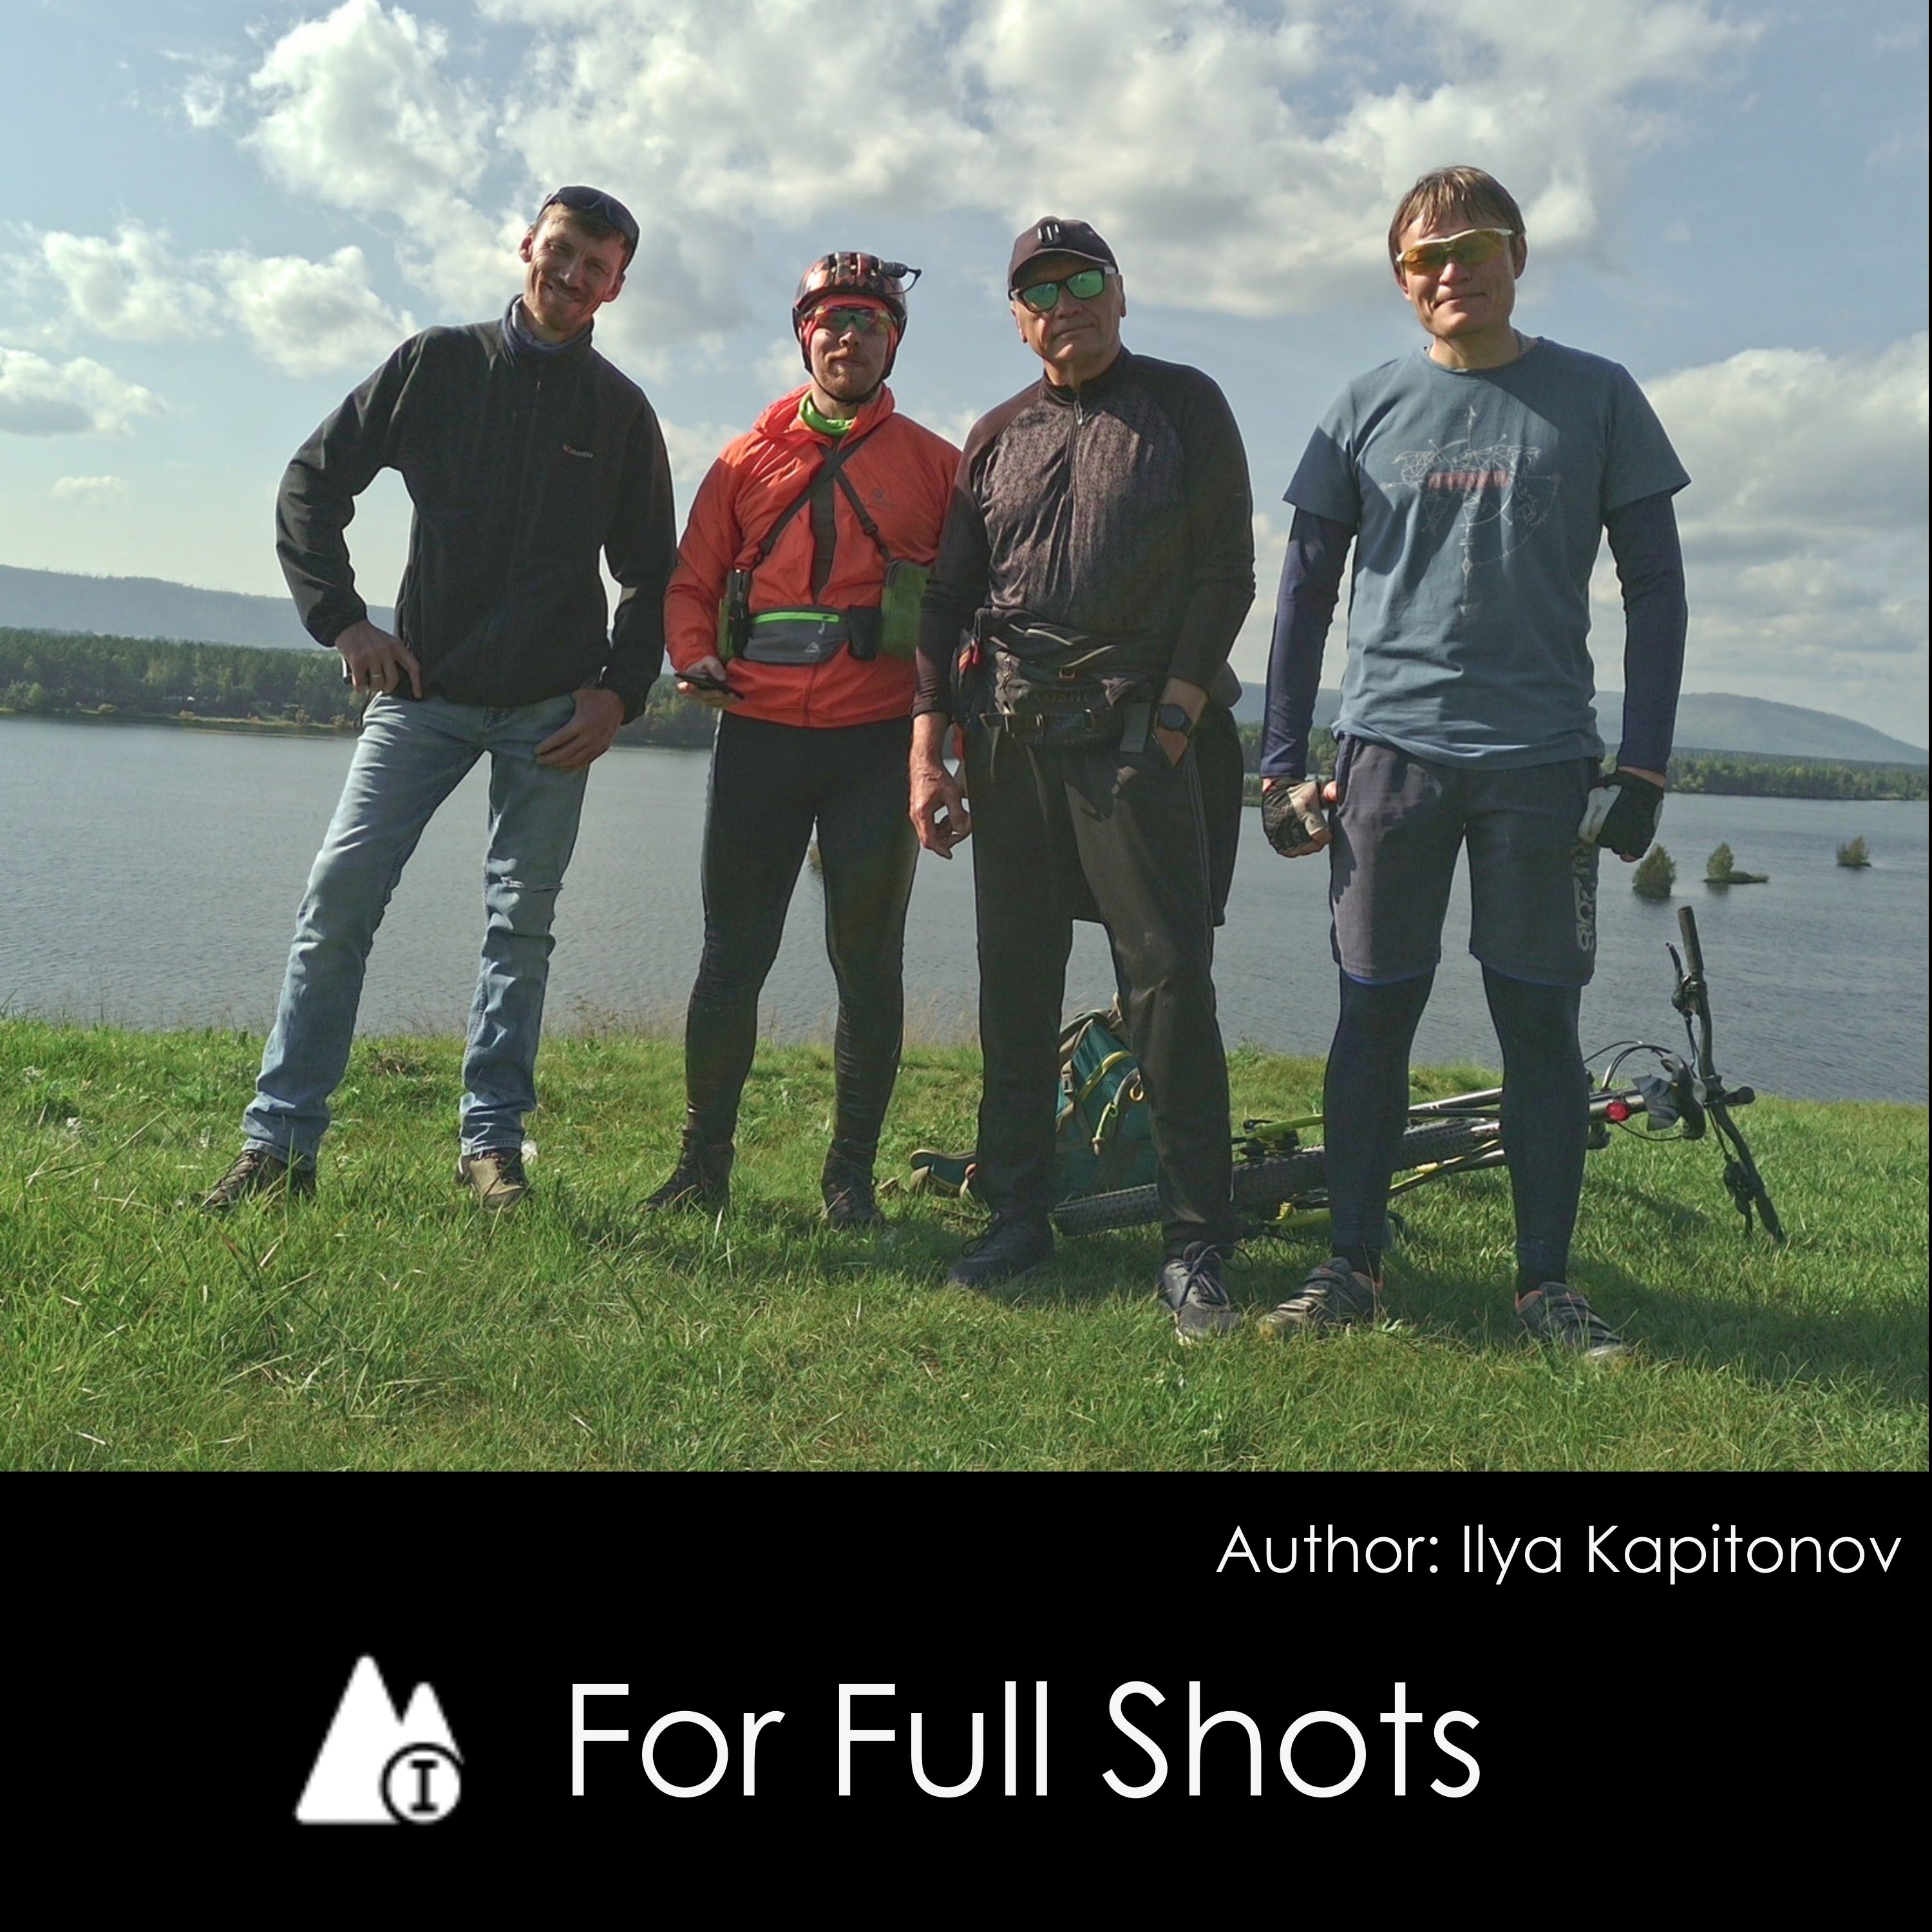
3. #Mountain Ⅰ (the second option from the right)
This is the best option for a full-shot. It is also a useful setting when you want to put more emphasis (hence best focus) on something close.
4. #Mountain Ⅱ (the rightmostoption)
This is the most important setting that is suited for long shots.

In conclusion, applying these tips and techniques can significantly improve the quality of your photos. However, it's important to remember that practice makes perfect. Keep experimenting with different settings and techniques to find what works best for you and your style of photography, and enjoy the creative process of capturing beautiful moments with your QooCam EGO.
Autofocus is inadequate name of setting camera offers to you. "Tap to focus” is how shall it be called in menu. There was a time i lost all my 1h session filming in AF hoping it works like in other cameras. Unfortunately it was tapped before recording on some close object, so all session was out of focus. Since then i am using only fixed focus and this guidelines are grat for begginers to learn which setings are suitable to which situation. Just one important note, focus setting are shared between picture mode and film mode, if yiu use different settings for picture and filming you need to set value every time you swap between modes. Its is simple camera but nice to have it.