
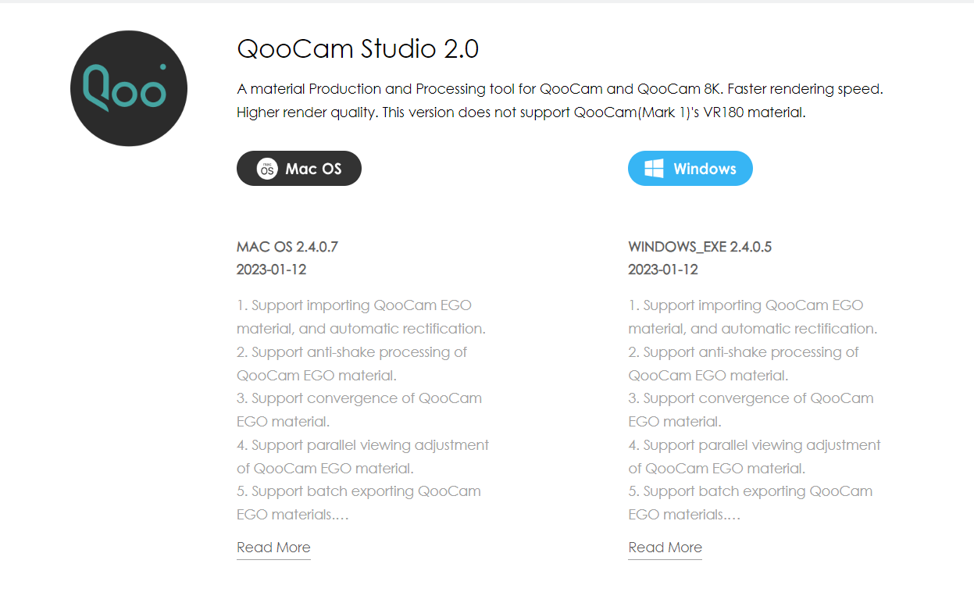
Please download QooCam Studio 2.0 from https://www.kandaovr.com/download/
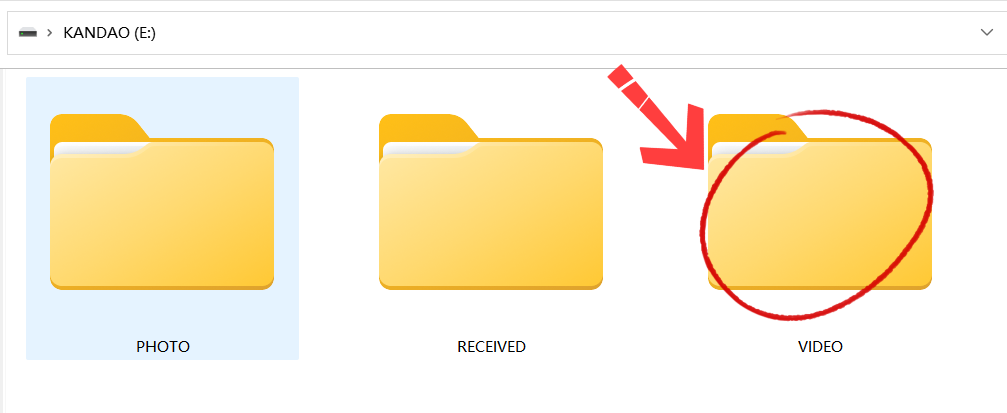
You can access the videos captured by QooCam EGO by reading the SD card through the camera “USB Mode” or a card reader. The videos are located in the "Video" folder.
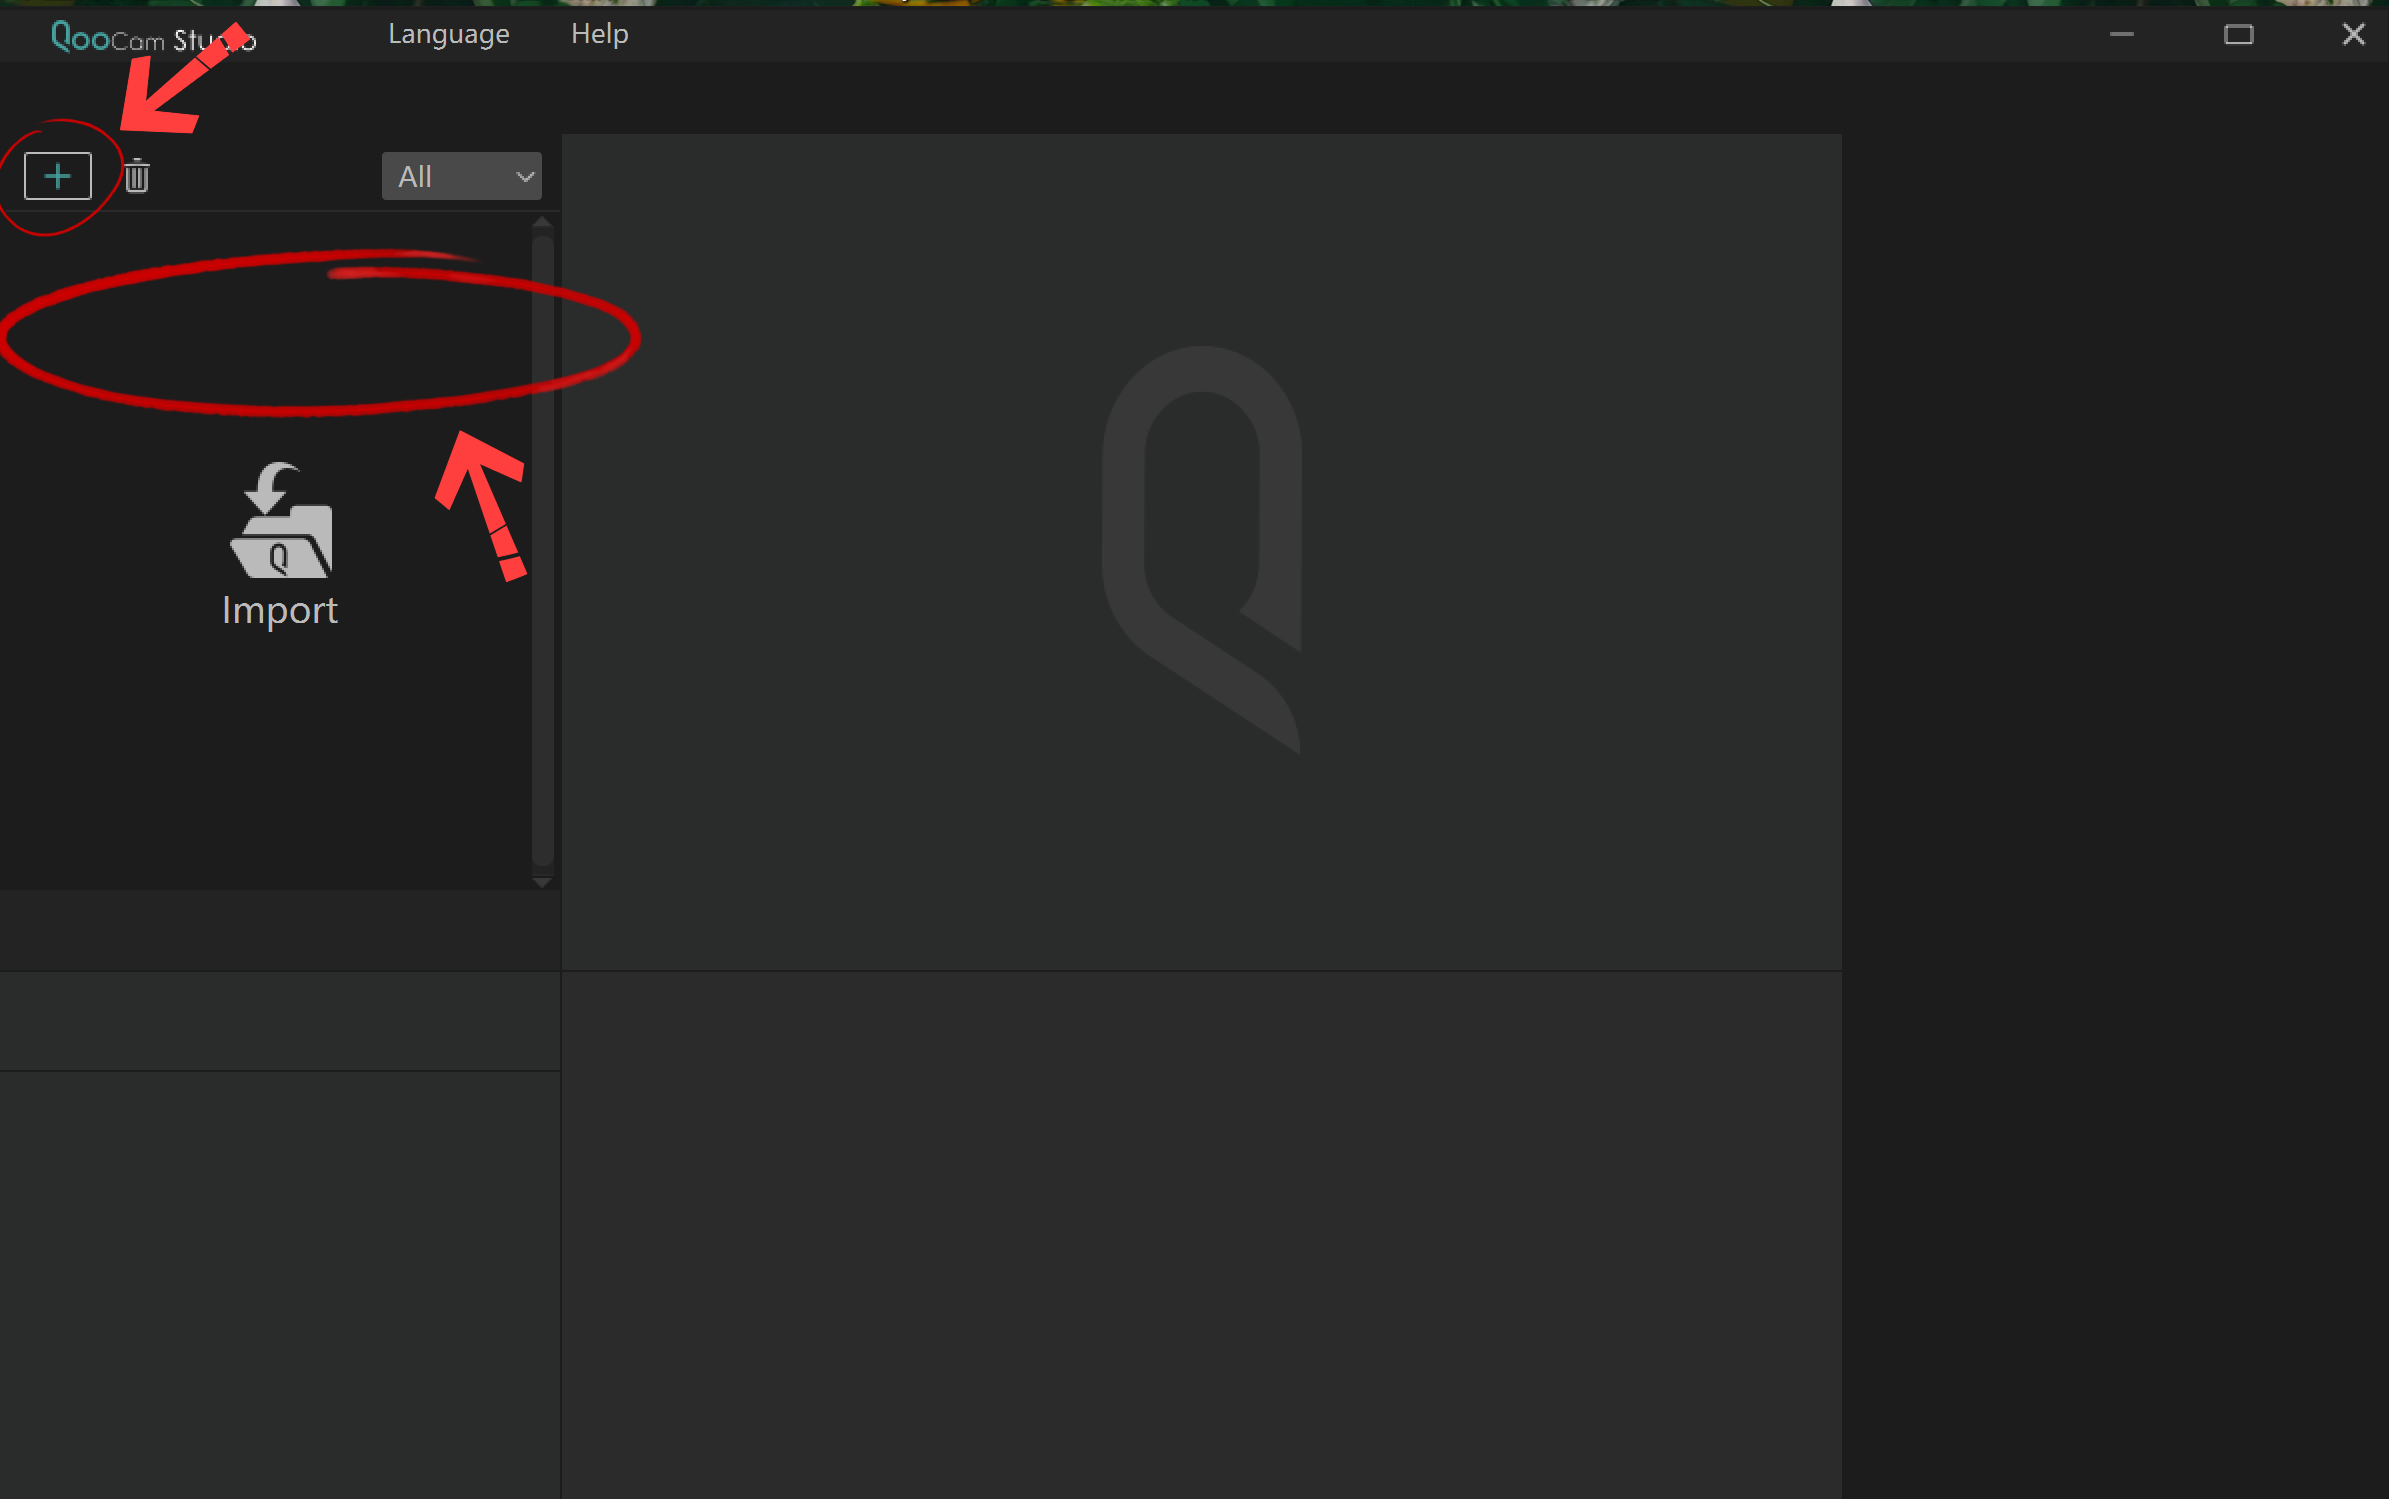
Open QooCam Studio and click on the [+] button in the top left corner to add your media files. Alternatively, you can simply drag and drop the footage you want to stabilize into the [Import] area.
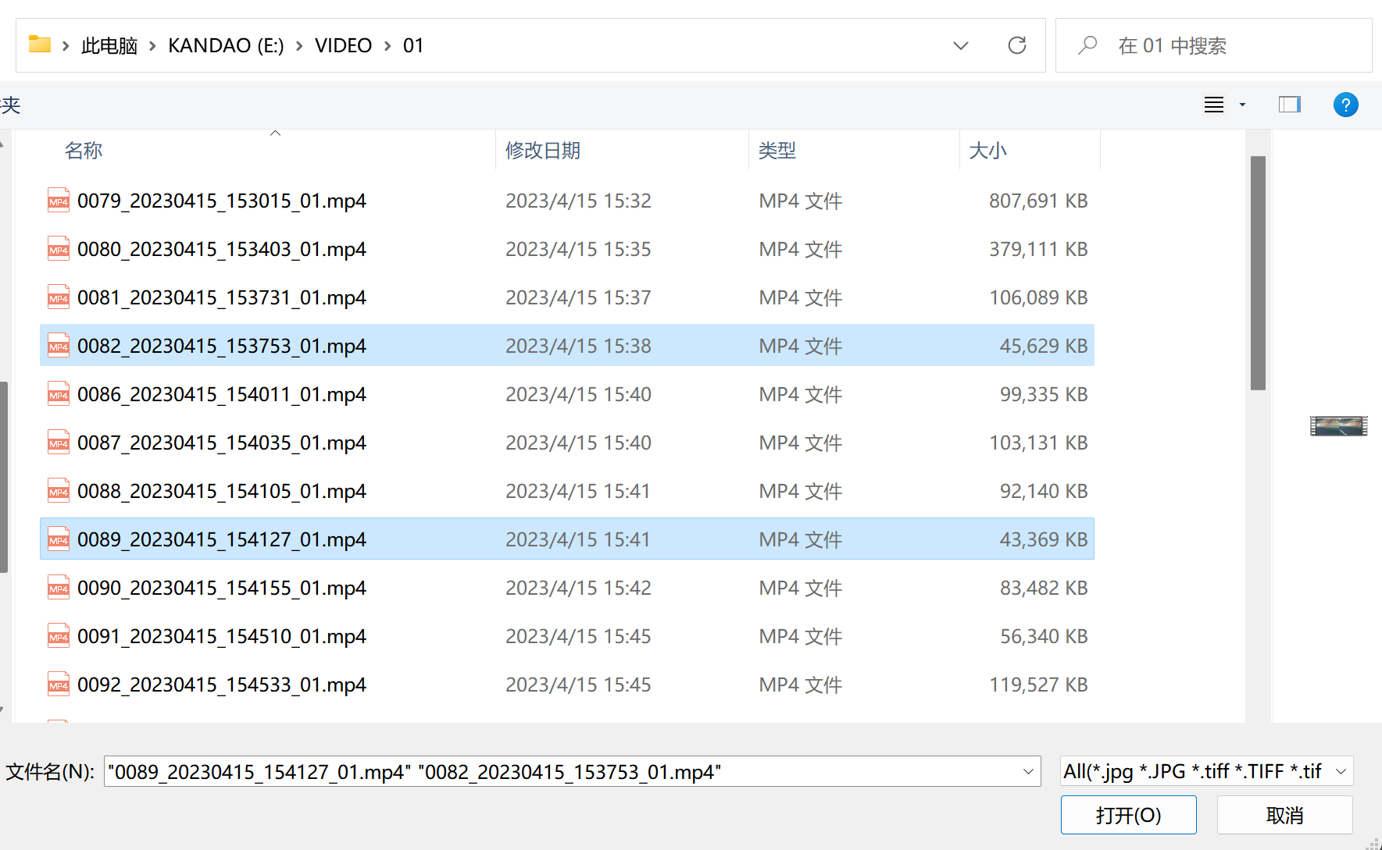
After clicking the "+" button, select the video(s) you want to stabilize.
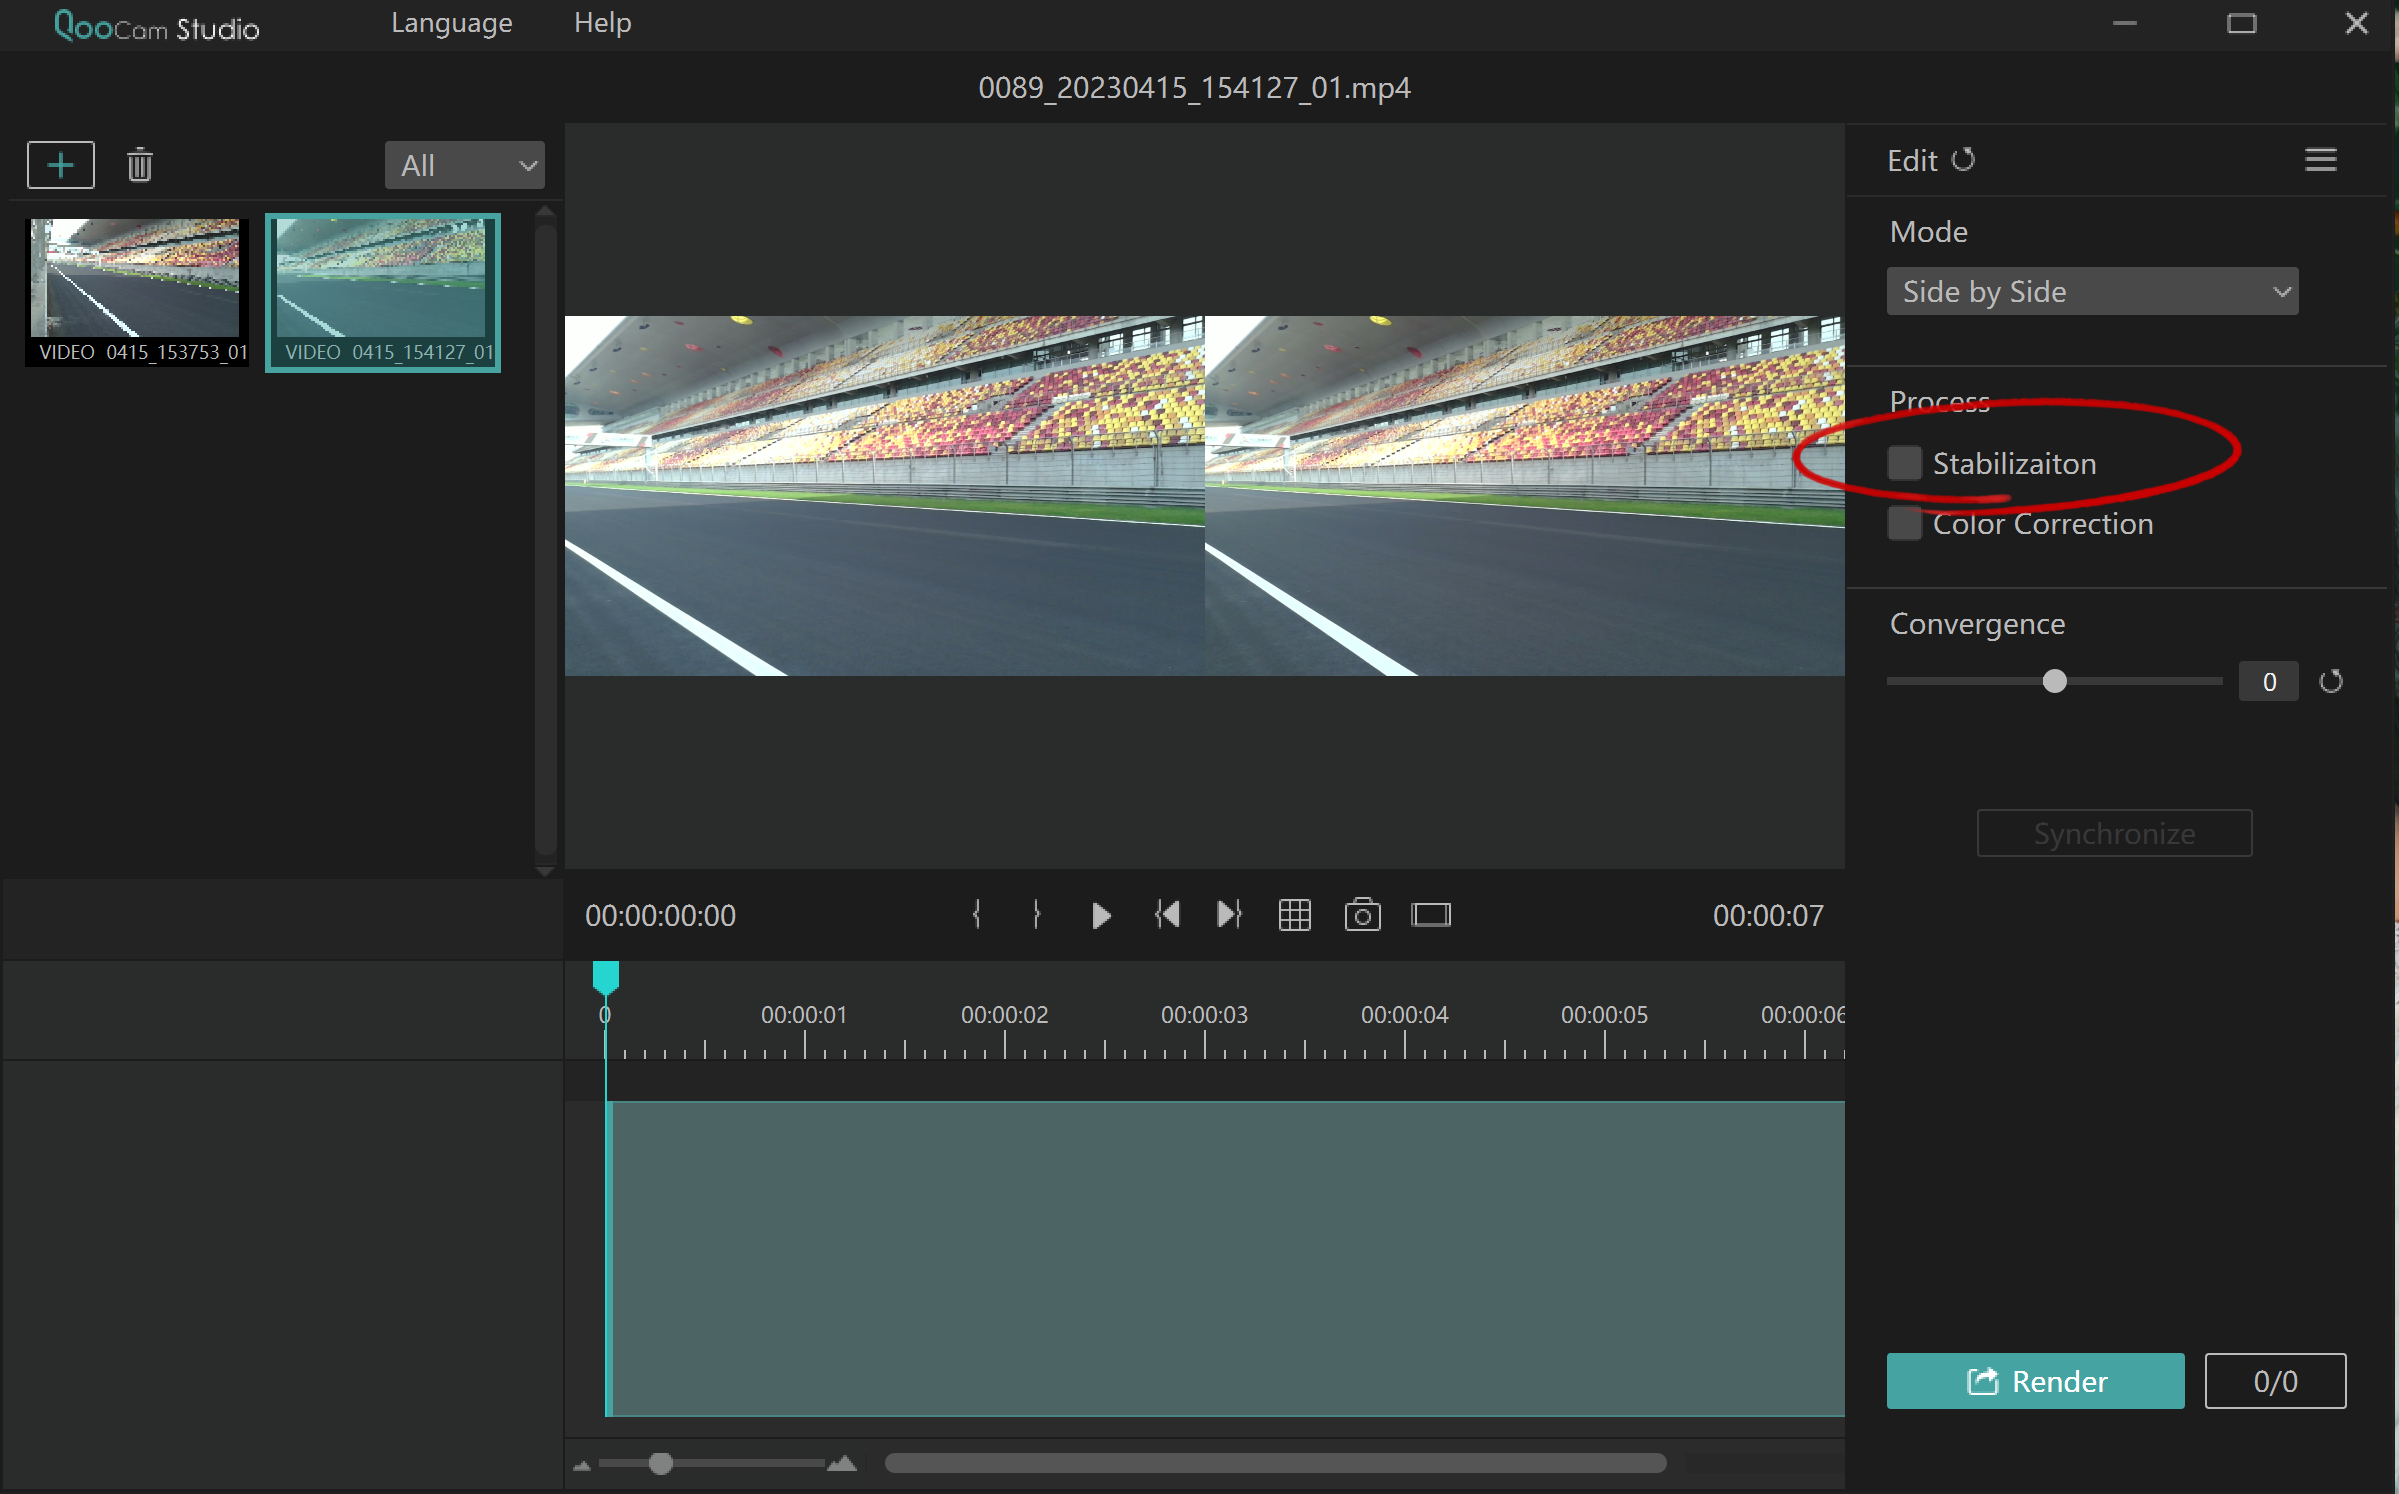
Click on a selected video, then check the "Stabilization" option in the right sidebar.
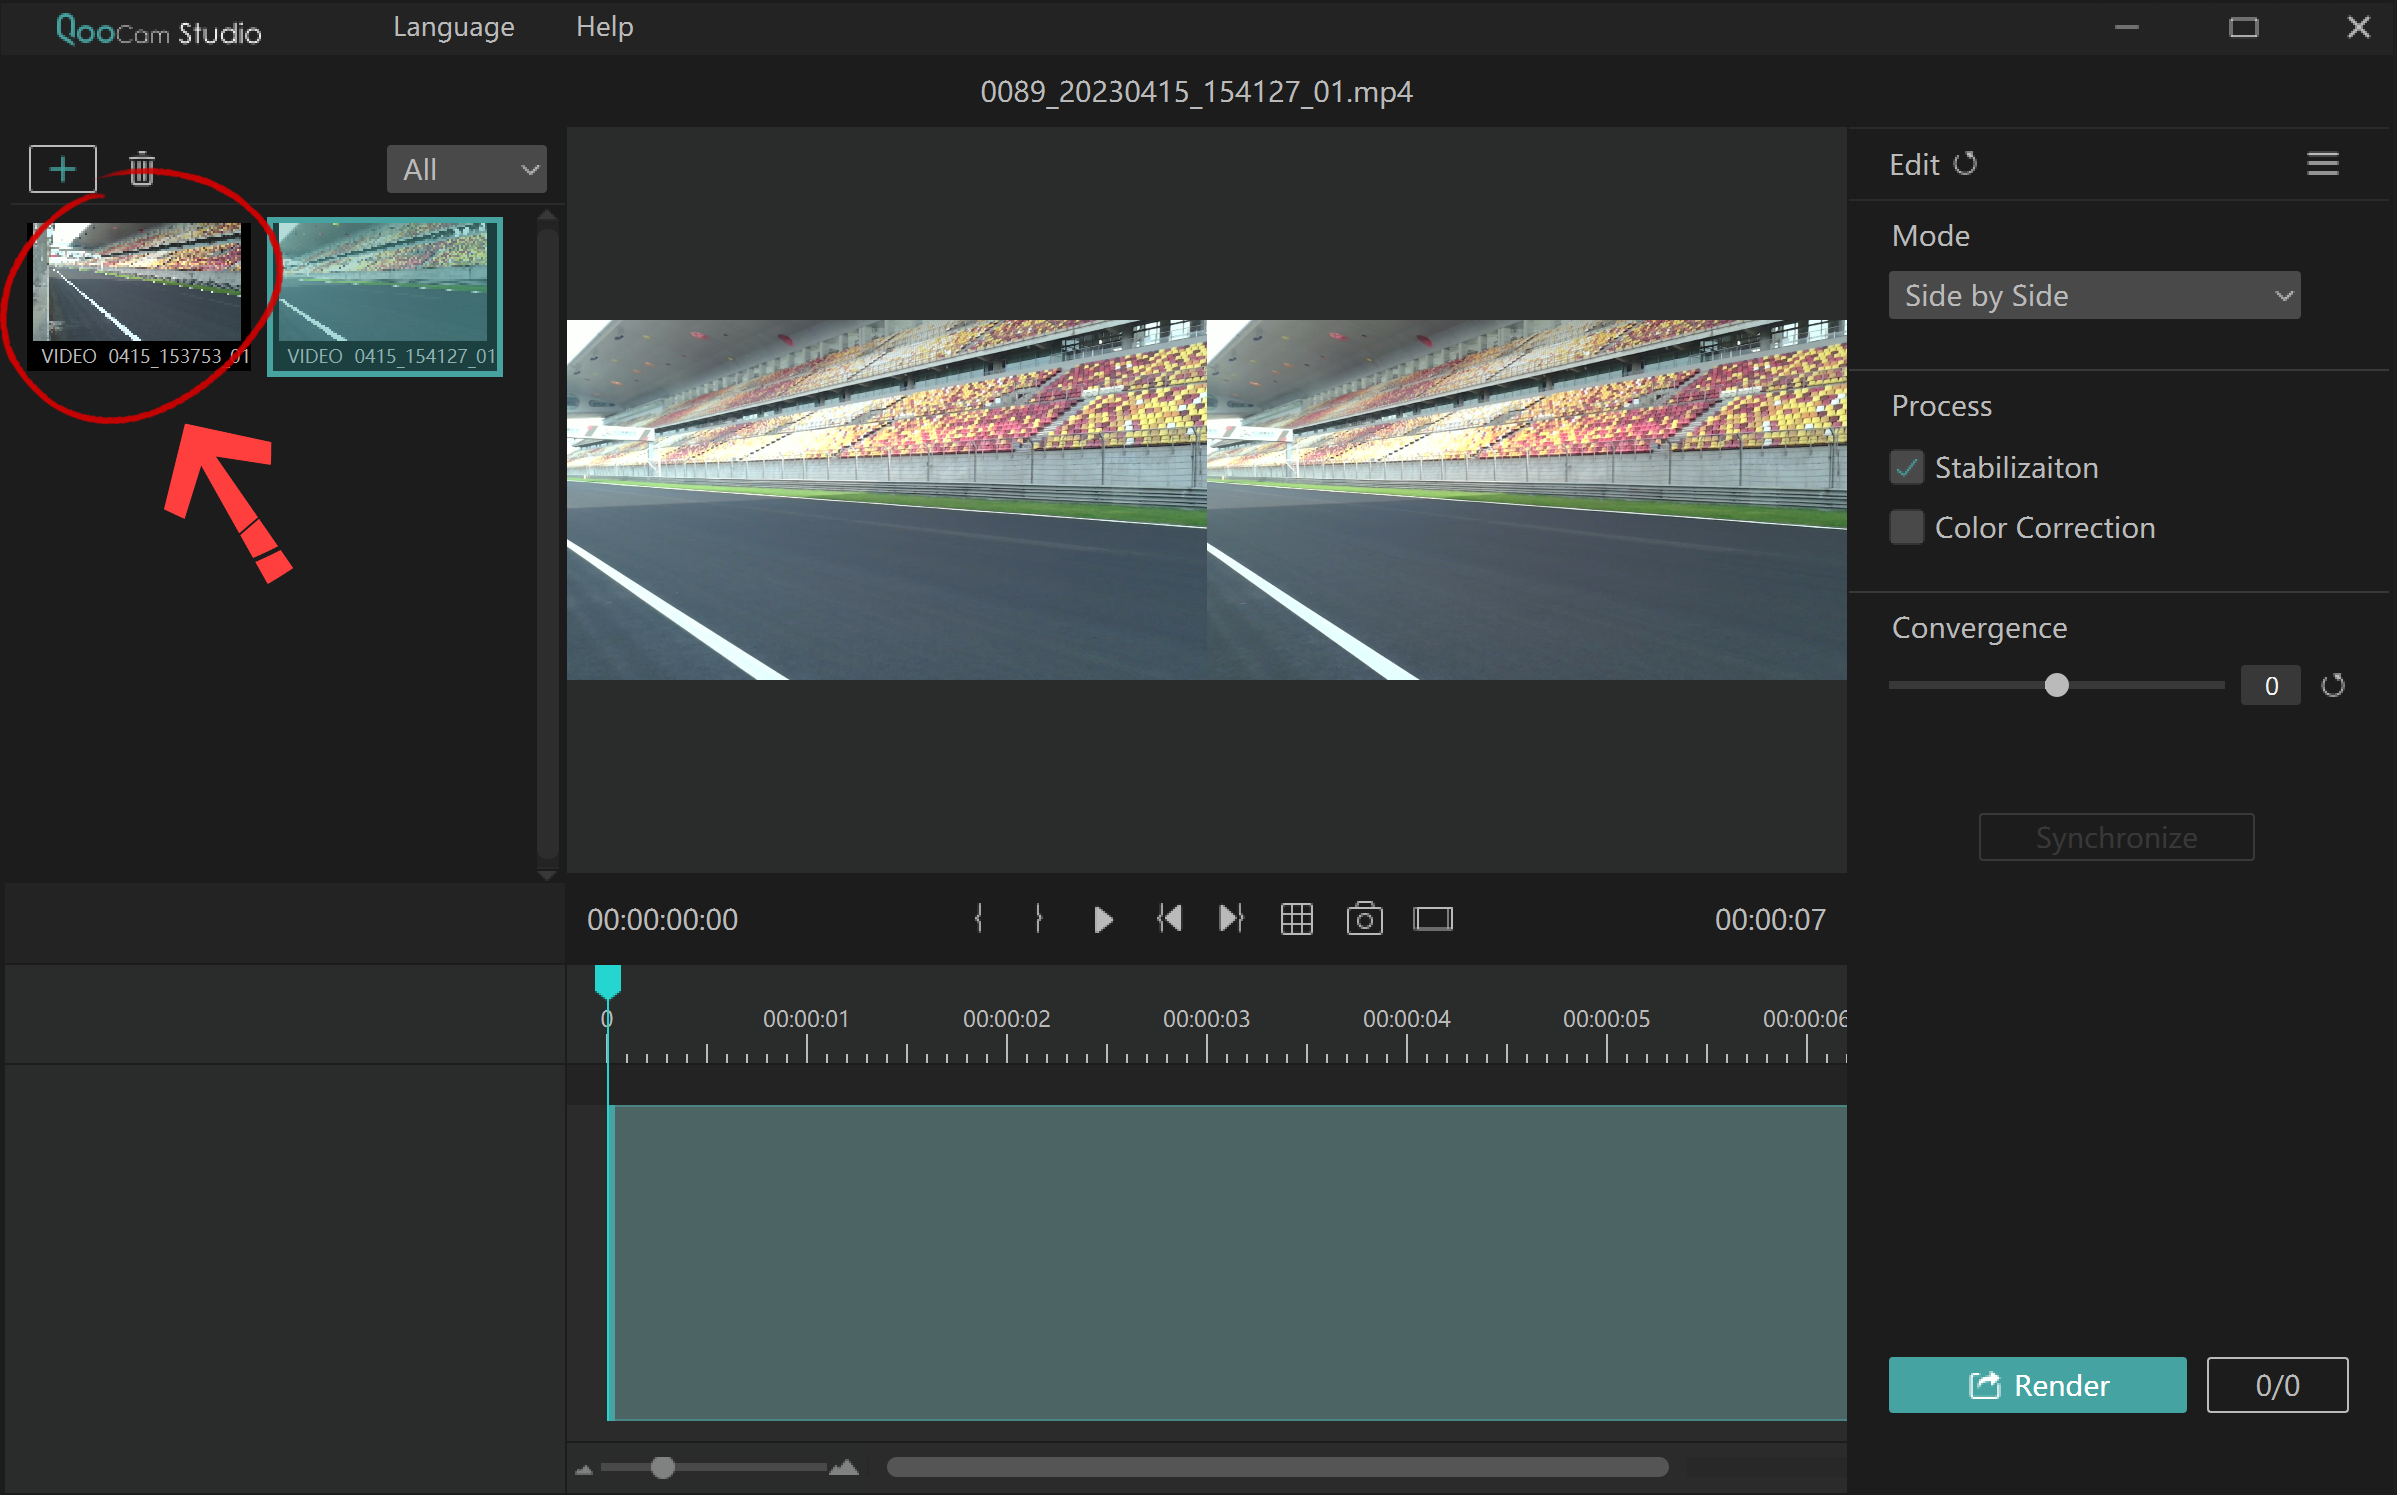
Multiple-select other videos that you want to stabilize.
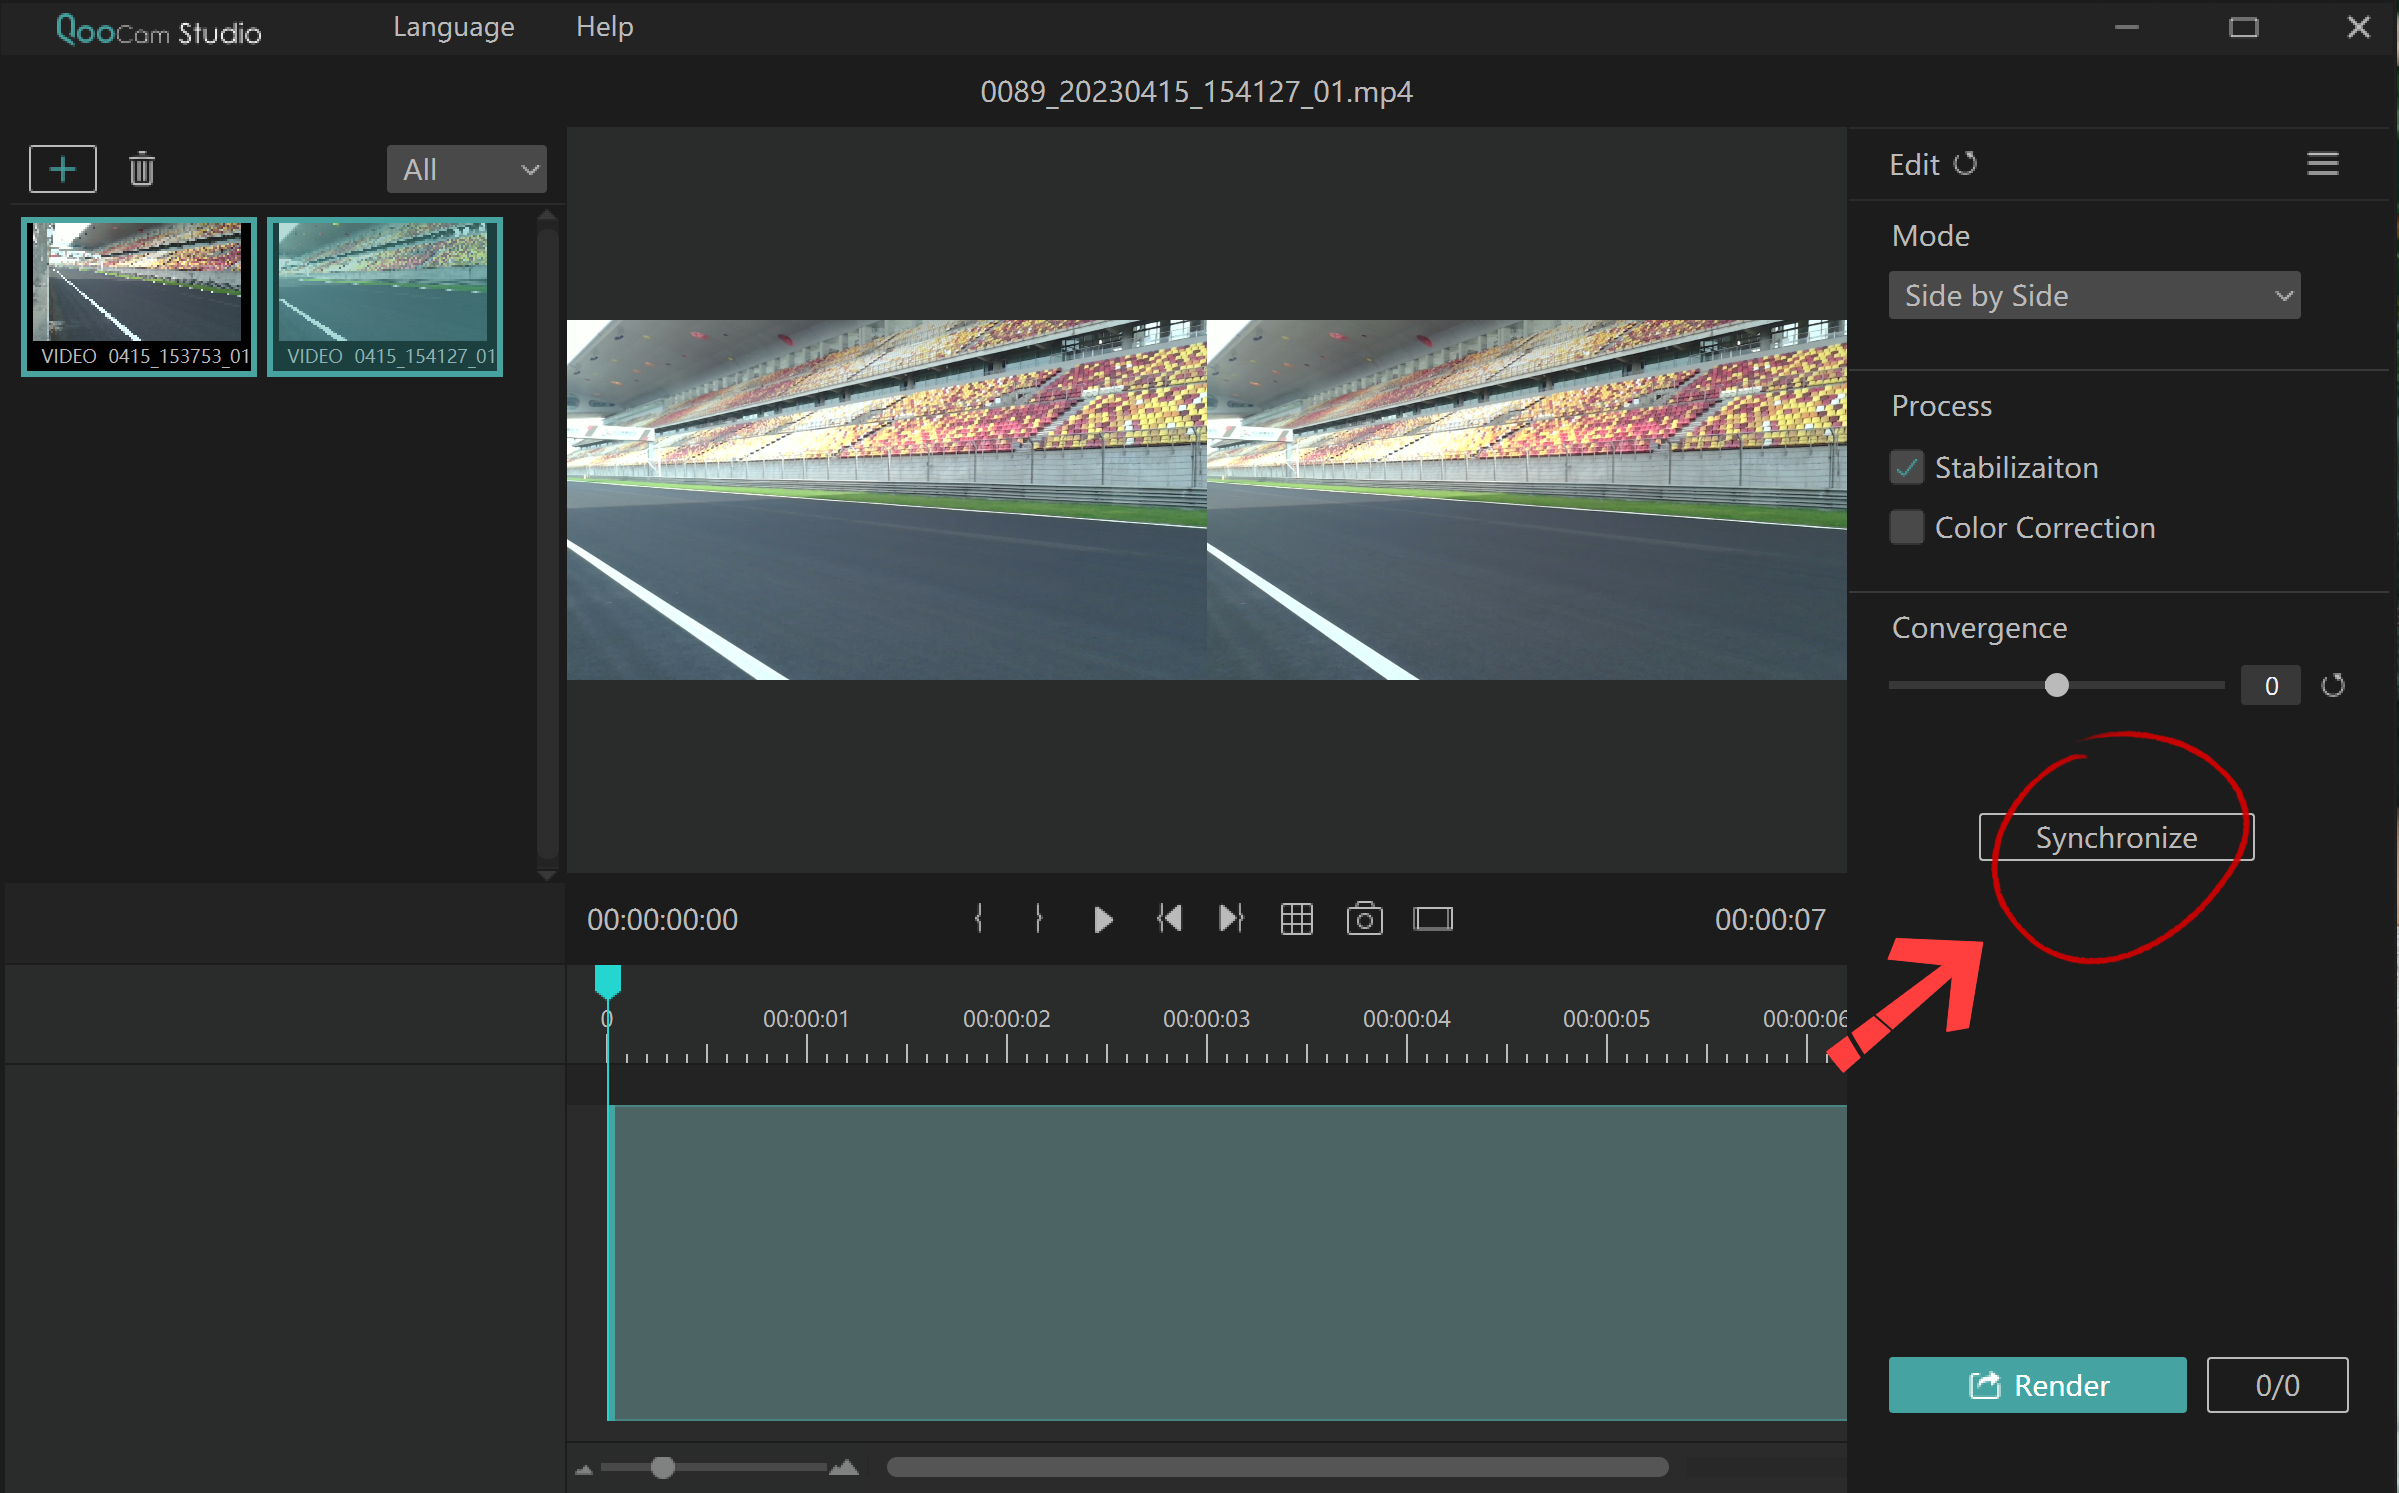
Click on the "Synchronize" button.
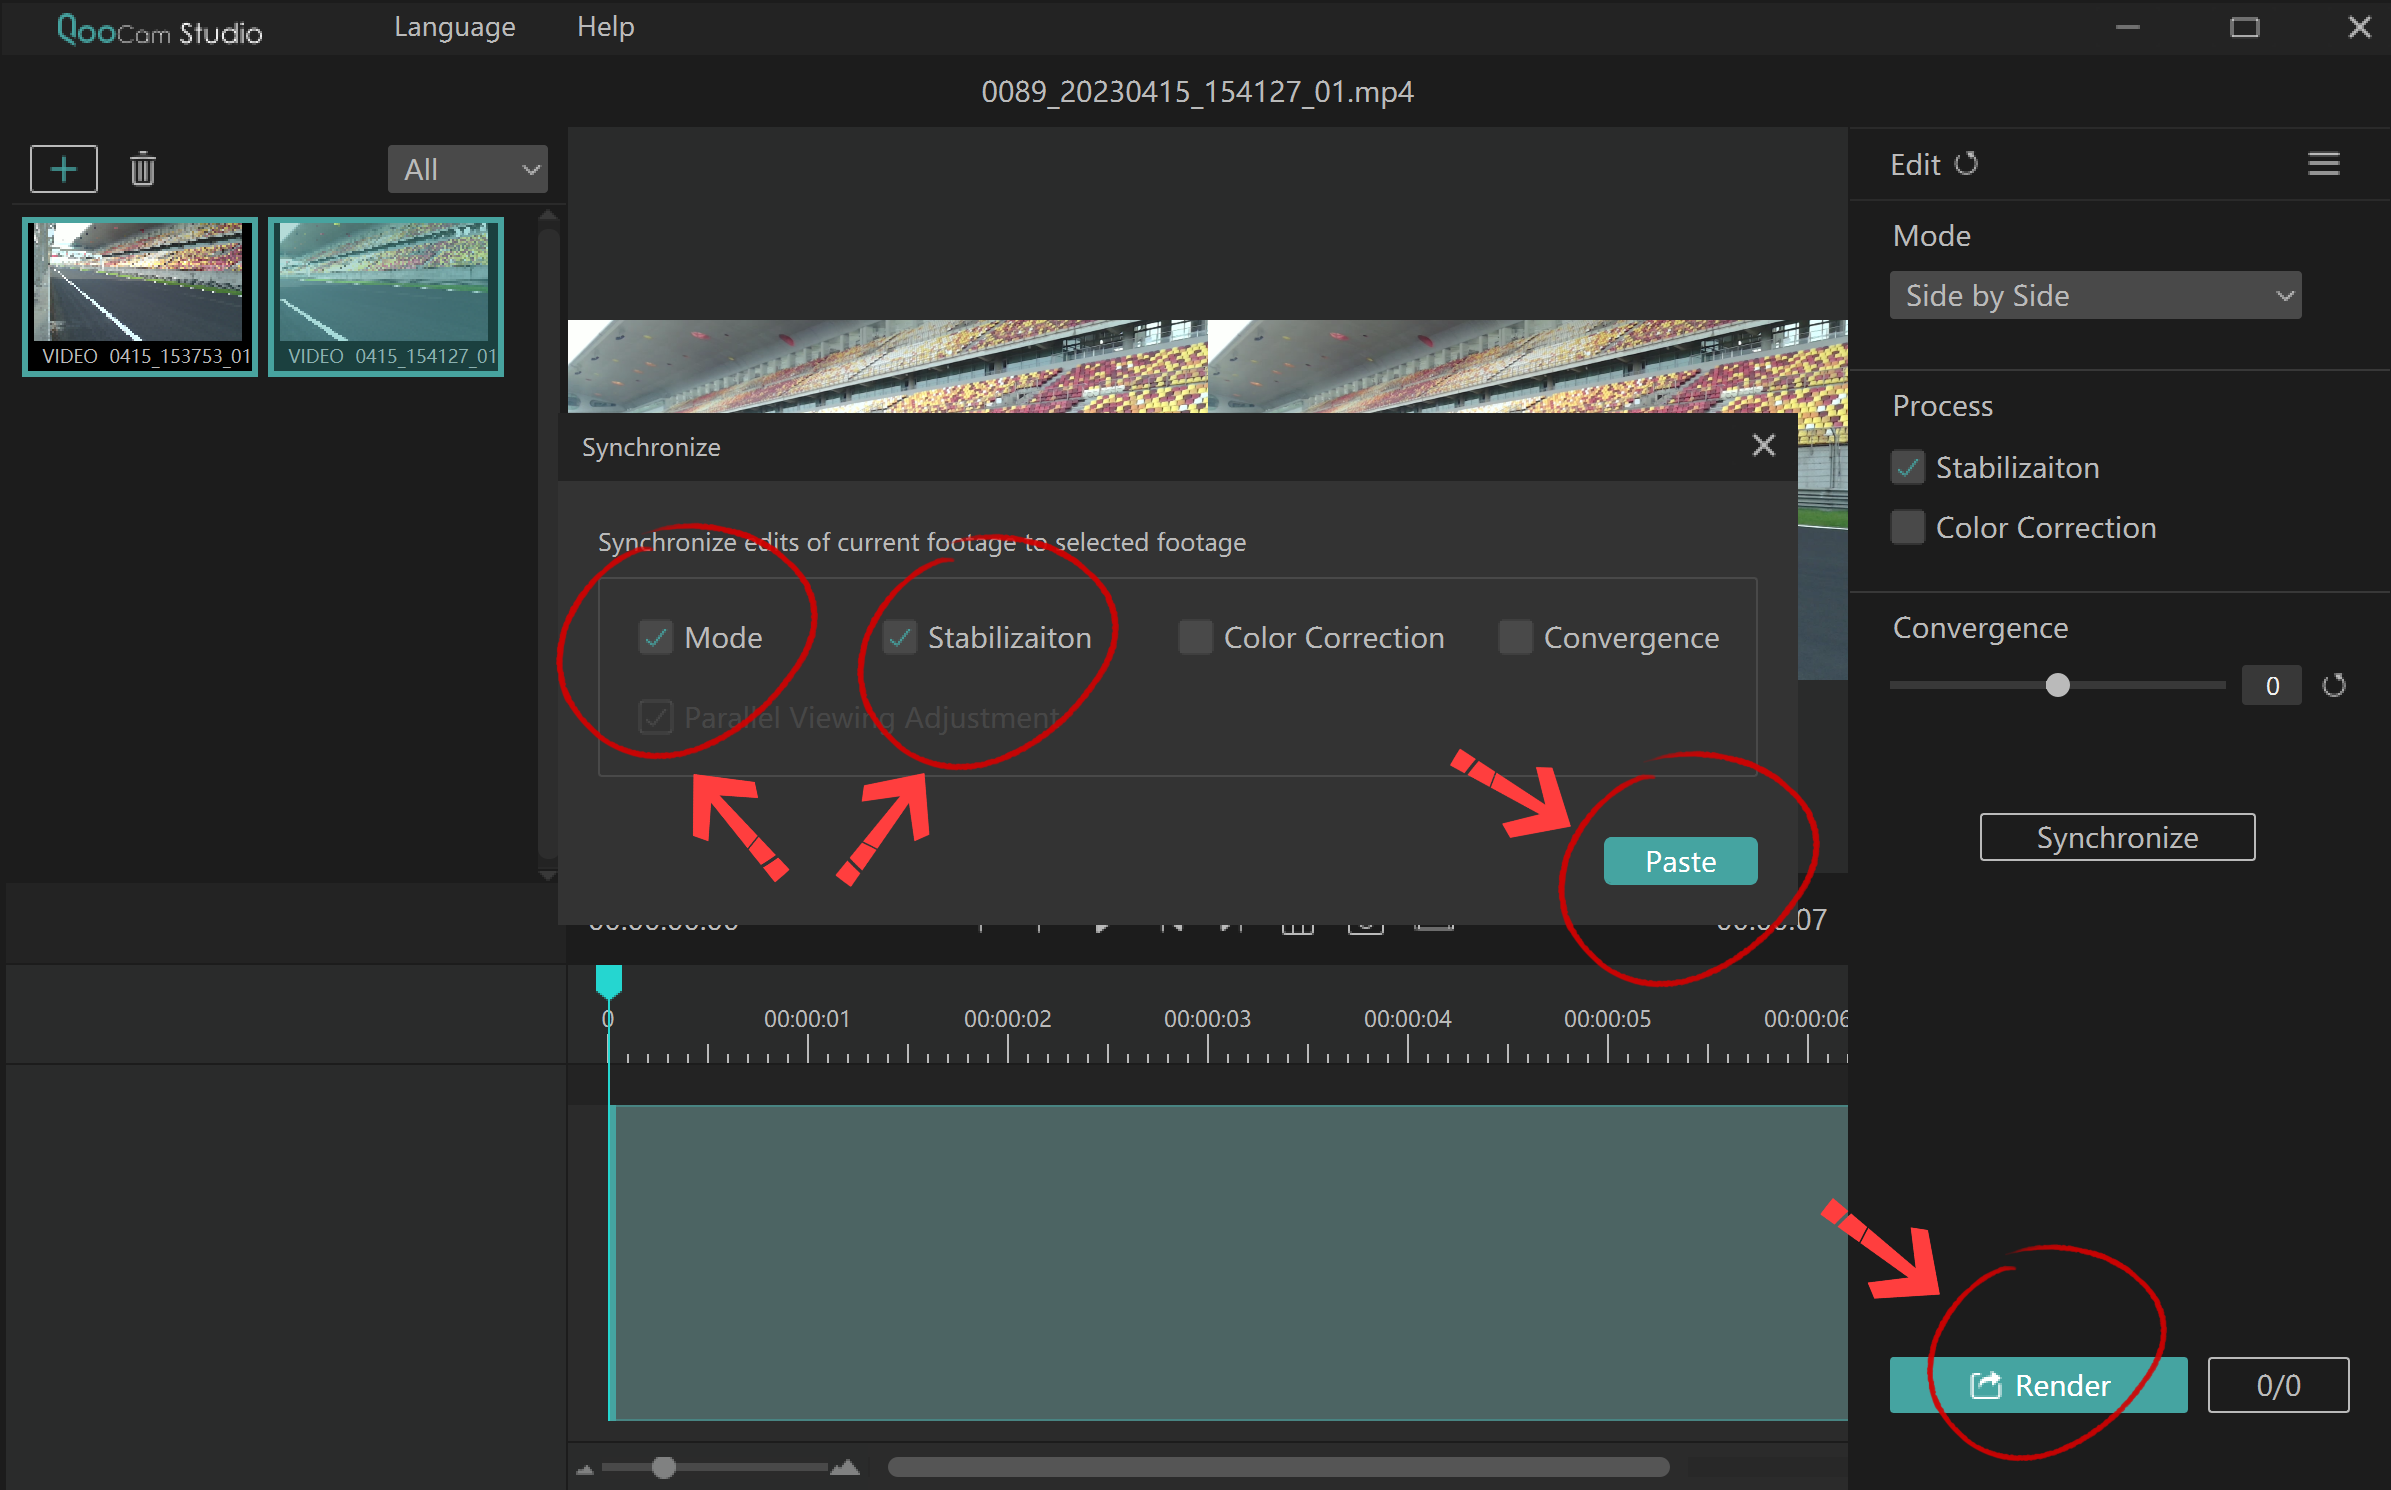
The synchronization options dialog box appears. Check the "Mode" and "Stabilization" options, then click on "Paste". Once the dialog box disappears, click on the "Render" button located in the lower right corner of the main interface.
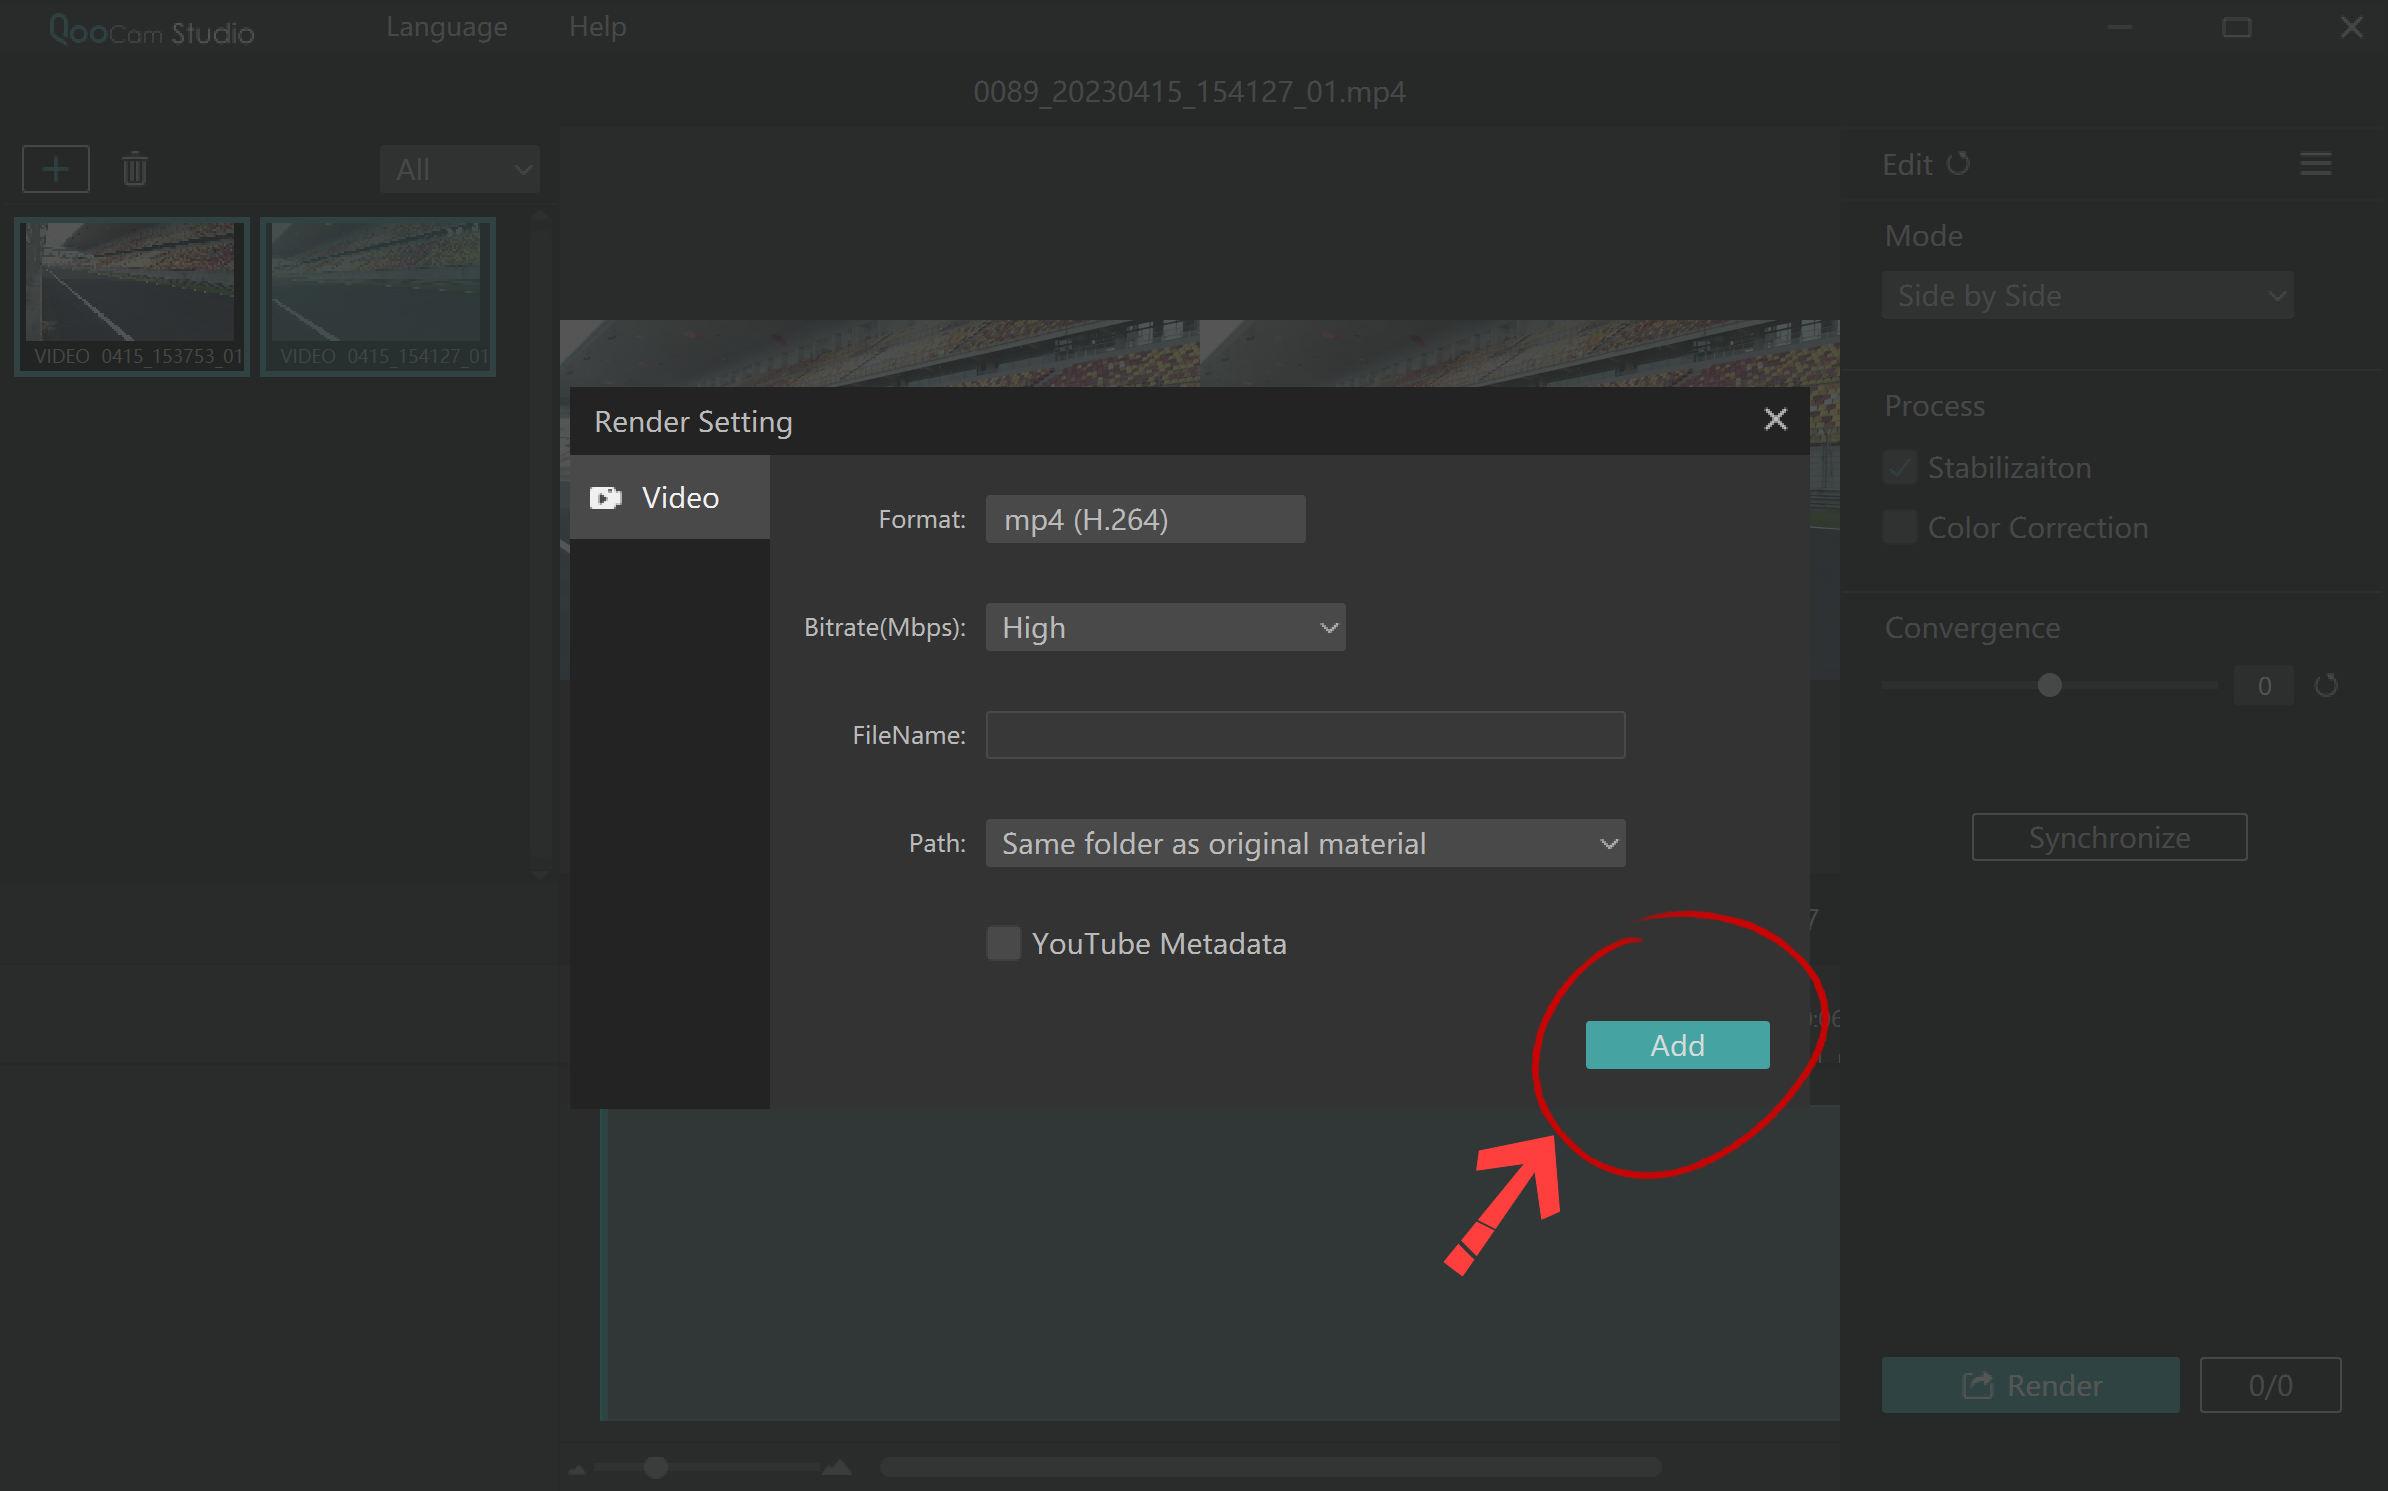
At this point, the "Render Setting" dialog box will appear. Click on "Add" in the lower right corner to add the selected files to the rendering queue.
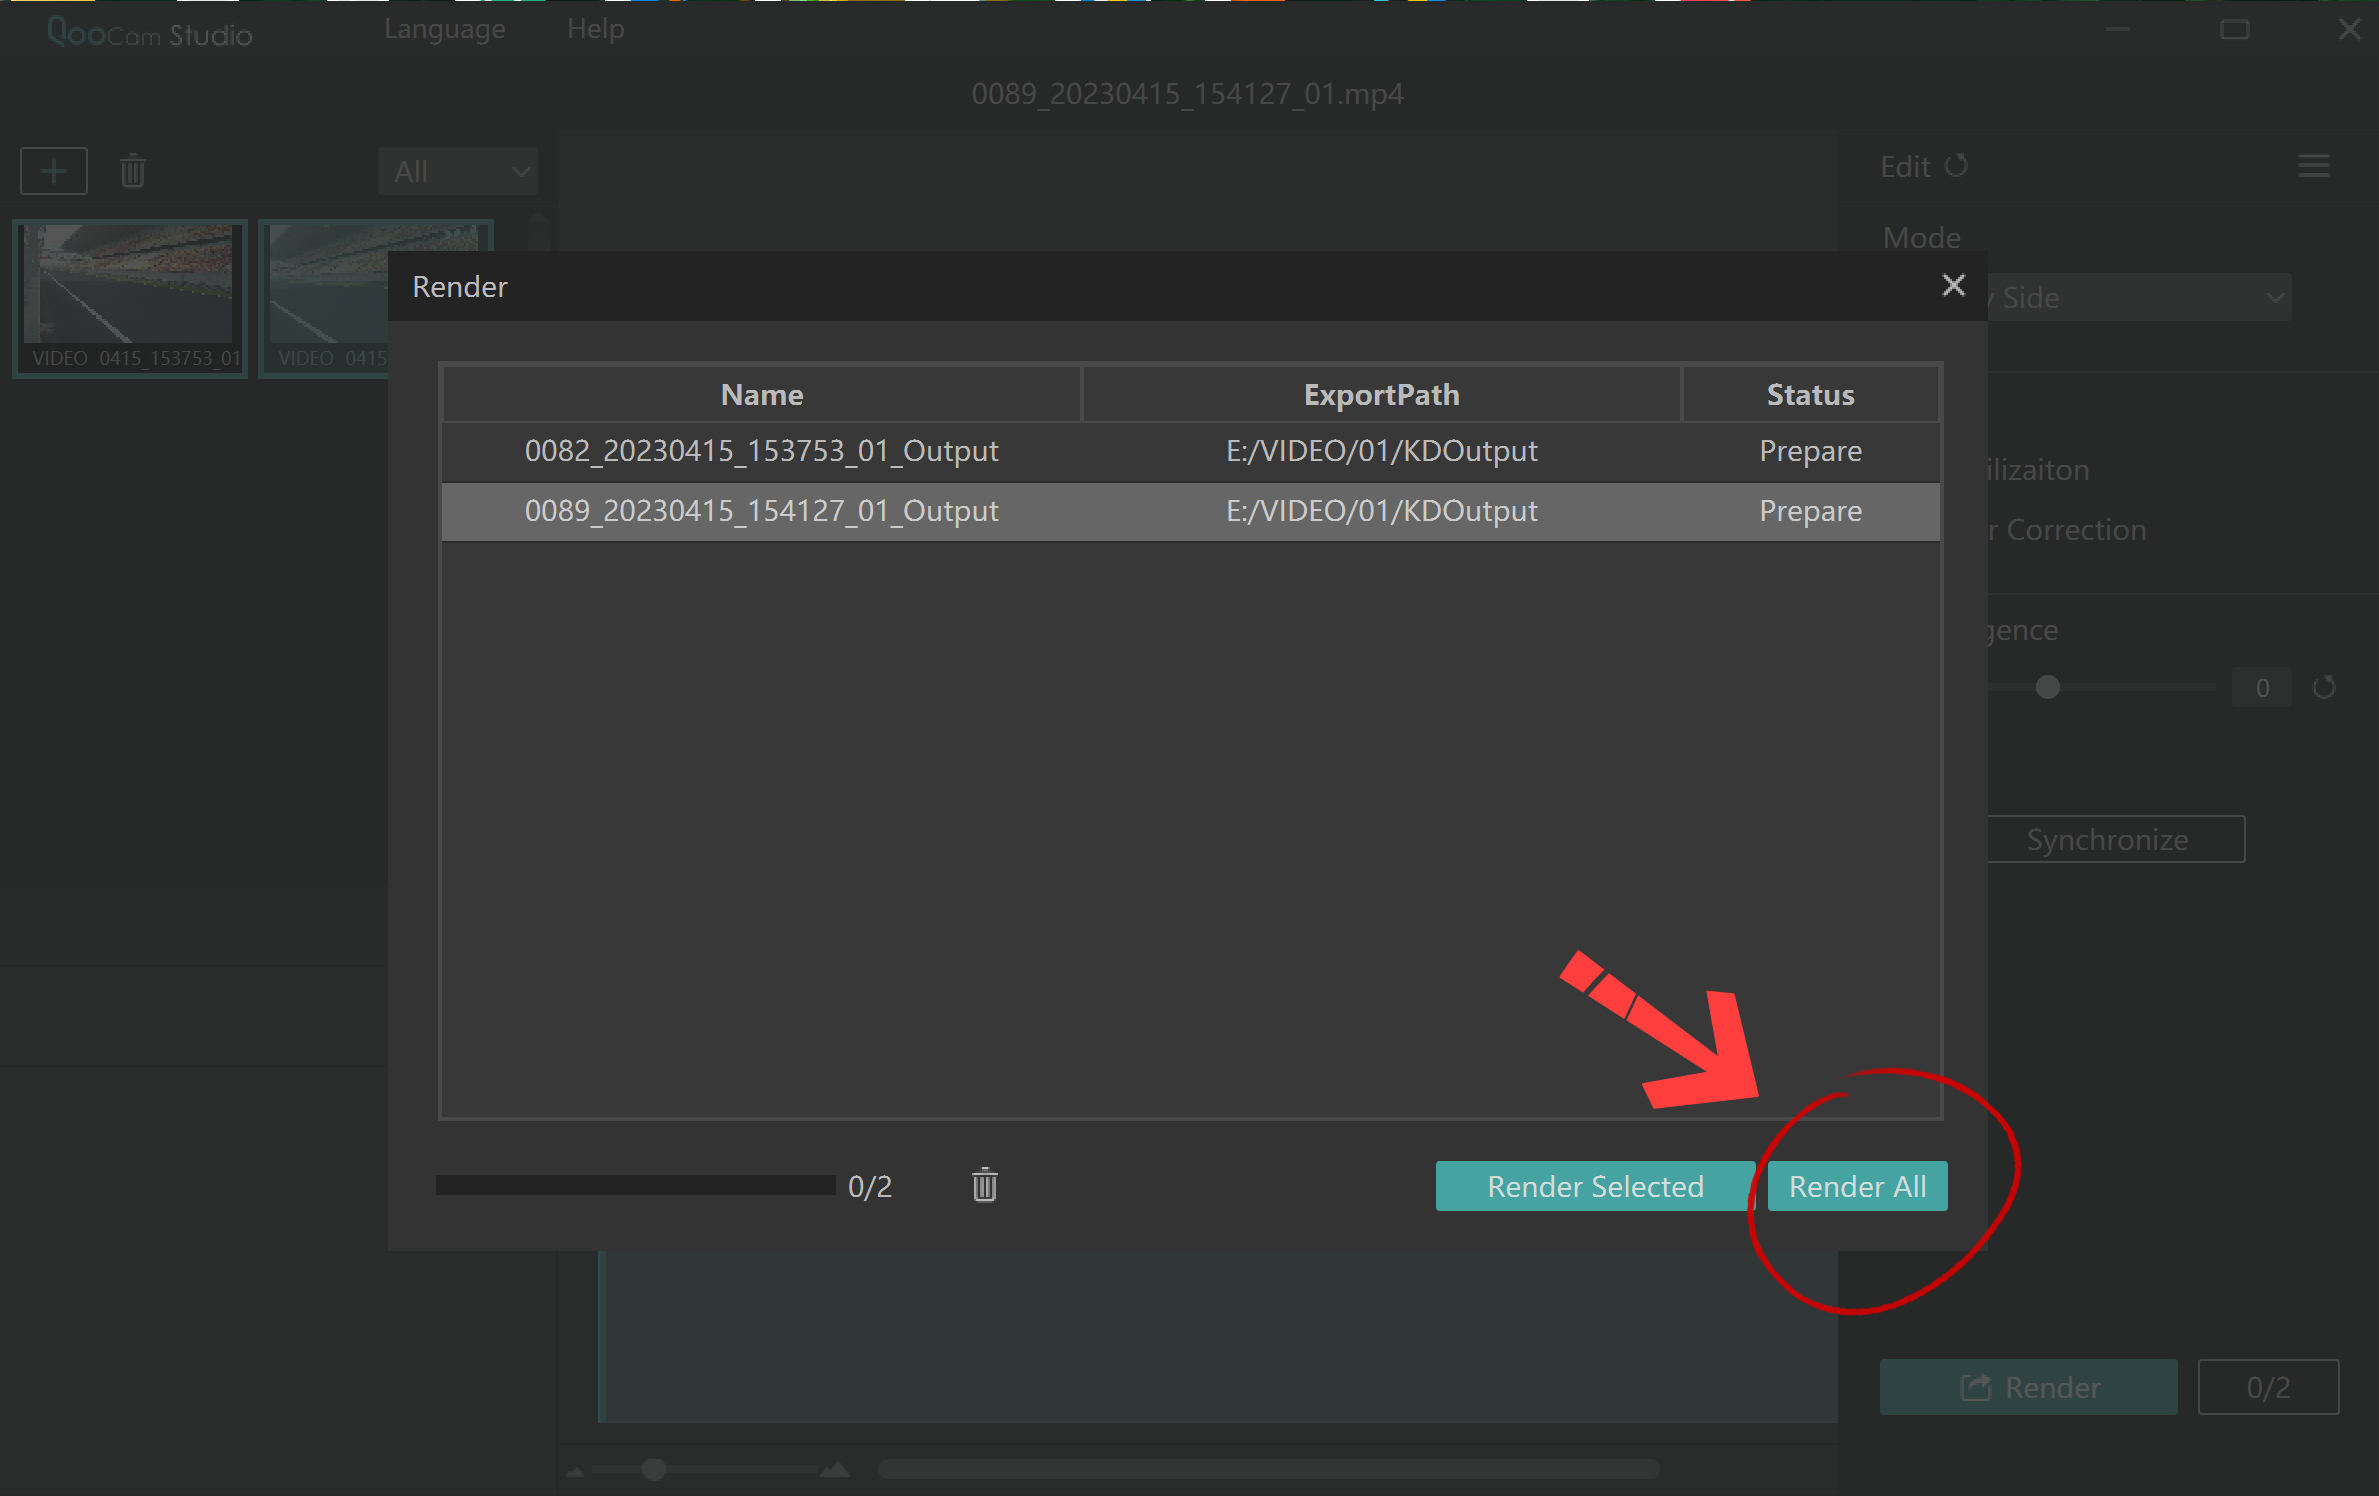
Click on "Render All" in the lower right corner of the "Render" dialog box.
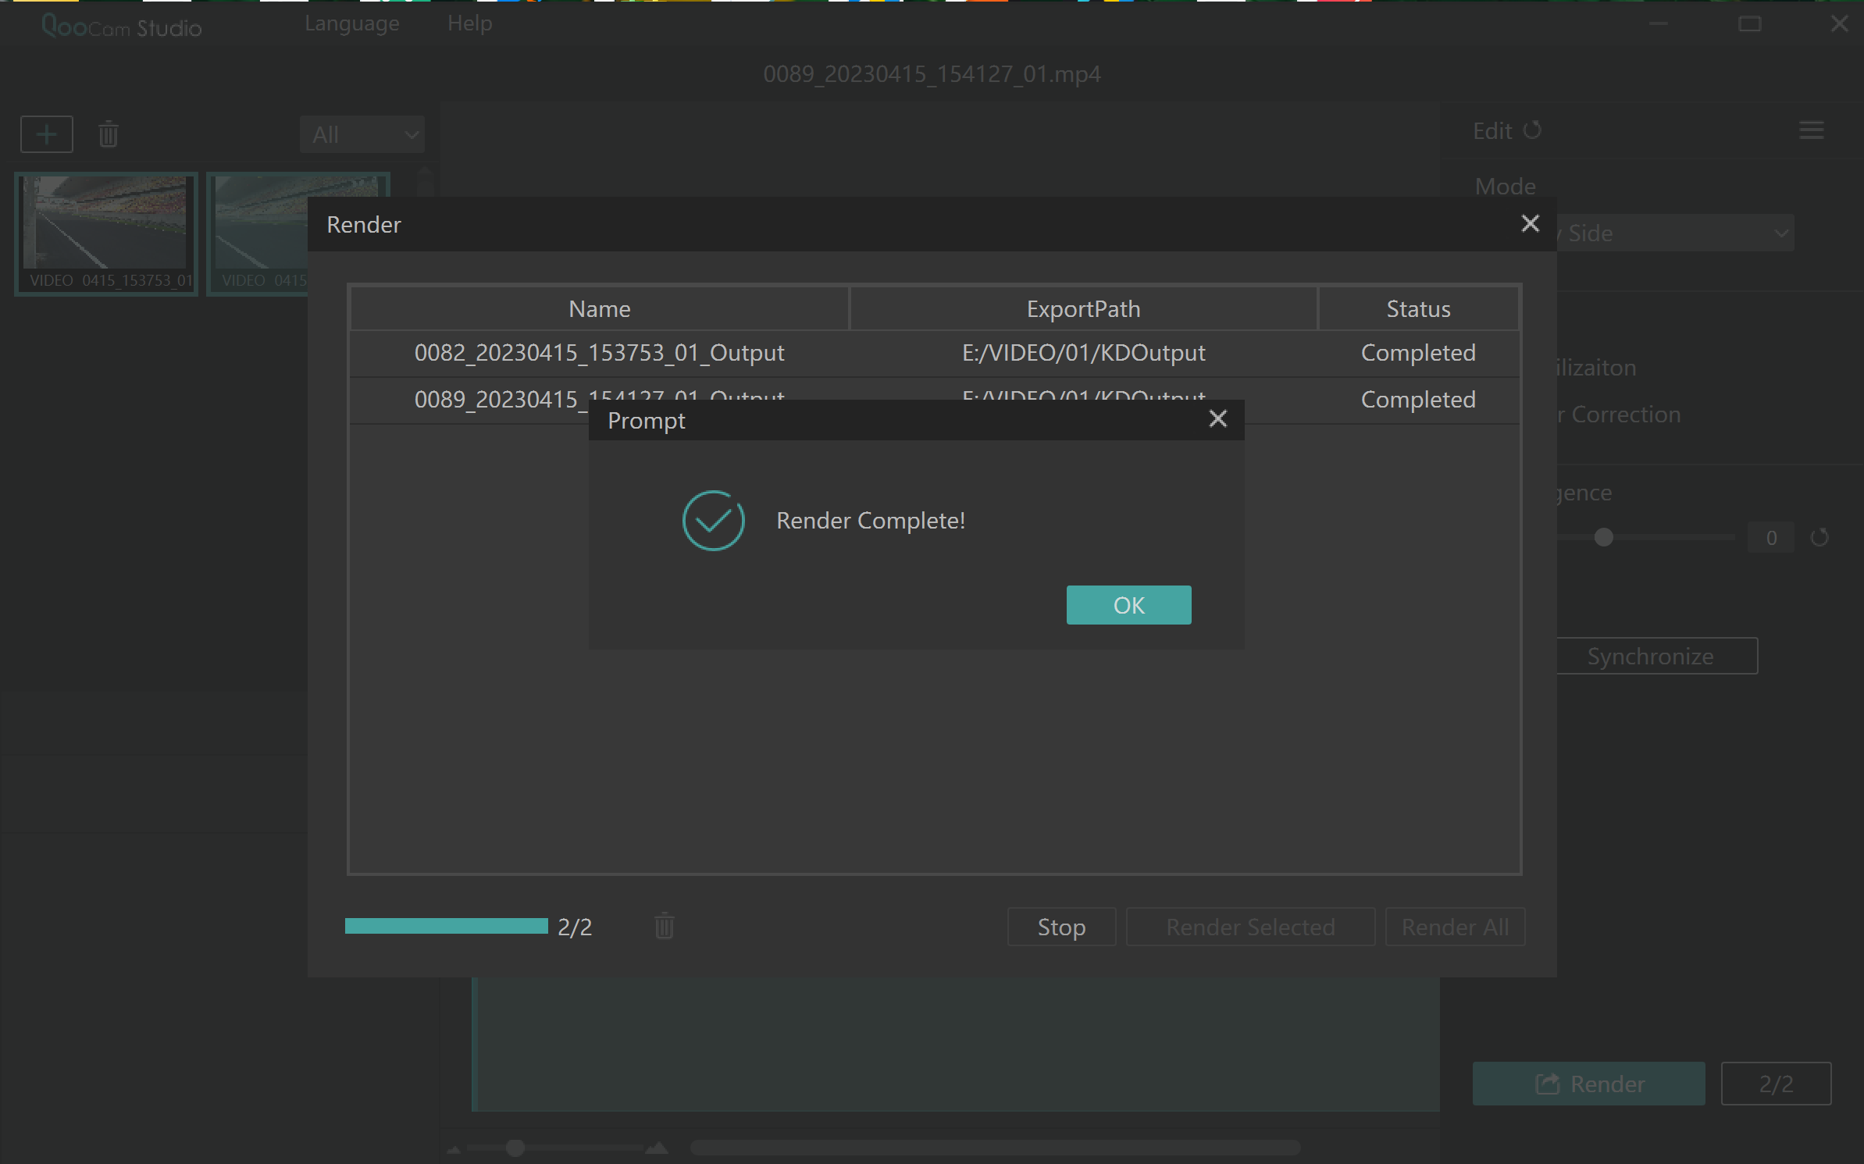
There will be a prompt after the rendering is complete.
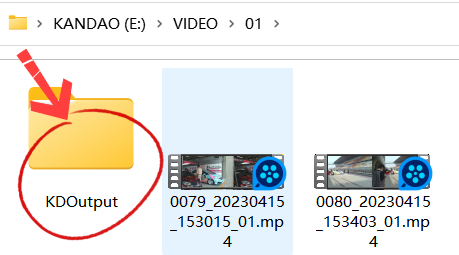
In the folder where the original video files to be stabilized are located, a KDOutput folder will appear, containing the stabilized video files.
The video files processed for stabilization through QooCam Studio will have an "Output" suffix in their file names.
Conclusion
Pro:
Simple operation.
Stabilized files are easily identifiable, making organization easier.
Fast processing speed and high efficiency!
Cons:
The Windows version requires Windows 10 or above to be supported.
The Mac version has some installation tricks. (These will be explained in a separate blog.)
