Tutorial — Consumer Cameras
How to Process QooCam EGO Footage with QooCam Studio 2025?
Steps to edit Kandao QooCam EGO 3D camera footage using QooCam Studio 2025
QooCam 3 Ultra Tutorial: Mastering AEB for the Ultimate Panoramic Image Quality
Hello everyone, today we're going to explore how to use the Auto Exposure Bracketing (AEB) feature of the QooCam 3 Ultra camera to capture unparalleled panoramic photos. AEB is a powerful ally for professional panoramic photographers, helping elevate your work reach to new heights in image quality. Shooting Scenario Let's imagine we're shooting the interior of a hotel room. The challenge here is the extremely strong outdoor light that can easily cause overexposure. Under normal exposure (EV0), the details on the bed are completely lost, with white areas blown out and shadow areas submerged in darkness. Such extreme lighting conditions are...
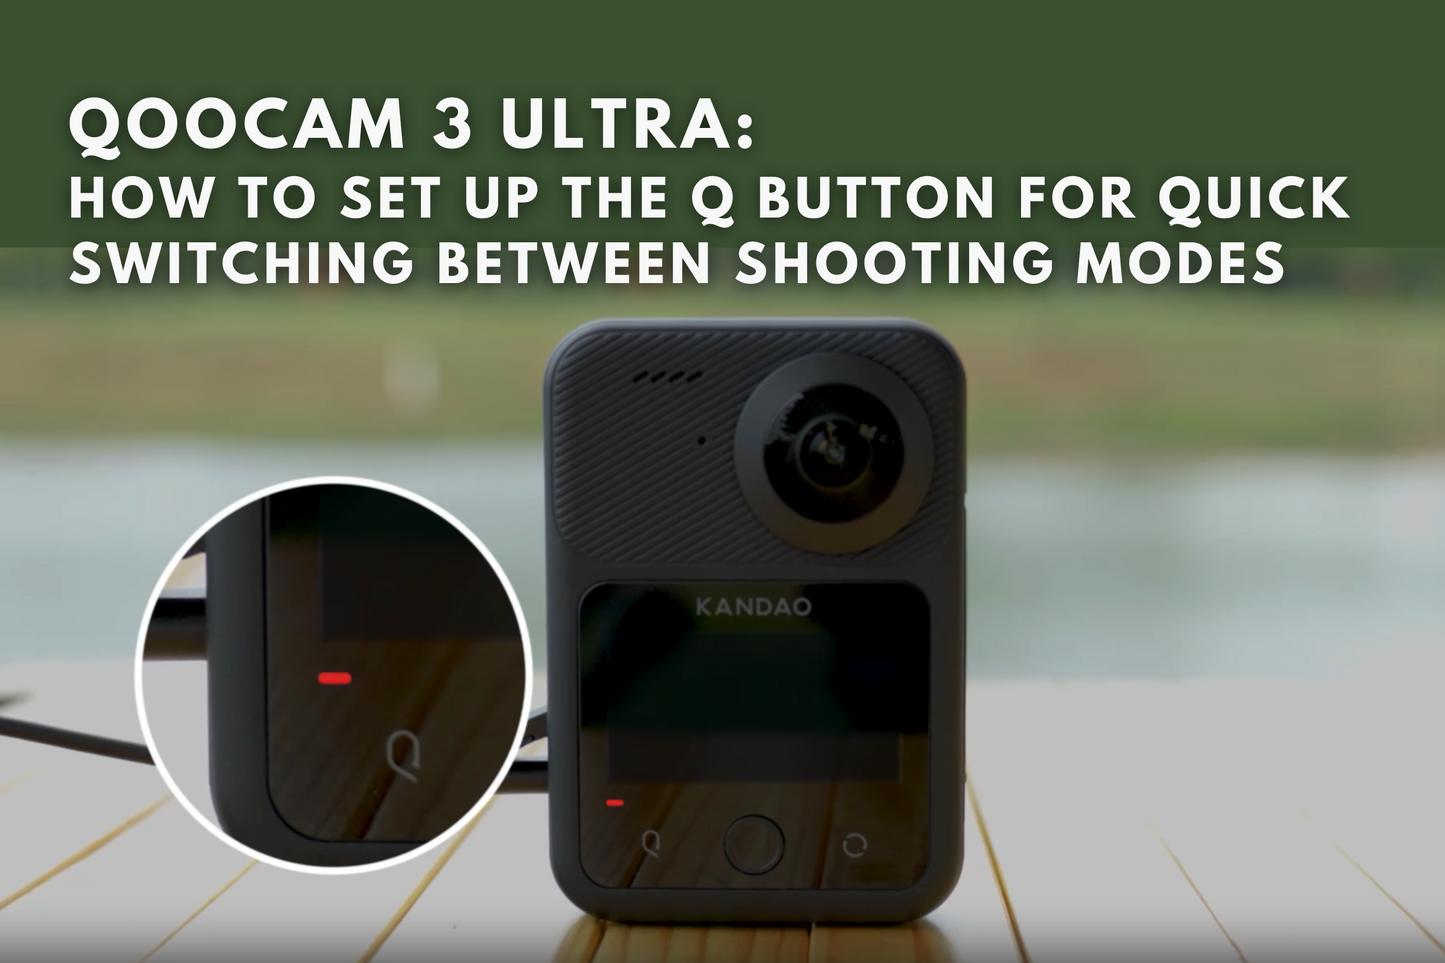
How to set up the Q button for quick switching between common shooting modes
Follow these steps to set up the Q button on your QooCam 3 Ultra;
1.Access the 【Settings】
2.Access the 【Q Function】
3. Press the【Edit】icon below 【Mode Switching】
4. Select the first common shooting mode and then press 【Next】
5. Select the second common shooting mode and then press 【OK】
Now you can switch quickly between common shooting modes by pressing the Q button.
(If you have any questions or need further assistance, please contact our service team at service@kandaovr.com)
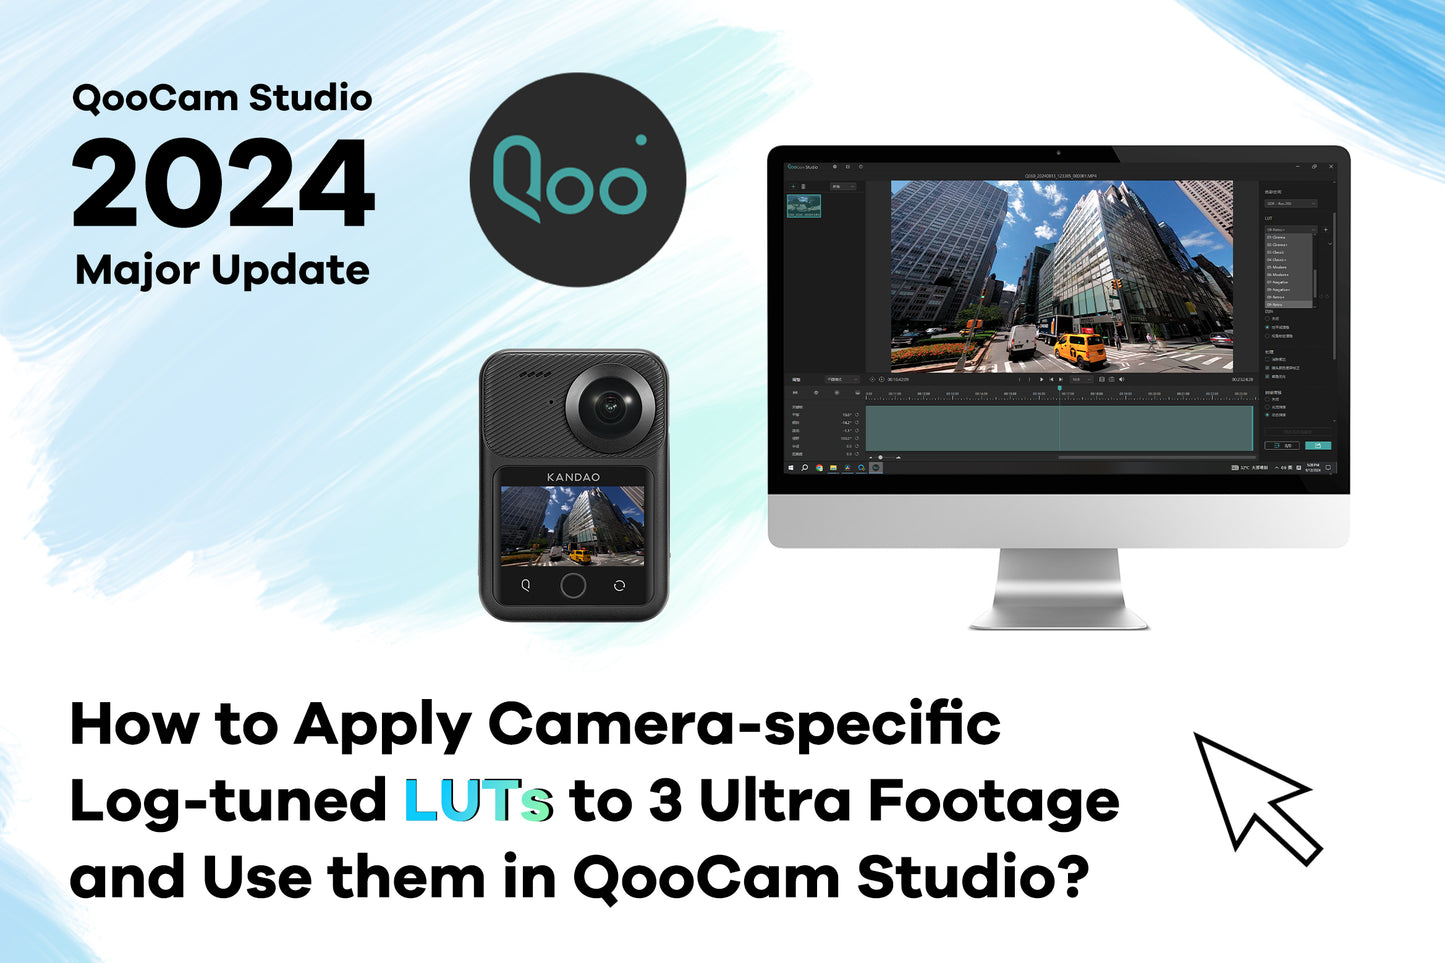
How to Apply Camera-specific Log-tuned LUTs to 3 Ultra Footage and Use them in QooCam Studio?
This tutorial is using DaVinci Resolve. 1. In 「Project Settings」, set the 「Color Management」 to 「DaVinci YRGB」, the [Timeline Color Space] to [Rec.2100 HLG], and the [Output Color Space] to [Same as Timeline]. 2. The process typically requires about 4 nodes. Node 1:Adjust the brightness, using tools like「HDR – Color Wheels」. The reason that brightness adjustment is done in the first node is because different camera log gamma curves have different exposure biases, and after applying the LUT, the contrast usually changes significantly, making brightness adjustment fairly hard in later stage.The standard HLG gamma of the 「QooCam 3 Ultra」...
QooCam 3 Ultra Tutorial: Mastering Automatic Shutter Speed
Unlock the creative possibilities of the Automatic Shutter Speed feature on your QooCam 3 Ultra. This function empowers you to set the upper limit of the shutter speed, maintaining control over motion blur and camera shake, all while leveraging the camera's automatic capabilities. ## Grasping Automatic Shutter Speed When set to automatic mode, the QooCam 3 Ultra's Automatic Shutter Speed function enables you to determine the slowest shutter speed the camera can utilize. This ensures that your images remain crisp and unaffected by motion blur or camera shake, even as the camera automatically adjusts to varying lighting conditions....
QooCam 3 Ultra - How to Transfer Files to a Mac ?
Since the QooCam 3 Ultra runs on the Android operating system, directly connecting it to a Mac with a data cable won't allow the computer to recognize the files on the camera. To import files from the camera to your Mac, you'll need to install a specific software. Here's a step-by-step guide: 1. Visit the official website of QooCam 3 Ultra,you can download the “Android File Transfer”software on the “download”page. Download Android File Transfer now > 2. Once downloaded, install the software on your Mac. 3. Connect your QooCam 3 Ultra to the computer using a USB cable. 4. Launch...
How can I synchronize settings to other footages on QooCam Studio?
1. Edit on one footage.
2. Select footages to be synced and Press the button “Sync to selected”.
3. Choose parameters to be synced on the panel and press the button “Paste”.
Download QooCam Studio MacOS>
Download QooCam Studio Windows>
(If you have any questions, please feel free to contact our service team at service@kandaovr.com for assistance.)
Categories


